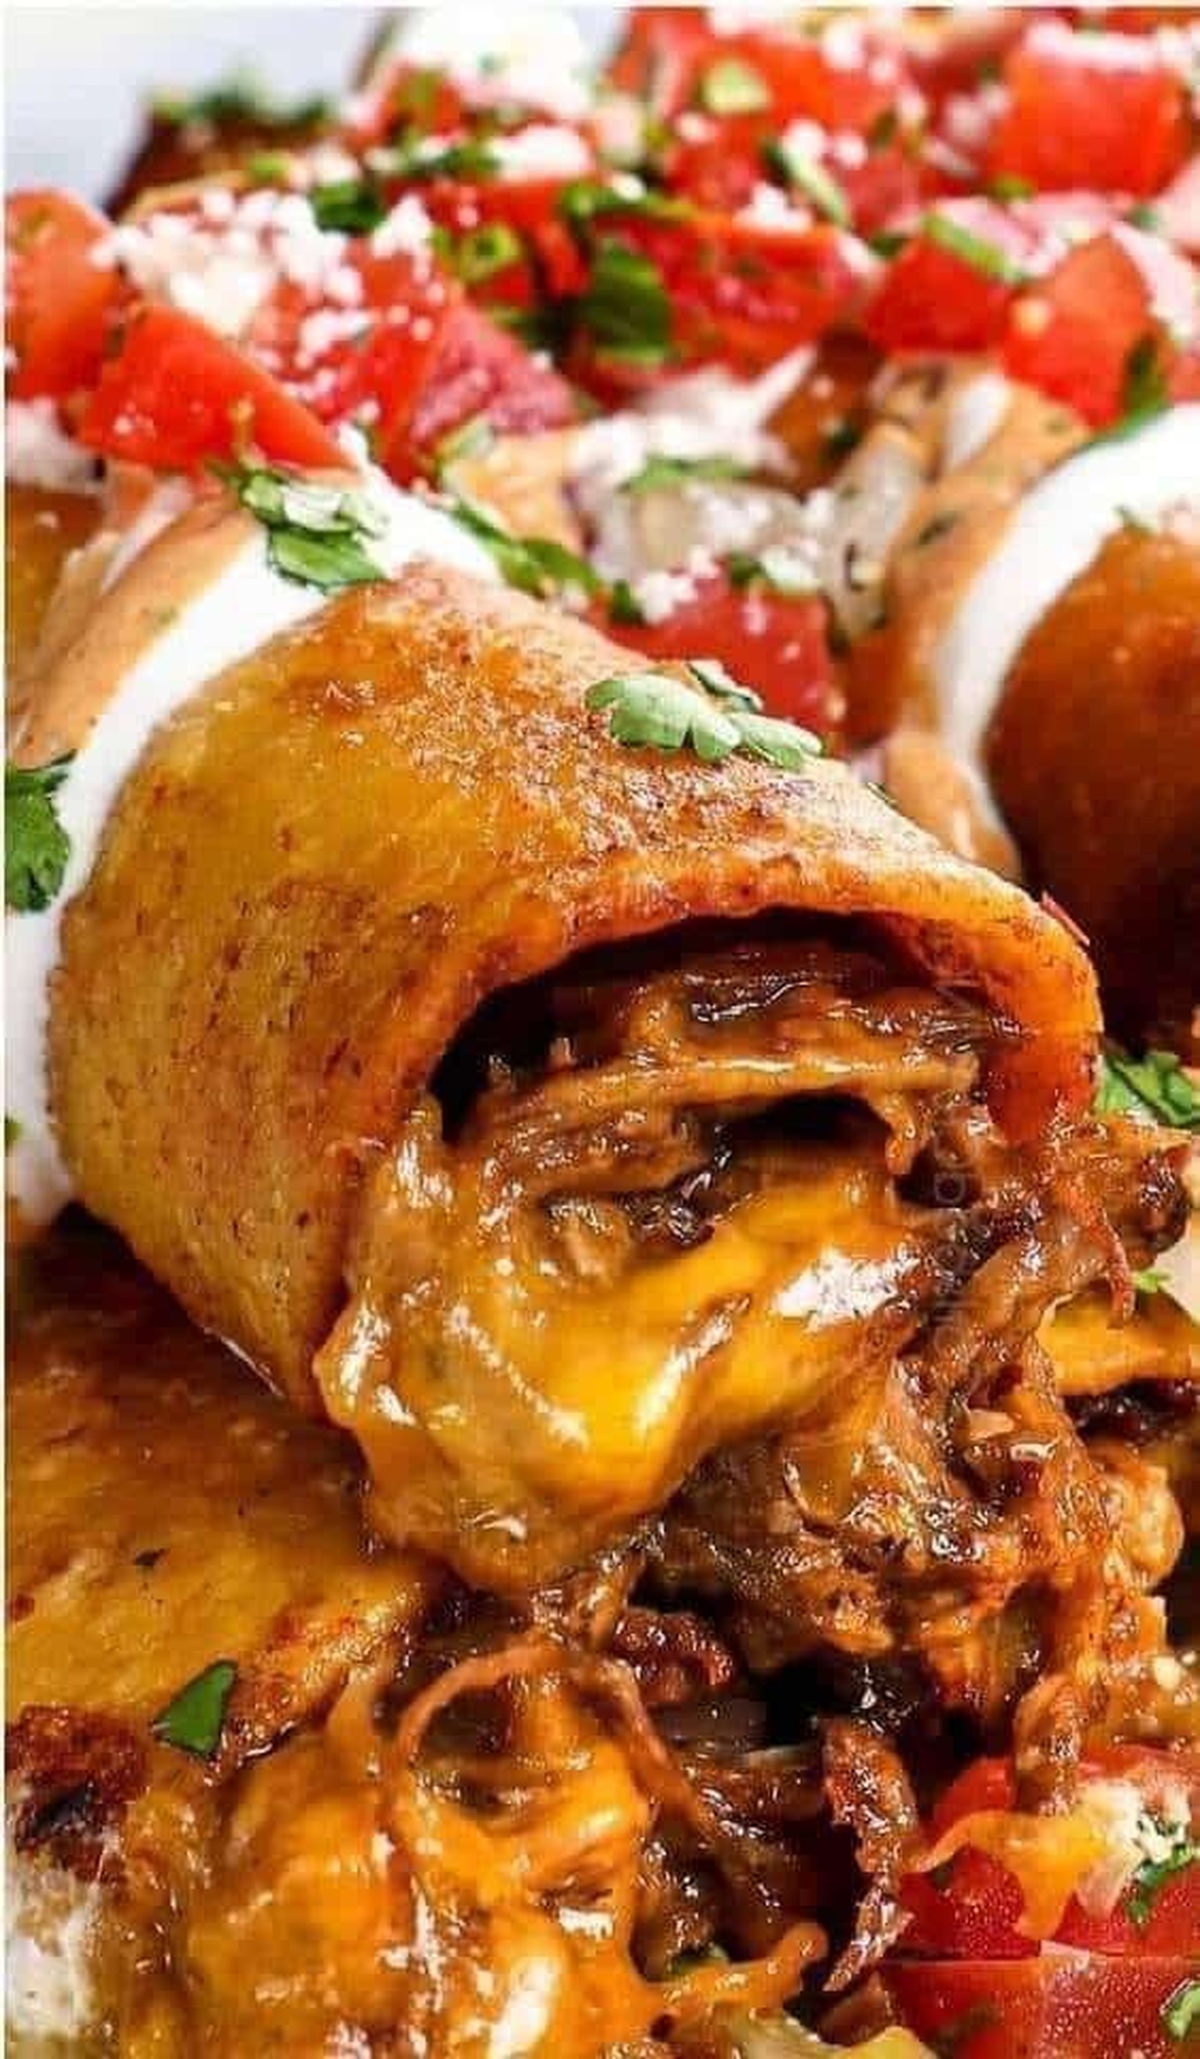
Crispy Homemade Taquitos Recipe: A Fiesta of Flavors
Let’s talk about these crispy taquitos that will make your taste buds dance with excitement!
Mexican street food inspires this delightful dish packed with vibrant flavors.
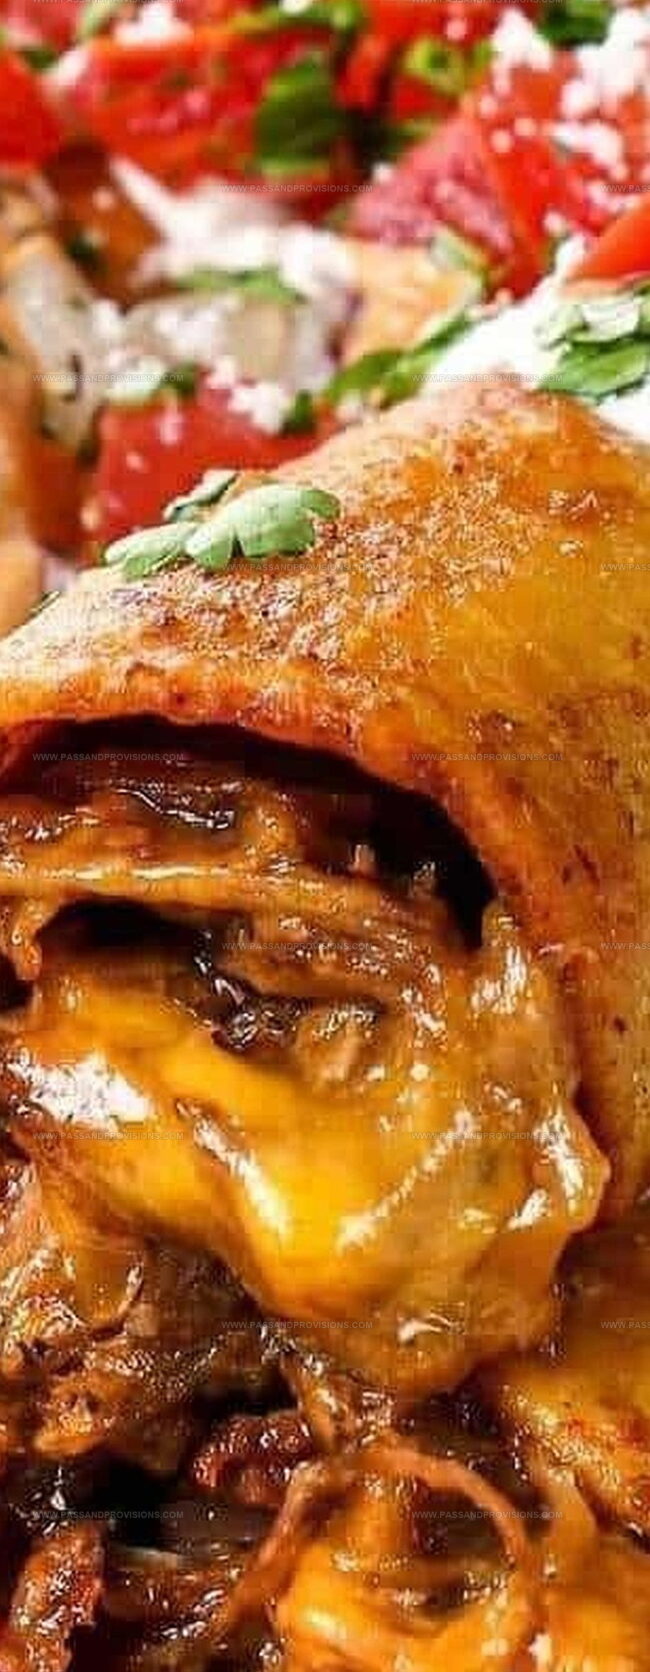
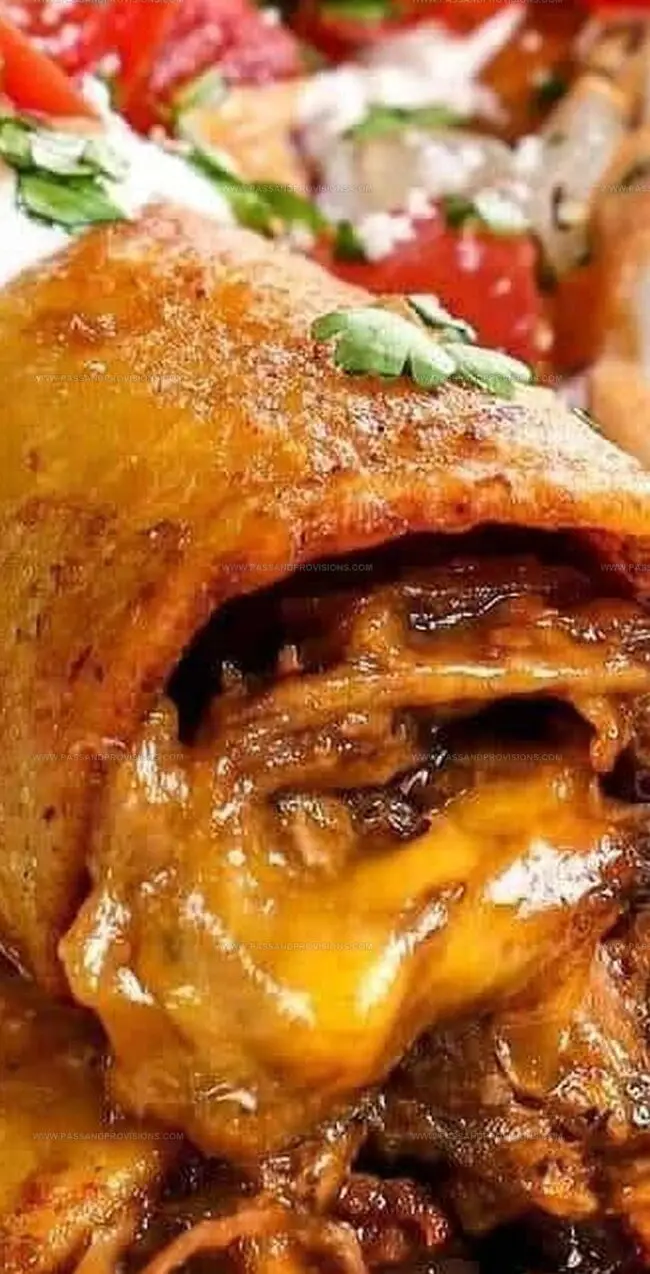
Crunchy corn tortillas wrapped around savory fillings create a perfect handheld treat.
Regional ingredients and simple techniques bring this classic snack to life.
Memories of bustling markets and sizzling street vendors emerge with each bite.
Spices and fresh components elevate these little rolls into something magical.
You’ll want to gather everyone around and share these irresistible taquitos right away.
Taquitos That Pack a Flavorful Punch
Ingredients for Crispy, Rolled Perfection
Protein Base:Binding and Flavor Ingredients:Seasoning Blend:How to Roll and Bake Taquitos at Home
Step 1: Prepare the Flavorful Filling
In a spacious mixing bowl, combine:Blend all ingredients thoroughly, ensuring an even distribution of flavors throughout the mixture.
Step 2: Warm Up the Tortillas
Briefly heat corn tortillas in the microwave or on a skillet to make them pliable and easy to roll.
Step 3: Roll the Taquitos
Place a small portion of the filling near the edge of each tortilla.
Tightly roll the tortilla around the filling, creating a compact cylinder.
Secure each taquito with a toothpick if needed to prevent unraveling.
Step 4: Choose Your Cooking Method
Baking Option:
Preheat oven to 425°F.
Arrange taquitos on a baking sheet lined with parchment paper.
Lightly spray or brush with oil to help achieve a crispy exterior.
Bake for 15-20 minutes, turning halfway through, until golden and crisp.
Frying Option:
Heat vegetable oil in a deep skillet to 375°F.
Carefully place taquitos in hot oil, frying until they turn golden brown and crispy.
Drain on paper towels to remove excess oil.
Step 5: Serve and Enjoy
Remove toothpicks if used.
Plate the taquitos with your favorite dipping sauces like:Serve immediately while hot and crispy.
Tips to Get That Golden Crunch Just Right
Store and Reheat Taquitos Without Drying Out
Sauces and Sips to Serve with Taquitos
Variations to Spice Up Your Next Batch
Taquito FAQs for Quick Help
Taquitos are versatile and can be enjoyed as both an appetizer and a main course. They’re popular at parties, game nights, and as a quick meal.
Yes, you can prepare taquitos in advance. Assemble them and store uncooked taquitos in the refrigerator for up to 24 hours before frying or baking.
To maintain crispiness, avoid overcrowding when frying and drain them on paper towels immediately after cooking. Serve them right away for the best texture.
Secure the edges with toothpicks before cooking or place them seam-side down in the pan to help them stay rolled tightly.
Print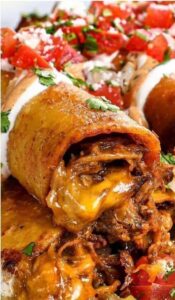
Taquitos Recipe
- Total Time: 35 minutes
- Yield: 4 1x
Description
Crispy Mexican Taquitos bring zesty flavors straight from authentic street kitchens, combining crunchy tortillas with savory pulled chicken and spicy seasonings. Comfort meets excitement in this quick, satisfying meal that promises delightful bites you’ll crave again and again.
Ingredients
Proteins and Main Ingredients:
- 2 cups (473 ml) cooked shredded chicken, beef, or beans
Cheese and Seasonings:
- ½ cup (118 ml) shredded cheese (cheddar, Monterey Jack, or a blend)
- 1 teaspoon chili powder
- ½ teaspoon ground cumin
- ½ teaspoon garlic powder
- ½ teaspoon onion powder
- Salt and pepper, to taste
Sauce and Additional Ingredients:
- ¼ cup (59 ml) salsa or enchilada sauce
- 12 small corn tortillas
- ¼ cup (59 ml) vegetable oil (for brushing or frying)
Serving Garnishes:
- Guacamole
- Sour cream
- Salsa
- Shredded lettuce
- Diced tomatoes
- Chopped cilantro
Instructions
- Shred the cooked chicken thoroughly, ensuring no large chunks remain for uniform distribution within the filling.
- Combine the shredded chicken with grated cheese, creating a foundational mixture that will provide richness and binding.
- Incorporate prepared salsa into the protein and cheese blend, allowing the liquid to moisten and enhance the overall flavor profile.
- Sprinkle selected seasonings across the mixture, gently folding to guarantee even dispersion of spices and aromatics.
- Taste the filling and adjust seasoning if needed, ensuring a balanced and robust flavor before rolling.
- Warm tortillas slightly to increase flexibility and prevent cracking during the rolling process.
- Place a precise amount of prepared filling near one edge of each tortilla, maintaining a compact and controlled portion.
- Tightly roll the tortilla around the filling, creating a compact cylinder that will hold its shape during cooking.
- Secure each taquito with a toothpick if necessary to prevent unrolling during frying or baking.
- Choose between deep frying for a crispy exterior or baking for a lighter preparation method, depending on preference.
- Cook taquitos until the exterior becomes golden brown and crisp, ensuring the filling is heated completely through.
Notes
- Swap protein options easily by using shredded beef, pulled pork, or black beans for vegetarian taquitos to match different dietary preferences.
- Maximize flavor by letting the filling sit for 15-30 minutes before rolling, allowing seasonings to meld and intensify the taste profile.
- For extra crispiness, brush taquitos with a light olive oil coating before baking or air frying to achieve a golden, crunchy exterior without deep-frying.
- Prep filling ahead of time and store in the refrigerator for up to 2 days, making weeknight meal assembly quick and convenient for busy households.
- Prep Time: 15 minutes
- Cook Time: 20 minutes
- Category: Lunch, Snacks, Appetizer
- Method: Baking
- Cuisine: Mexican
Nutrition
- Serving Size: 4
- Calories: 350
- Sugar: 2 g
- Sodium: 600 mg
- Fat: 20 g
- Saturated Fat: 5 g
- Unsaturated Fat: 15 g
- Trans Fat: 0 g
- Carbohydrates: 30 g
- Fiber: 3 g
- Protein: 18 g
- Cholesterol: 60 mg
Jamie Granger
Recipe Developer & Food Writer
Expertise
Education
Culinary Institute of America
Jamie Granger turns ingredients into memories. With her recipes, she brings a fusion-forward flair to every creation.
Her dishes reflect the places she’s explored, the chefs she’s learned from, and the deep connection she has to food as a form of expression.
At Pass and Provision, Jamie develops recipes that balance flavor, health, and beauty, meals that don’t just satisfy your appetite but speak to your curiosity.