Irresistible Cheesy Beefy Roll-Ups Recipe for Family Dinners
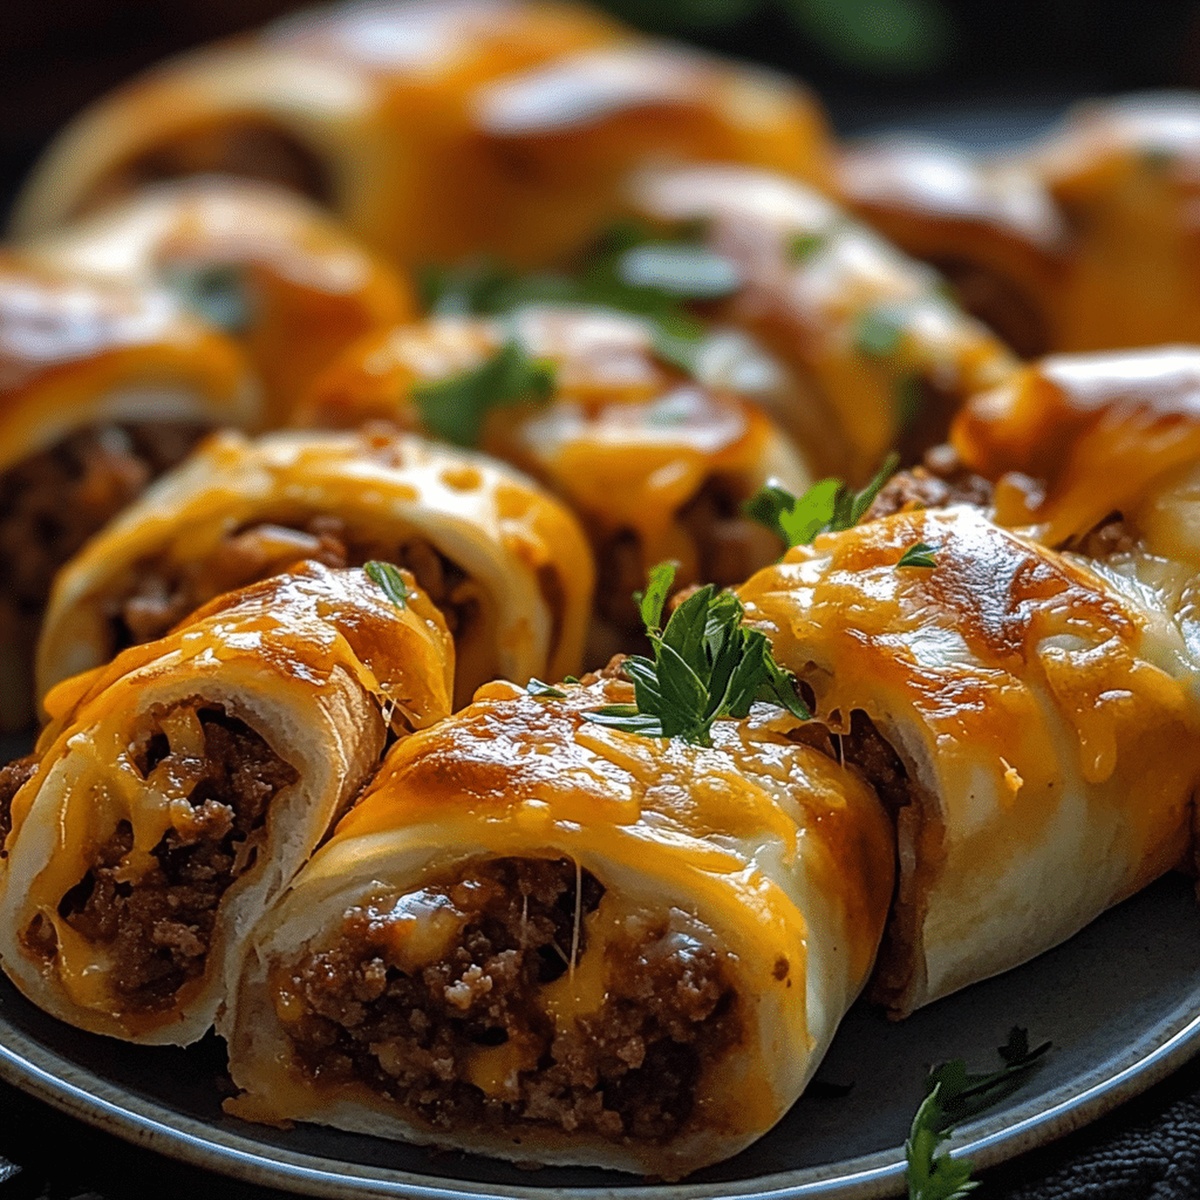
Culinary magic happens when these cheesy beefy roll-ups dance onto your plate with irresistible charm.
Layers of savory goodness promise a mouth-watering adventure for hungry souls.
Melted cheese and seasoned beef create a perfect partnership that sings with flavor.
Wrapping tender ingredients into compact rolls ensures each bite delivers maximum deliciousness.
Weeknight dinners just got a seriously delectable upgrade with this simple yet spectacular dish.
Quick preparation meets serious satisfaction in these crowd-pleasing roll-ups.
Hunger calls, and only these cheesy beefy roll-ups can answer with such delightful enthusiasm.
Why Cheesy Beefy Roll-Ups Hit the Spot

Cheesy Beefy Roll-Ups Ingredient Guide
Meat Base:Seasoning and Sauce:Cheese Components:Assembling Cheesy Beefy Roll-Ups at Home

Crafting Savory Beef Rolls
Heat a large skillet over medium flame and add ground beef along with diced onions. Cook the mixture, breaking down the beef into small crumbles until it turns a rich golden brown. Carefully drain away any excess fat to keep the dish light and delicious.
Sprinkle in your favorite ingredients:Let the mixture simmer gently, allowing the flavors to meld and intensify for 2-3 minutes. Remove the skillet from the heat and get ready for the cheesy transformation.
Fold in a delightful blend of shredded cheeses:Stir the cheese thoroughly, ensuring every morsel is coated with melty goodness. The result will be a mouthwatering filling that’s begging to be rolled into warm tortillas or enjoyed as a standalone dish. The combination of spicy beef and creamy cheese creates an irresistible flavor explosion that will have everyone asking for seconds.
Tips to Master Cheesy Beefy Roll-Ups
Preserving Cheesy Beefy Roll-Ups for Later
Best Sides for Cheesy Beefy Roll-Ups
Cheesy Beefy Roll-Ups You Can Try Next
All Your Cheesy Beefy Roll-Ups Questions
Pat the ground beef dry after cooking and drain excess liquid from salsa or Rotel to reduce moisture. Warm tortillas slightly before filling to help them stay firm.
Absolutely! Ground turkey, shredded chicken, or even ground turkey work great as substitutes for ground beef in this recipe.
Cheddar and monterey jack are classic choices, but you can also try pepper jack for extra heat or a Mexican blend for more complex flavor. Sharp cheddar adds a nice tangy kick.
Yes! Most kids love these roll-ups because they’re cheesy, easy to eat, and not too spicy. You can customize the heat level by choosing mild salsa or taco seasoning.
Print
Cheesy Beefy Roll-Ups Recipe
- Total Time: 25 minutes
- Yield: 4 1x
Description
Mexican-inspired cheesy beefy roll-ups deliver a flavor explosion of seasoned ground beef and melted cheese wrapped in warm tortillas. Packed with zest and comfort, these roll-ups promise to satisfy hungry diners craving a quick and delicious meal.
Ingredients
Proteins and Cheese:
- 1 pound (454 grams) ground beef
- ½ cup shredded cheddar cheese
- ½ cup shredded Monterey Jack or mozzarella cheese
- Sour cream
Vegetables and Seasonings:
- ½ cup onion (diced)
- 2 cloves garlic (minced)
- 1 packet taco seasoning
Homemade Taco Seasoning (if not using packet):
- 1 teaspoon chili powder
- ½ teaspoon cumin
- ½ teaspoon paprika
- ½ teaspoon garlic powder
- ½ teaspoon onion powder
- ¼ teaspoon salt
Additional Ingredients:
- ½ cup salsa or Rotel tomatoes
- 8 small flour tortillas (soft taco size)
- 2 tablespoons butter or oil (for brushing/baking or frying)
- Queso dip
- Chopped cilantro or green onions (optional)
Instructions
- Heat a large skillet over medium flame and sauté ground beef with diced onions until meat is thoroughly cooked and golden brown.
- Eliminate excess fat by carefully draining the skillet, preserving the meat and onion mixture.
- Incorporate minced garlic, zesty taco seasoning, and vibrant salsa (or diced Rotel tomatoes) into the beef blend, stirring to distribute flavors evenly.
- Allow the mixture to gently simmer for approximately 2-3 minutes, letting the ingredients meld and intensify their taste profile.
- Remove skillet from heat and swiftly fold in a medley of shredded cheeses, ensuring a thorough and uniform coating of the beef mixture.
- The resulting concoction will create a rich, creamy, and flavor-packed filling ready for further culinary preparation.
Notes
- Customize the spice level by choosing mild or hot taco seasoning and salsa to match your preferred heat intensity.
- Replace ground beef with ground turkey or plant-based crumbles for a lighter protein option that works great for health-conscious diners.
- Pre-shred cheese at home for better melting and smoother texture, avoiding anti-caking agents found in pre-packaged shredded cheese.
- Use fresh tortillas and warm them slightly before filling to prevent cracking and make rolling easier, ensuring a perfect seal for your roll-ups.
- Prep Time: 10 minutes
- Cook Time: 15 minutes
- Category: Appetizer, Snacks
- Method: Sautéing
- Cuisine: American
Nutrition
- Serving Size: 4
- Calories: 480
- Sugar: 2 g
- Sodium: 800 mg
- Fat: 28 g
- Saturated Fat: 12 g
- Unsaturated Fat: 14 g
- Trans Fat: 1 g
- Carbohydrates: 34 g
- Fiber: 2 g
- Protein: 24 g
- Cholesterol: 80 mg
Jamie Granger
Recipe Developer & Food Writer
Expertise
Education
Culinary Institute of America
Jamie Granger turns ingredients into memories. With her recipes, she brings a fusion-forward flair to every creation.
Her dishes reflect the places she’s explored, the chefs she’s learned from, and the deep connection she has to food as a form of expression.
At Pass and Provision, Jamie develops recipes that balance flavor, health, and beauty, meals that don’t just satisfy your appetite but speak to your curiosity.