
Russian Buttercream Recipe Dreamiest Frosting Ever
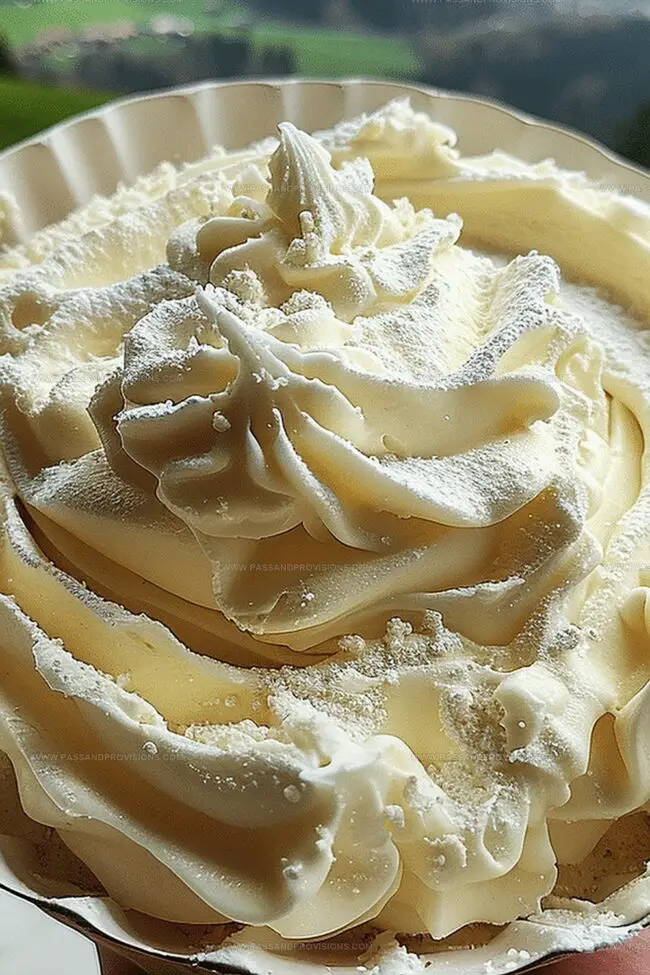
Smooth, velvety russian buttercream whispers tales of delightful indulgence from distant culinary landscapes.
Bakers treasure this simple yet luxurious frosting for its incredible silky texture.
Rich condensed milk creates a dreamy foundation that melts effortlessly across your palate.
Sweet comfort emerges from just three ingredients blended with care and precision.
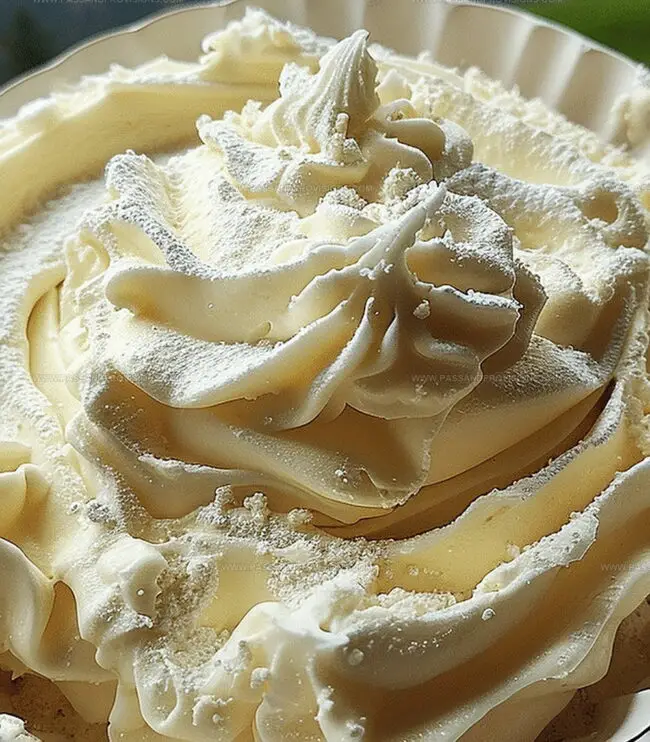
Creamy clouds of decadence promise to elevate any dessert from ordinary to extraordinary.
Home kitchens can easily master this elegant technique with minimal fuss.
Prepare to transform your baking game with this surprisingly straightforward recipe that delivers maximum flavor with minimal effort.
Russian Buttercream That’s Rich, Smooth, and Elegant
Ingredients to Whip Up Classic Russian Buttercream
Dairy Base:Flavor Enhancers:How to Make Russian Buttercream Step-by-Step
Step 1: Prepare Butter
Grab a roomy mixing bowl and toss in softened butter. Whip this creamy goodness using an electric mixer at medium-high speed. Keep blending until the butter transforms into a light, airy cloud with a pale color. This magical process takes about 5-7 minutes. Occasionally sweep the mixer’s sides to make sure everything gets perfectly whipped.
Step 2: Introduce Sweetened Condensed Milk
Switch mixer to low speed and slowly cascade the sweetened condensed milk into the fluffy butter. Keep mixing until the liquid merges completely, creating a silky smooth texture. This beautiful blending typically takes 3-5 minutes.
Step 3: Enhance With Flavor Boosters
Time to jazz up your buttercream! Pour in vanilla extract and sprinkle a tiny pinch of salt if you’re feeling adventurous. Blend until these flavor champions are perfectly distributed throughout the mixture.
Step 4: Perfect The Consistency
Notice the buttercream looks a bit too soft? No worries! Pop the bowl into the refrigerator for a quick 10-15 minute chill. After its cool break, give it another quick whip to restore that dreamy, smooth consistency.
Ingredients:Tips for a Smooth, Stable Russian Buttercream Finish
How to Store Russian Buttercream for Later Use
Cake and Cupcake Pairings for Russian Buttercream
Flavor Additions to Customize Your Russian Buttercream
FAQs About Making Russian Buttercream at Home
This can happen if your butter is too warm or you haven’t beaten it long enough. Always ensure butter is softened but not melty, and beat it thoroughly until pale and fluffy before adding condensed milk.
No, full-fat sweetened condensed milk is crucial for the right texture and stability of Russian buttercream. Low-fat versions won’t provide the necessary structure and richness.
Keep mixing! Sometimes buttercream looks split initially but will come together with consistent beating. If it’s still not smooth, ensure all ingredients are at similar temperatures and continue mixing.
Because it contains sweetened condensed milk, it’s best to refrigerate within 2 hours and bring to room temperature before serving to maintain the best texture and food safety.
Print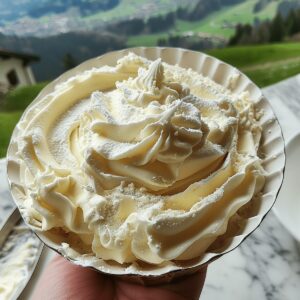
Russian Buttercream Recipe
- Total Time: 10 minutes
- Yield: 2 1x
Description
Silky Russian buttercream brings elegant simplicity to dessert tables with its luxurious condensed milk base. Sweet creamy perfection awaits you with minimal ingredients and maximum flavor delight.
Ingredients
Main Ingredients:
- 1 cup (240 milliliters) unsalted butter, softened to room temperature
- 1 can (14 ounces / 397 grams) sweetened condensed milk
Flavor Enhancers:
- 1 teaspoon (5 milliliters) vanilla extract
- 1 pinch salt
Instructions
- Prepare a spacious mixing vessel and utilize an electric mixer to whip the softened butter at medium-high velocity until the texture transforms into a cloud-like, pale substance with enhanced volume and silky smoothness.
- Reduce mixer speed and delicately stream the sweetened condensed milk into the butter mixture, ensuring thorough integration and maintaining a velvety texture through continuous blending.
- Introduce vanilla extract and a delicate pinch of salt, gently folding these aromatics into the creamy foundation to elevate the flavor profile with nuanced depth.
- Evaluate the buttercream’s structural integrity; if the consistency appears overly loose or lacks stability, temporarily refrigerate the mixture for a brief interlude, then re-whip to restore its luxurious, spreadable composition.
- Once the buttercream achieves a pristine, glossy finish with impeccable smoothness, it stands ready to embellish pastries, cakes, or serve as a delectable filling for your culinary creation.
Notes
- Chill butter at room temperature for 30-45 minutes before beating to ensure perfect softness and creamy texture.
- Use high-quality unsalted butter with at least 80% butterfat for richer, smoother Russian buttercream.
- Control mixer speed carefully to prevent overbeating, which can cause buttercream to separate or become grainy.
- For dairy-free adaptation, substitute sweetened condensed milk with coconut condensed milk or vegan condensed milk alternative.
- Prep Time: 10 minutes
- Cook Time: 0 minutes
- Category: Desserts
- Method: Blending
- Cuisine: Russian
Nutrition
- Serving Size: 2
- Calories: 733
- Sugar: 60 g
- Sodium: 85 mg
- Fat: 65 g
- Saturated Fat: 40 g
- Unsaturated Fat: 25 g
- Trans Fat: 0 g
- Carbohydrates: 61 g
- Fiber: 0 g
- Protein: 5 g
- Cholesterol: 200 mg
Jamie Granger
Recipe Developer & Food Writer
Expertise
Education
Culinary Institute of America
Jamie Granger turns ingredients into memories. With her recipes, she brings a fusion-forward flair to every creation.
Her dishes reflect the places she’s explored, the chefs she’s learned from, and the deep connection she has to food as a form of expression.
At Pass and Provision, Jamie develops recipes that balance flavor, health, and beauty, meals that don’t just satisfy your appetite but speak to your curiosity.