Pistachio Cheesecake Brownies Recipe for Sweet Lovers
My kitchen adventures recently discovered a magical pistachio cheesecake brownies combination that defies ordinary dessert expectations.
Sweet layers of decadence merge in unexpected ways.
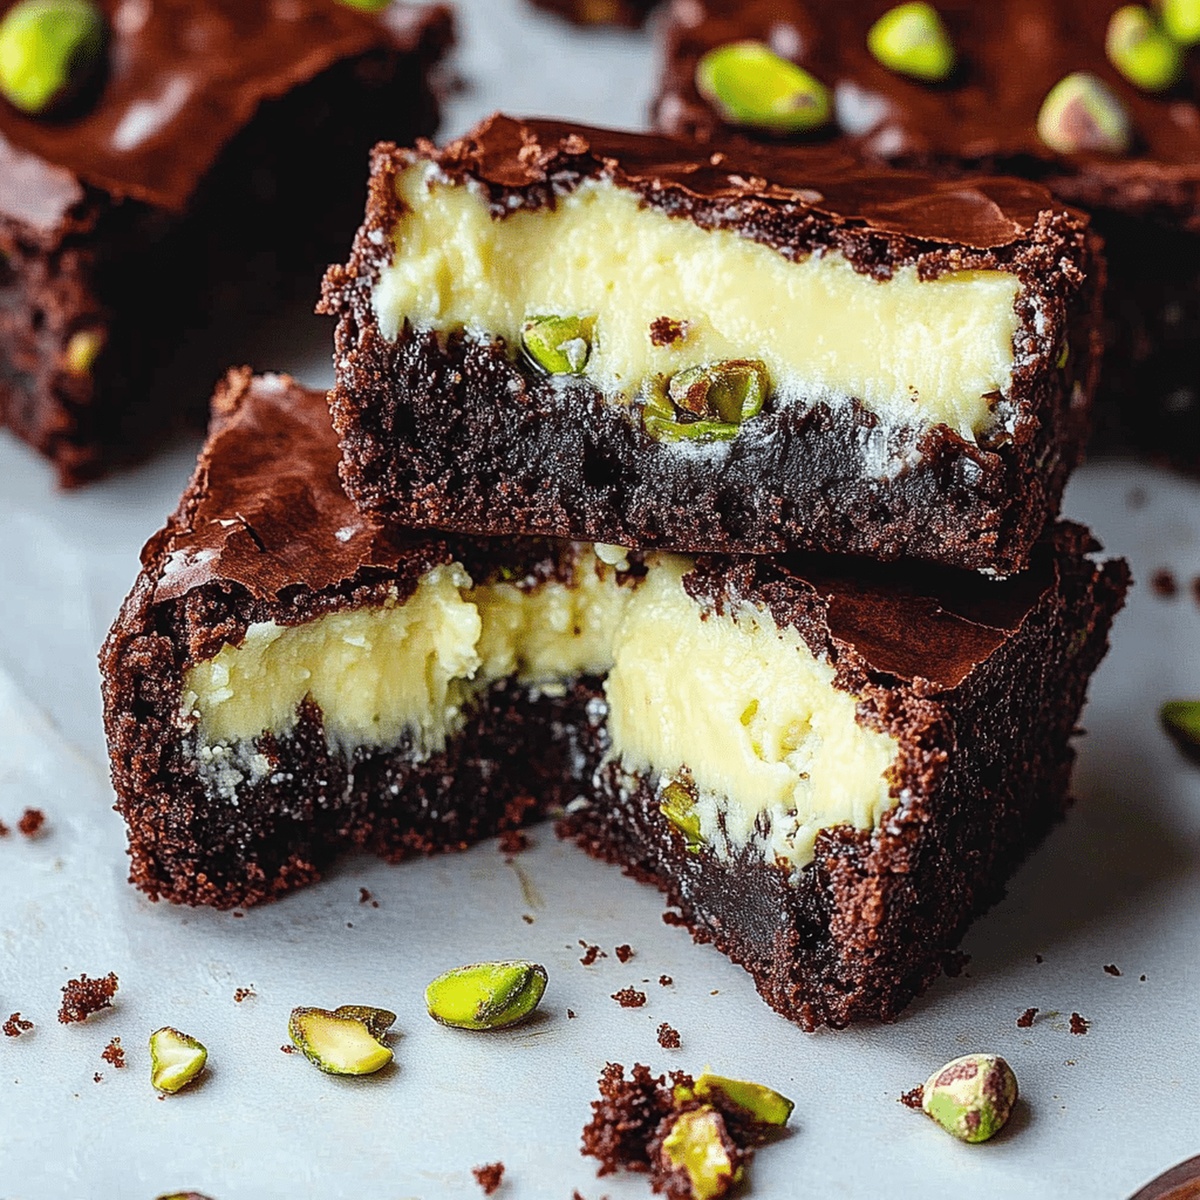
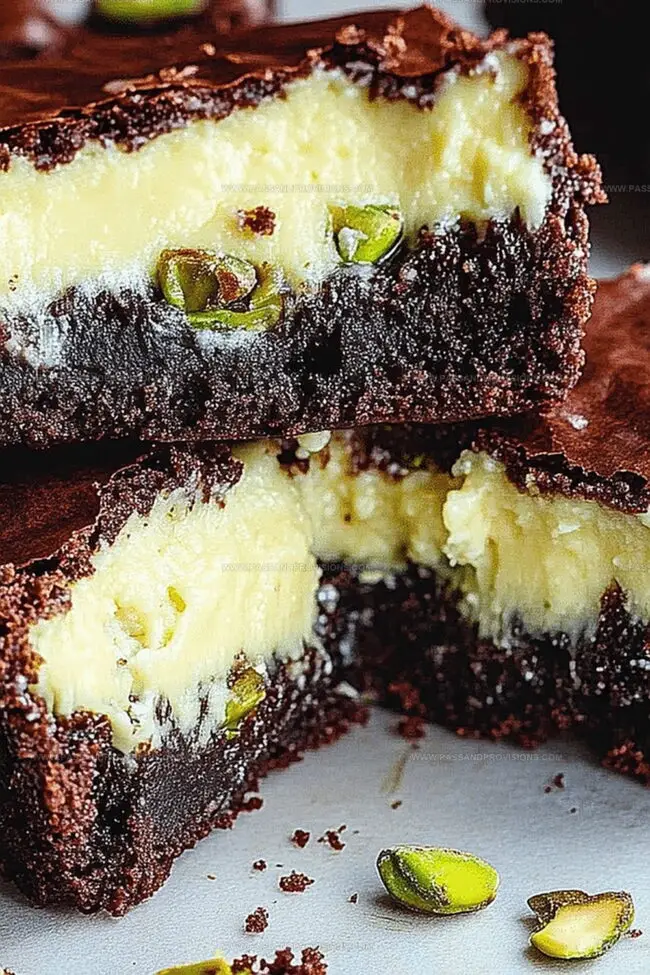
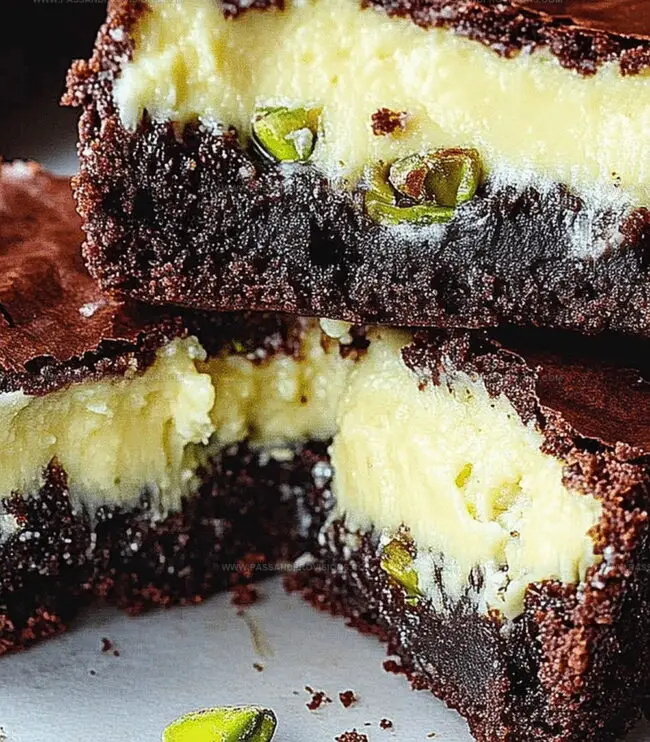
Rich chocolate mingles with nutty green swirls throughout each delectable slice.
Creamy cheesecake textures contrast against dense brownie foundations.
Delicate pistachio notes whisper elegance into every single bite.
Chocolate lovers and pastry enthusiasts will absolutely adore this unique twist.
You can create something extraordinary with just a few simple ingredients.
What Makes Pistachio Cheesecake Brownies Stand Out
Pistachio Cheesecake Brownies Ingredient Guide
Main Baking Components:Flour Components:Flavor Enhancers:How to Bake Pistachio Cheesecake Brownies
Step 1: Prepare Baking Setup
Warm up the oven to 350°F (175°C). Grab a 9×13-inch baking pan and line it with parchment paper, letting the edges hang over for easy lifting. If you don’t have parchment, give the pan a light butter or cooking spray coating.
Step 2: Create Brownie Base
In a spacious mixing bowl, blend together:Whisk these ingredients until they transform into a silky, smooth mixture.
Step 3: Incorporate Wet Ingredients
Crack open the eggs and pour in vanilla extract. Stir vigorously until everything mingles perfectly and looks completely integrated.
Step 4: Mix Dry Components
In a separate bowl, combine:Whisk these dry ingredients until they’re well acquainted.
Step 5: Combine Mixtures
Gently fold the dry ingredients into the wet mixture. Use a delicate hand to prevent overmixing. Stop stirring the moment everything looks just combined- you want those brownies tender!
Step 6: Prepare Cheesecake Swirl
In another bowl, whip together cream cheese, sugar, and an egg until creamy and lump-free.
Step 7: Assemble Brownies
Pour the brownie batter into the prepared pan. Dollop the cheesecake mixture on top. Use a knife to create elegant swirls throughout the surface.
Step 8: Sprinkle Pistachios
Scatter chopped pistachios across the top for a delightful crunch and gorgeous green accent.
Step 9: Bake to Perfection
Slide the pan into the preheated oven. Bake for 25-30 minutes. The brownies are done when a toothpick inserted comes out with a few moist crumbs.
Step 10: Cool and Slice
Allow the brownies to cool completely in the pan. Use the parchment paper edges to lift them out. Slice into squares and serve.
Pro Tips for These Nutty Cheesecake Brownies
How to Store Pistachio Cheesecake Brownies
What to Pair with Pistachio Cheesecake Brownies
Pistachio Brownie Variations to Try
FAQs on Pistachio Cheesecake Brownies
The brownies have a rich, fudgy base with a creamy cheesecake layer and a nutty pistachio twist, creating a decadent and moist dessert that melts in your mouth.
Yes, you can substitute pistachios with almonds or walnuts, but pistachios provide a unique flavor and beautiful green color that makes these brownies special.
Insert a toothpick into the center- it should come out with a few moist crumbs. Overbaking will make the brownies dry, so watch them carefully in the last few minutes of baking.
Not at all! This recipe is straightforward and requires basic baking skills. Just follow the steps carefully, mix ingredients gently, and pay attention to the baking time.
Print
Pistachio Cheesecake Brownies Recipe
- Total Time: 50 minutes
- Yield: 16 1x
Description
Indulgent Pistachio Cheesecake Brownies blend rich chocolate with creamy pistachio for an irresistible dessert experience. Layers of intense flavor and silky texture create a sophisticated treat that promises to delight chocolate and nut enthusiasts alike.
Ingredients
Main Ingredients:
- 1 cup (226 grams) unsalted butter, melted
- 3 large eggs
- 1 cup all-purpose flour
- ¾ cup unsweetened cocoa powder
- 8 ounces (226 grams) cream cheese, softened
Sweeteners:
- 1 ¼ cups granulated sugar
- ¾ cup light brown sugar, packed
- ¼ cup granulated sugar
Flavor and Garnish Ingredients:
- 2 teaspoons vanilla extract
- ½ teaspoon vanilla extract
- ½ teaspoon salt
- ½ teaspoon baking powder
- ⅓ cup pistachio butter or pistachio paste
- 12 drops green food coloring (optional, for color)
- ¼ cup chopped pistachios (for topping)
Instructions
- Prepare the baking vessel by lining a 9×13-inch pan with parchment paper, ensuring complete coverage of the bottom and sides for easy removal.
- Create a luxurious chocolate base by vigorously whisking melted butter with granulated and brown sugars until the mixture transforms into a silky, uniform consistency.
- Incorporate eggs and vanilla extract into the sugar mixture, stirring thoroughly to achieve a smooth, glossy texture that binds all ingredients seamlessly.
- In a separate mixing bowl, carefully sift together flour, cocoa powder, salt, and baking powder, eliminating any potential lumps and ensuring even distribution of dry ingredients.
- Gently fold the dry ingredient mixture into the wet ingredients, using a delicate cutting motion to preserve the batter’s airiness and prevent overmixing.
- Transfer the velvety brownie batter into the prepared pan, spreading it evenly with a spatula to create a uniform layer that will bake consistently.
- Craft the pistachio cheesecake swirl by blending cream cheese, sugar, and vanilla until smooth and creamy, then dollop strategically across the chocolate base.
- Use a knife or skewer to create elegant marble-like swirls, connecting the chocolate and pistachio layers with artistic, sweeping motions.
- Position the pan in a preheated 350°F (175°C) oven, allowing the brownies to bake for approximately 25-30 minutes until a toothpick inserted near the center emerges with a few moist crumbs.
- Remove from the oven and let the brownies cool completely in the pan, allowing the flavors to settle and the texture to firm up before slicing.
Notes
- Adjust butter temperature carefully to ensure smooth mixing without compromising texture.
- Consider using high-quality cocoa powder for richer, deeper chocolate flavor.
- Ensure eggs are room temperature to help create a more uniform brownie batter.
- Fold dry ingredients gently to prevent overmixing, which can lead to tough brownies.
- Experiment with different nut options like almonds or walnuts for varied crunch and flavor profile.
- Use a kitchen scale for precise ingredient measurements to guarantee consistent results.
- Check brownies early to prevent overcooking, aiming for slightly moist center for ultimate fudgy texture.
- Store leftovers in airtight container at room temperature for maximum freshness, consuming within 3-4 days.
- For gluten-free version, substitute all-purpose flour with almond or coconut flour blend.
- Allow brownies to cool completely before cutting to maintain clean, crisp edges.
- Prep Time: 15 minutes
- Cook Time: 35 minutes
- Category: Desserts, Snacks
- Method: Baking
- Cuisine: American
Nutrition
- Serving Size: 16
- Calories: 335
- Sugar: 22 g
- Sodium: 148 mg
- Fat: 20 g
- Saturated Fat: 10 g
- Unsaturated Fat: 9 g
- Trans Fat: 0 g
- Carbohydrates: 36 g
- Fiber: 2 g
- Protein: 5 g
- Cholesterol: 75 mg
Jamie Granger
Recipe Developer & Food Writer
Expertise
Education
Culinary Institute of America
Jamie Granger turns ingredients into memories. With her recipes, she brings a fusion-forward flair to every creation.
Her dishes reflect the places she’s explored, the chefs she’s learned from, and the deep connection she has to food as a form of expression.
At Pass and Provision, Jamie develops recipes that balance flavor, health, and beauty, meals that don’t just satisfy your appetite but speak to your curiosity.