
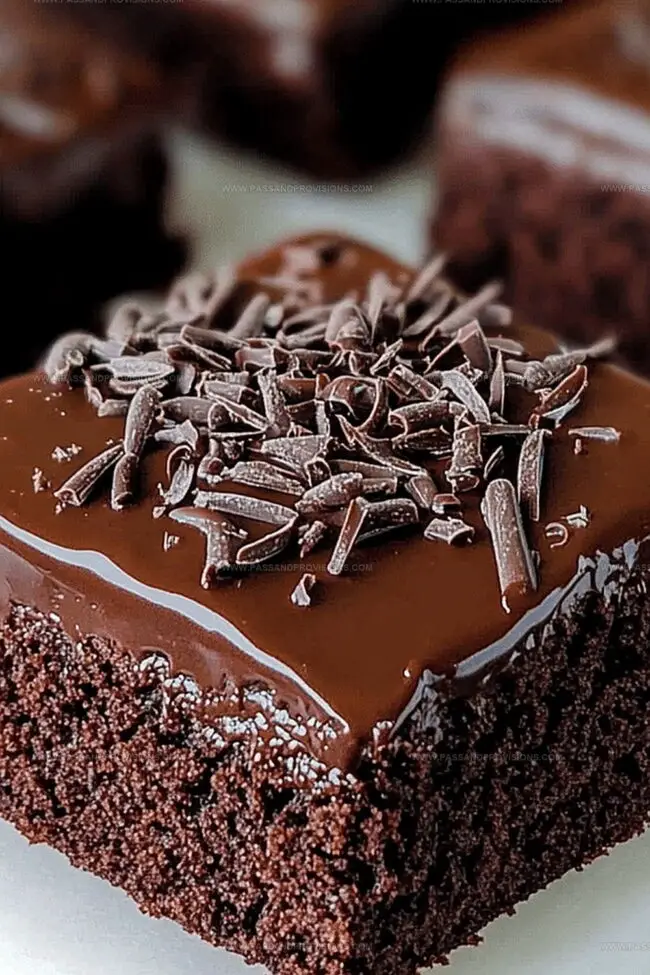
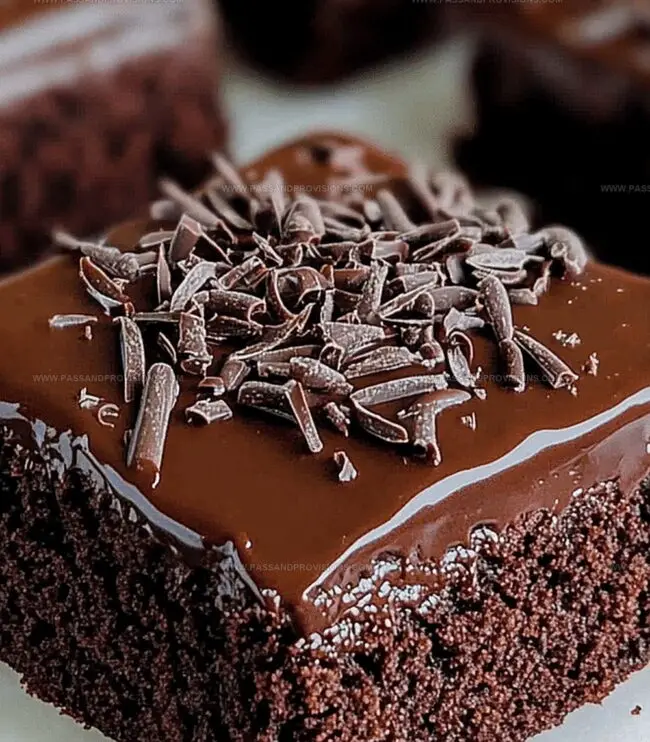
Old School Chocolate Traybake Cake Recipe: Nostalgic Sweet Treat
Chocolate has always been my ultimate comfort with this old school chocolate traybake cake recipe that whispers nostalgia from grandma’s kitchen.
Sweet memories flood back whenever I slice into this classic dessert.
Memories of childhood afternoons drift through the warm, rich aroma of melted chocolate and soft crumb.
Baking this treat connects me to simpler times when desserts meant pure joy.
Rustic and unpretentious, the cake promises deliciousness without complicated techniques or fancy ingredients.
Friends and relatives always request seconds when I serve this beloved classic.
You’ll want to grab your mixing bowl and preheat the oven – this cake is calling your name.
What Makes Old School Chocolate Traybake Cake So Rich
Ingredients for Old School Chocolate Traybake
Base Ingredients:Dry Ingredients:Liquid Ingredients:How to Bake Old School Chocolate Traybake Cake
Old School Chocolate Traybake Cake
Preheat the Oven and Prepare Baking Tray
Warm up the oven to 350F (175C). Grease a 9×13-inch baking tray and line it with parchment paper, ensuring complete coverage for easy cake removal.
Cream Butter and Sugar
In a spacious mixing bowl, blend butter and sugar together until the mixture becomes light, airy, and transforms into a creamy consistency.
Add Eggs Gradually
Incorporate eggs one at a time into the butter-sugar mixture. Whisk thoroughly after each egg addition to create a smooth, well-integrated batter.
Combine Dry Ingredients
Sift the following ingredients into the wet mixture:Gently fold these dry ingredients into the batter, maintaining its soft, fluffy texture.
Mix in Liquid Ingredients
Pour milk and vanilla extract into the batter. Stir until the mixture becomes completely smooth and uniform in color and consistency.
Transfer Batter to Baking Tray
Pour the chocolate batter into the prepared baking tray. Use a spatula to spread the mixture evenly across the entire surface, ensuring a level top.
Bake the Chocolate Cake
Place the tray in the preheated oven and bake for 25-30 minutes. Check doneness by inserting a toothpick into the center- it should come out clean with minimal crumbs.
Cool and Finish
Remove the cake from the oven and let it cool completely on a wire rack before adding any frosting or decorations.
Chocolate Traybake Cake Tips from the Classics
Storing Chocolate Traybake Cake
Best Pairings for Chocolate Traybake Cake
Creative Takes on Classic Chocolate Traybake
Old School Chocolate Traybake FAQs
This classic traybake uses self-rising flour, which gives it a lighter, softer texture compared to traditional chocolate cakes and ensures an easy, foolproof baking process.
Yes, you can replace self-rising flour with all-purpose flour plus baking powder, and use dairy alternatives like almond or oat milk if needed. Just ensure measurements remain consistent.
Absolutely! This traybake is incredibly simple, requires basic mixing techniques, and doesn’t need complicated decorating skills. It’s perfect for those just starting their baking journey.
Insert a toothpick into the center of the cake- if it comes out clean with just a few moist crumbs, the cake is perfectly baked. Avoid overbaking to maintain moisture.
Print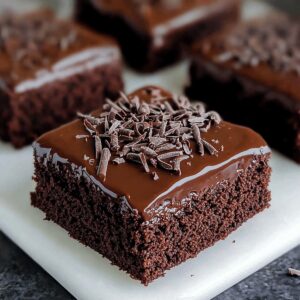
Old School Chocolate Traybake Cake Recipe
- Total Time: 40 minutes
- Yield: 12 1x
Description
Chocolate lovers rejoice with this classic old school chocolate traybake cake that whispers nostalgia from grandma’s kitchen. Moist chocolate layers promise pure comfort, delivering rich flavor and sweet memories you’ll savor down to the last crumb.
Ingredients
Main Ingredients:
- 4 large eggs
- 1 cup (2 sticks) unsalted butter, softened
- 1 ½ cups self-rising flour and cocoa powder (combined)
- 1 cup granulated sugar
Wet Ingredients:
- ½ cup milk (whole or semi-skimmed)
- 1 teaspoon vanilla extract
Frosting and Topping:
- 2 cups powdered sugar
- ¼ cup unsweetened cocoa powder
- 3 tablespoons unsalted butter, melted
- 4 tablespoons hot water (adjust for consistency)
- 1 teaspoon vanilla extract
- Colorful sprinkles (hundreds and thousands)
Instructions
- Warm the oven to 350F (175C) and meticulously coat a 9×13-inch baking tray with parchment paper, ensuring complete coverage.
- In a spacious mixing bowl, whip the butter and sugar together until the mixture transforms into a pale, airy, and voluminous consistency.
- Incorporate eggs one at a time, thoroughly mixing after each addition to create a smooth, homogeneous batter.
- Carefully sift the self-rising flour, cocoa powder, and baking powder directly into the creamy mixture, gently folding to maintain the batter’s delicate texture.
- Introduce milk and vanilla extract, stirring with a light hand until the batter achieves a uniform and silky appearance.
- Transfer the luscious batter into the prepared tray, using a spatula to distribute it evenly across the surface, creating a level canvas for baking.
- Position the tray in the preheated oven and bake for 25-30 minutes, checking doneness by inserting a toothpick into the center – it should emerge clean and free of raw batter.
- Remove from the oven and allow the cake to cool completely, letting it rest and settle to room temperature before applying any frosting or decoration.
Notes
- Swap regular milk with almond or oat milk for a dairy-free version that maintains moisture and richness.
- Use gluten-free self-rising flour to make this cake suitable for those with gluten sensitivities without compromising texture.
- Ensure ingredients are at room temperature to create a smoother, more evenly mixed batter that rises consistently.
- Line the baking tray with parchment paper with slight overhang for easy cake removal and clean cutting.
- Prep Time: 10 minutes
- Cook Time: 30 minutes
- Category: Desserts, Snacks
- Method: Baking
- Cuisine: British
Nutrition
- Serving Size: 12
- Calories: 295
- Sugar: 30 g
- Sodium: 120 mg
- Fat: 15 g
- Saturated Fat: 9 g
- Unsaturated Fat: 6 g
- Trans Fat: 0 g
- Carbohydrates: 38 g
- Fiber: 1 g
- Protein: 3 g
- Cholesterol: 75 mg
Jamie Granger
Recipe Developer & Food Writer
Expertise
Education
Culinary Institute of America
Jamie Granger turns ingredients into memories. With her recipes, she brings a fusion-forward flair to every creation.
Her dishes reflect the places she’s explored, the chefs she’s learned from, and the deep connection she has to food as a form of expression.
At Pass and Provision, Jamie develops recipes that balance flavor, health, and beauty, meals that don’t just satisfy your appetite but speak to your curiosity.