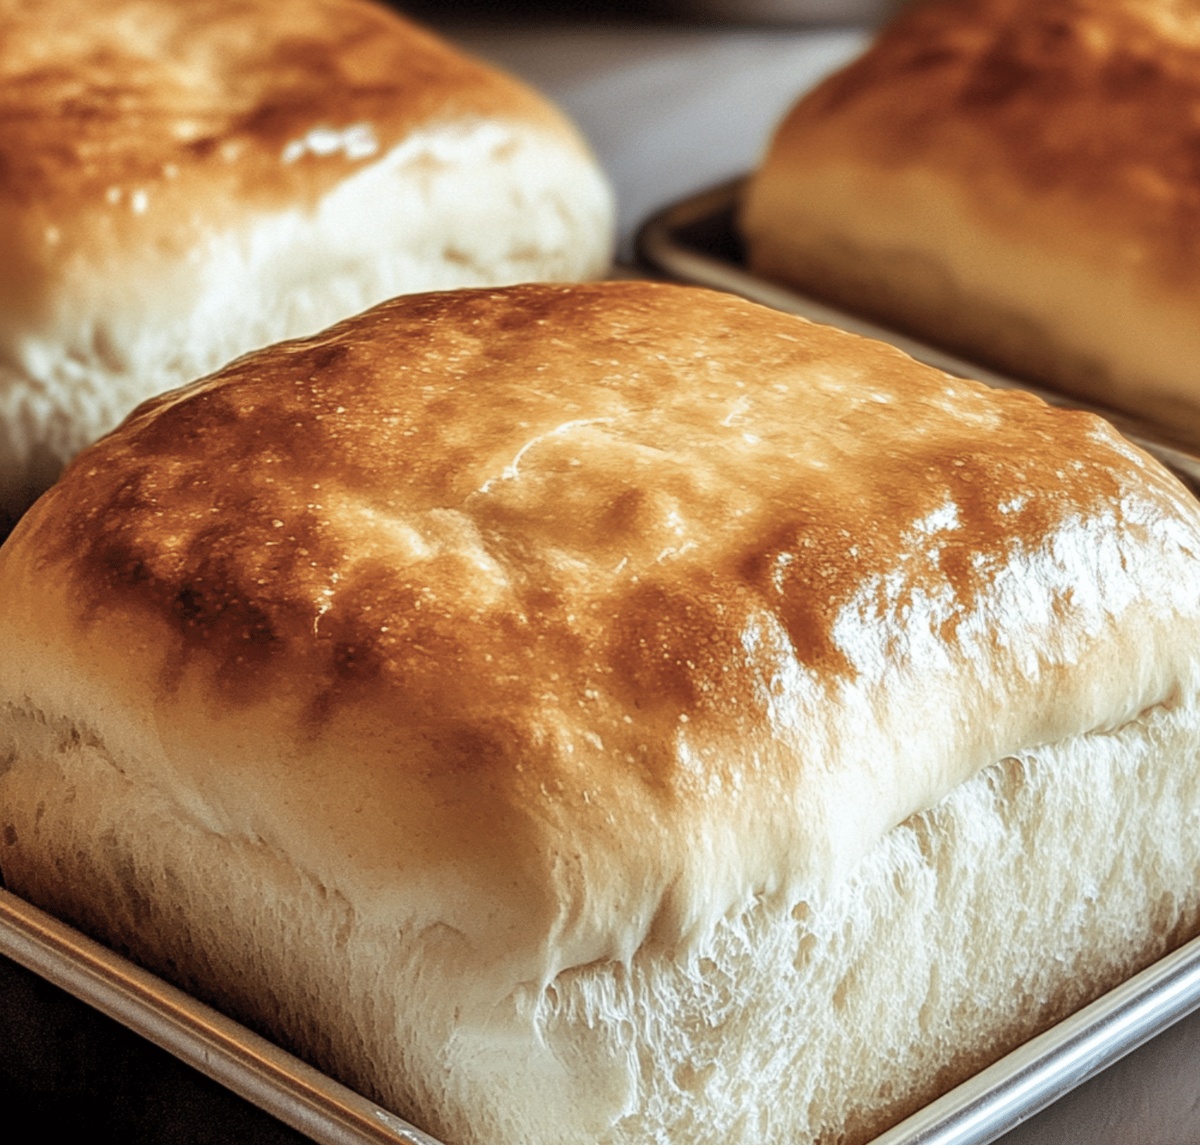
Homemade White Bread Recipe Ideal for Beginners
Crafting a delightful white bread recipe sparks joy in home kitchens everywhere.
Soft, pillowy slices emerge from simple ingredients blended with care.
Baking becomes an art form when your hands knead fragrant dough.
Warm aromas will fill every corner of your living space.
Flour, yeast, and a touch of love combine to create magic.
Learning this classic technique connects you to generations of bakers.
Slice into your freshly baked masterpiece and savor each delectable moment.
Easy Homemade White Bread That’s Worth the Effort

Ingredients for Classic White Bread
Bread Basics:Flavor Enhancers:Optional Enrichments:How to Make Fluffy Homemade Bread
Step 1: Awaken the Yeast
Grab a spacious mixing bowl and welcome warm water, yeast, and sugar. Gently swirl these ingredients together, then let them mingle for 5-10 minutes. Watch for a frothy surface that signals your yeast is ready to work its magic.
Step 2: Create Dough Magic
Introduce softened butter and salt to your yeast mixture. Gradually welcome flour into the party, one cup at a time. Stir with a wooden spoon or dough hook until a soft, pillowy dough emerges.
Step 3: Knead with Love
Transfer your dough to a flour-dusted surface. Embrace the dough, kneading it tenderly for 8-10 minutes until it becomes smooth and stretchy. If you prefer, let a stand mixer with a dough hook do the work on medium speed for 5-6 minutes.
Step 4: Let Dough Rise
Nestle the dough in a lightly greased bowl, ensuring all sides get a gentle coating. Drape a damp cloth or plastic wrap over the bowl. Find a cozy, draft-free spot and let the dough rest and expand for 1-1.5 hours until it doubles in size.
Step 5: Shape Your Masterpiece
Gently deflate the risen dough and mold it into a beautiful loaf. Tuck the loaf into a greased 9×5-inch pan. Cover and allow a second rise for 30-45 minutes, waiting until the dough peeks just above the pan’s edge.
Step 6: Fire Up the Oven
Warm your oven to a toasty 375°F (190°C).
Step 7: Bake to Golden Perfection
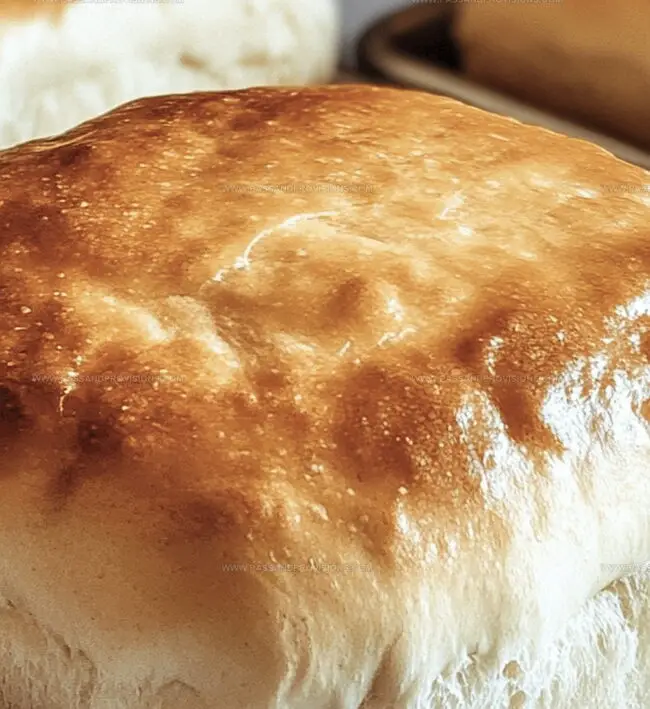
Slide the pan into the oven and bake for 25-30 minutes. Look for a golden-brown crown and listen for a hollow sound when you tap the loaf’s surface.
Step 8: Cool and Celebrate
Rescue the bread from the pan and place it on a wire rack. Practice patience and let it cool for at least 30 minutes before slicing into your homemade treasure.
Tips for Great Bread Texture and Rise
Store Bread So It Stays Fresh Longer
What to Serve with Homemade White Bread
Variations on This Simple White Bread
Gluten-Free Bread Variation: Replace wheat flour with a blend of gluten-free flour mixes like rice flour, almond flour, and xanthan gum to maintain bread structure for those with celiac disease or gluten sensitivities.
Whole Wheat Hearty Version: Substitute half the white flour with whole wheat flour to increase fiber content and create a more nutritious, dense bread with a deeper, nuttier flavor profile.
Herb-Infused Loaf: Mix in dried herbs like rosemary, thyme, or oregano directly into the dough to create an aromatic, savory bread that pairs wonderfully with soups and salads.
Seeded Nutrition Boost: Incorporate a blend of sunflower, pumpkin, and flax seeds into the dough for added texture, protein, and essential nutrients, transforming a simple bread into a more complex, wholesome option.
Homemade Bread FAQs
Frothy yeast confirms it’s alive and active, which is crucial for the bread to rise properly and develop a light, airy texture.
Yes, all-purpose flour works well, though bread flour has more protein and will create a slightly chewier bread with better structure.
The dough should feel smooth, elastic, and spring back when gently pressed. It shouldn’t stick to your hands or appear ragged.
Ensure your yeast is fresh, the water is warm (not hot), and the rising area is draft-free and around 75-80°F for optimal yeast activation.
Print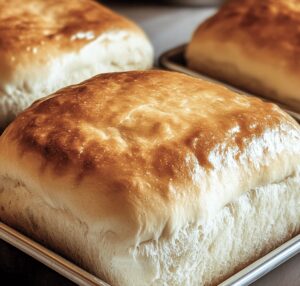
Easy Homemade White Bread Recipe
- Total Time: 50 minutes
- Yield: 1 1x
Description
Hearty White Bread offers a nostalgic journey through classic baking traditions, delivering warm comfort with each golden slice. Simple ingredients and straightforward techniques ensure you’ll savor this delightful homemade loaf that connects generations through its timeless flavor.
Ingredients
Main Ingredients:
- 3 cups (360 g) all-purpose flour
- 1 cup (240 ml) warm water
- 2 ¼ teaspoons (1 packet) active dry yeast
Fats and Sweeteners:
- 2 tablespoons unsalted butter (softened)
- 2 tablespoons granulated sugar
Seasoning:
- 1 teaspoon salt
Instructions
- Prepare the yeast mixture by combining warm water, yeast, and sugar in a spacious mixing vessel. Allow the concoction to rest for 5-10 minutes until a foamy texture emerges, signaling active yeast.
- Incorporate softened butter (or oil) and salt into the yeast blend. Gradually introduce flour, mixing thoroughly until a cohesive, supple dough develops.
- Transfer the dough onto a floured surface and work it vigorously, kneading for 8-10 minutes. The goal is achieving a smooth, elastic consistency. Alternatively, utilize a stand mixer with a dough hook, processing for 5-6 minutes on medium speed.
- Nestle the dough in a lightly greased receptacle, ensuring complete surface coverage. Drape with a moistened cloth or plastic film, then position in a cozy, draft-free environment for 1-1.5 hours until volume doubles.
- Deflate the risen dough with decisive punches, then carefully mold into a loaf shape. Situate the formed dough in a greased 9×5-inch pan. Cover and permit a second rise for 30-45 minutes, allowing the dough to ascend just above the pan’s rim.
- Ignite the oven, setting the temperature to 375F (190C) for optimal baking conditions.
- Slide the prepared loaf into the heated oven. Bake for 25-30 minutes, monitoring until the surface transforms to a rich golden hue and tapping produces a hollow resonance.
- Extract the bread from the pan and transfer to a wire cooling rack. Exercise patience, allowing the loaf to rest for a minimum of 30 minutes before slicing to preserve its delicate structure.
Notes
- Master yeast activation by ensuring water temperature is exactly 110-115°F, which creates perfect proofing conditions without killing delicate yeast organisms.
- Choose bread flour over all-purpose for higher protein content, guaranteeing a chewier, more structured loaf with superior rise and texture.
- Create gluten-free variation by substituting wheat flour with a blend of rice, tapioca, and xanthan gum, maintaining similar soft, tender bread characteristics.
- Enhance nutritional profile by incorporating whole wheat flour (up to 50%), adding nutty flavor and boosting fiber content without compromising bread’s delicate structure.
- Prep Time: 20 minutes
- Cook Time: 30 minutes
- Category: Breakfast, Lunch, Dinner, Snacks
- Method: Baking
- Cuisine: American
Nutrition
- Serving Size: 1
- Calories: 140
- Sugar: 2 g
- Sodium: 220 mg
- Fat: 4.5 g
- Saturated Fat: 2 g
- Unsaturated Fat: 2.5 g
- Trans Fat: 0 g
- Carbohydrates: 24 g
- Fiber: 1 g
- Protein: 4 g
- Cholesterol: 10 mg
Jamie Granger
Recipe Developer & Food Writer
Expertise
Education
Culinary Institute of America
Jamie Granger turns ingredients into memories. With her recipes, she brings a fusion-forward flair to every creation.
Her dishes reflect the places she’s explored, the chefs she’s learned from, and the deep connection she has to food as a form of expression.
At Pass and Provision, Jamie develops recipes that balance flavor, health, and beauty, meals that don’t just satisfy your appetite but speak to your curiosity.