The Foolproof Cake Pop Recipe Anyone Can Make
Whipping up a delightful cake pop recipe doesn’t have to be complicated or intimidating.
Sweet bakers can master these bite-sized treats with just a few simple ingredients and clever techniques.
Colorful and playful, these miniature desserts bring pure joy to any gathering.
Kids and adults will fall in love with these adorable confections.
Mixing crumbled cake with creamy frosting creates the perfect base for these delectable treats.
Decorating becomes an exciting adventure when you experiment with different sprinkles and chocolate coatings.
Let’s turn an ordinary dessert into a spectacular celebration of flavor and fun!
Cake Pops That Are Fun and Foolproof
What You’ll Need for Cake Pop Success
Base Ingredients:Coating and Decoration:Assembly Tools:How to Shape, Dip, and Decorate Cake Pops
Step 1: Bake The Cake
Grab a cake mix box and follow the instructions. Bake the cake and let it cool completely on a wire rack.
Step 2: Transform Cake Into Crumbs
Crumble the cooled cake into super fine pieces inside a large mixing bowl. Use your hands to break it down into tiny crumbs.
Step 3: Create Cake Pop Mixture
Mix ingredients together until the mixture feels like damp sand. It should hold together when pressed but not be too wet or sticky.
Step 4: Shape Delicious Balls
Roll small portions of the mixture into smooth round balls. Place them on a parchment-lined baking sheet. Chill in refrigerator for 30 minutes or freezer for 15 minutes.
Step 5: Prepare Chocolate Coating
Melt chocolate or candy melts in microwave or double boiler. If coating seems thick, add vegetable oil to thin it out smoothly.
Step 6: Insert Cake Pop Sticks
Dip stick ends into melted chocolate, then gently push halfway into chilled cake balls. Allow chocolate to set for a few minutes.
Step 7: Decorate With Chocolate
Dip each cake pop fully into melted chocolate. Tap gently to remove excess coating. Sprinkle with decorations immediately while chocolate is wet.
Step 8: Let Cake Pops Set
Stand cake pops upright in a foam block or special cake pop stand. Allow them to dry completely at room temperature.
Tips for Smooth Coating and Clean Sticks
Storing Cake Pops for Parties or Later
Treats to Serve Alongside Cake Pops
Flavor Twists for Next-Level Pops
Cake Pop Common Questions
Before inserting the stick, dip the tip in melted chocolate first. This creates a seal that helps the cake ball adhere to the stick more securely.
Cracking usually happens when the cake ball is too cold or the chocolate coating is too hot. Let the cake balls sit at room temperature for a few minutes before dipping and ensure the chocolate is not overheated.
Yes, you can prepare cake pops up to 3 days in advance. Store them in an airtight container in the refrigerator. For best results, let them come to room temperature before serving.
Use high-quality candy melts or chocolate, and add a tiny bit of vegetable oil to thin the coating. Dip quickly and tap off excess chocolate to achieve a smooth, even surface.
Print
Easy Cake Pop Recipe
- Total Time: 1 hour 15 minutes
- Yield: 20 1x
Description
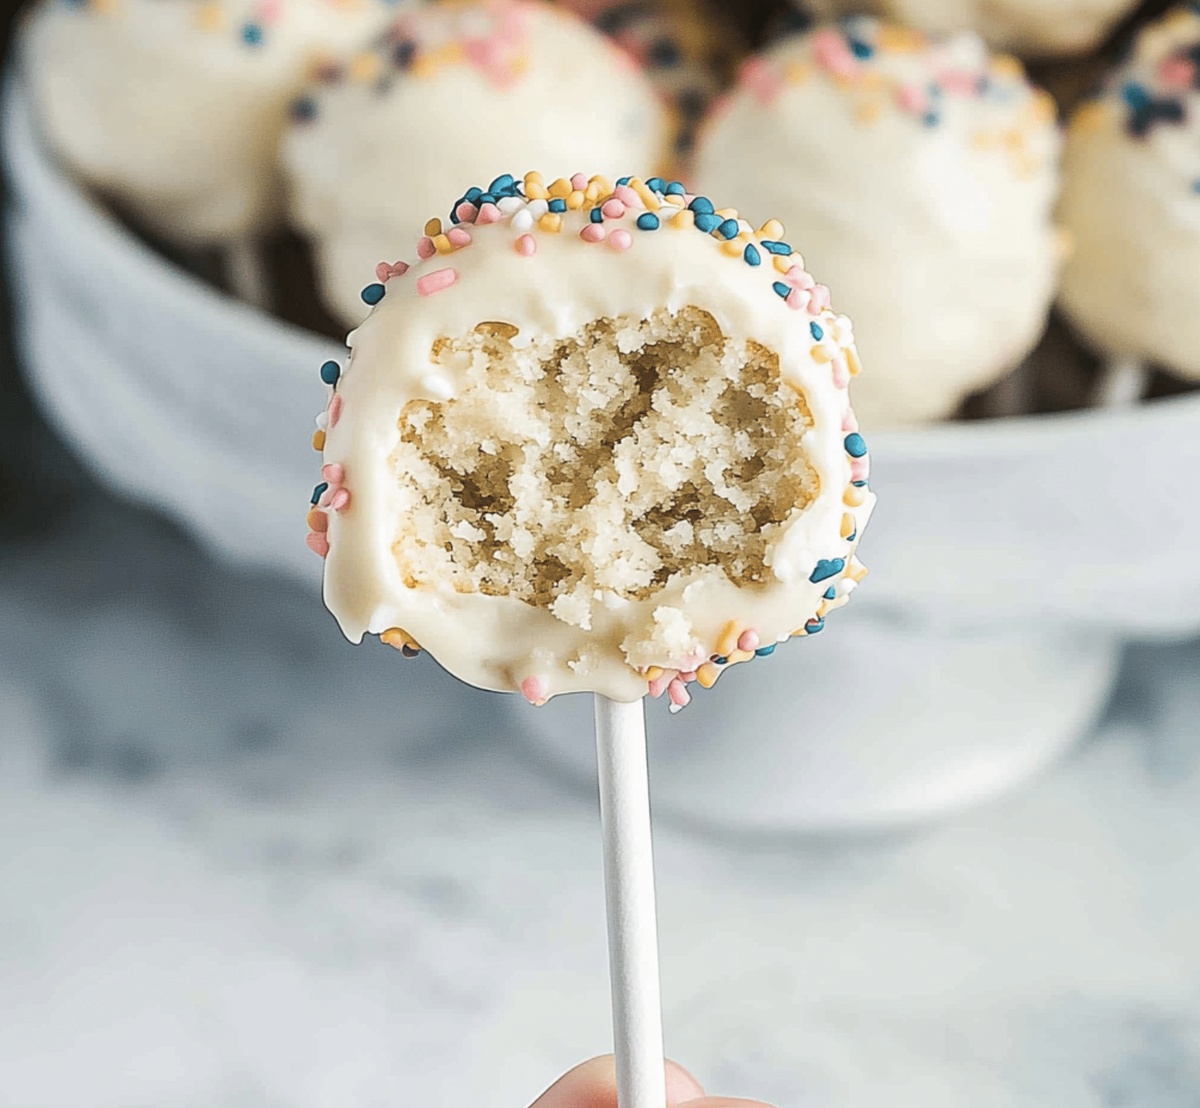
Delightful Cake Pops emerge as playful sweet bites that combine rich chocolate coating with moist crumbled cake centers. Guests will love these bite-sized treats perfect for parties, celebrations, or simple dessert cravings.
Ingredients
Main Ingredients:
- 1 box cake mix (any flavor)
- 2 cups chocolate or candy melts (any color)
Cake Pop Mix Ingredients:
- 3 eggs
- ⅓ cup vegetable oil
- 1 cup water
Decoration and Support Ingredients:
- ½ cup frosting (store-bought or homemade)
- Sprinkles or decorations (optional)
- Cake pop sticks
Instructions
- Transform the freshly baked cake into fine, delicate crumbs by gently breaking it apart in a spacious mixing vessel once it has thoroughly cooled.
- Incorporate frosting gradually into the cake fragments, blending meticulously until the mixture achieves a cohesive texture that maintains its shape when compressed.
- Craft uniform spherical formations by carefully rolling small portions of the mixture between your palms, creating consistent bite-sized orbs.
- Stabilize the nascent cake spheres by positioning them on a parchment-lined tray, then refrigerate for approximately 30 minutes to enhance structural integrity.
- Prepare the chocolate coating by gently melting it using a double boiler or microwave, ensuring a smooth, glossy consistency. Consider adding a touch of vegetable oil to optimize fluidity.
- Establish a secure foundation for each cake pop by dipping the tip of the lollipop stick into molten chocolate before carefully inserting it midway through the chilled cake sphere.
- Submerge each prepared cake pop into the liquid chocolate, ensuring complete coverage while delicately removing excess coating through a gentle tapping motion.
- Embellish the freshly coated treats with decorative elements like sprinkles or edible glitter immediately after dipping to ensure maximum adherence.
- Position the decorated cake pops vertically in a specialized stand or foam block, allowing them to set and solidify completely at room temperature.
Notes
- Ensure the cake is completely cool before crumbling to prevent a gummy texture and maintain the right cake pop consistency.
- Use cream cheese frosting or buttercream for the best binding effect, avoiding runny or too-soft frostings that can make the mixture fall apart.
- Chill the cake balls thoroughly before dipping to prevent them from falling off the stick and to create a smooth, even chocolate coating.
- Experiment with different cake flavors and coatings like white chocolate, dark chocolate, or colored candy melts to create unique and personalized cake pops for various occasions.
- Prep Time: 45 minutes
- Cook Time: 30 minutes
- Category: Desserts, Snacks
- Method: Baking
- Cuisine: American
Nutrition
- Serving Size: 20
- Calories: 150
- Sugar: 10 g
- Sodium: 200 mg
- Fat: 7 g
- Saturated Fat: 3 g
- Unsaturated Fat: 4 g
- Trans Fat: 0 g
- Carbohydrates: 20 g
- Fiber: 1 g
- Protein: 2 g
- Cholesterol: 30 mg
Jamie Granger
Recipe Developer & Food Writer
Expertise
Education
Culinary Institute of America
Jamie Granger turns ingredients into memories. With her recipes, she brings a fusion-forward flair to every creation.
Her dishes reflect the places she’s explored, the chefs she’s learned from, and the deep connection she has to food as a form of expression.
At Pass and Provision, Jamie develops recipes that balance flavor, health, and beauty, meals that don’t just satisfy your appetite but speak to your curiosity.