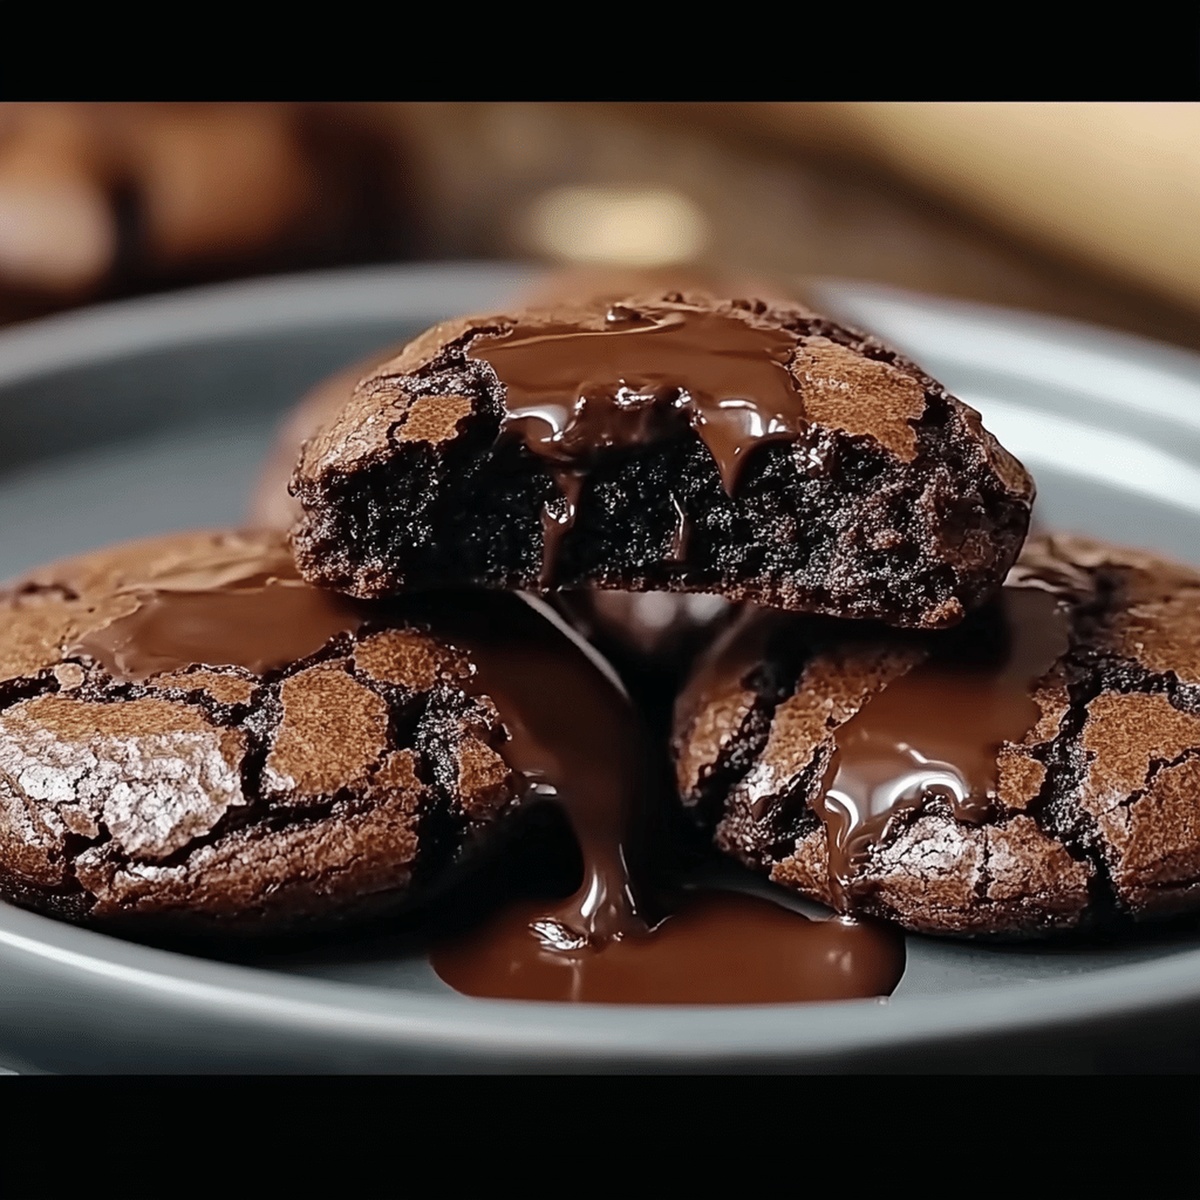
Gooey Chocolate Lava Brownie Cookies Recipe for Sweet Bliss
Warm chocolate memories swirl around these irresistible lava brownie cookies that promise pure decadence.
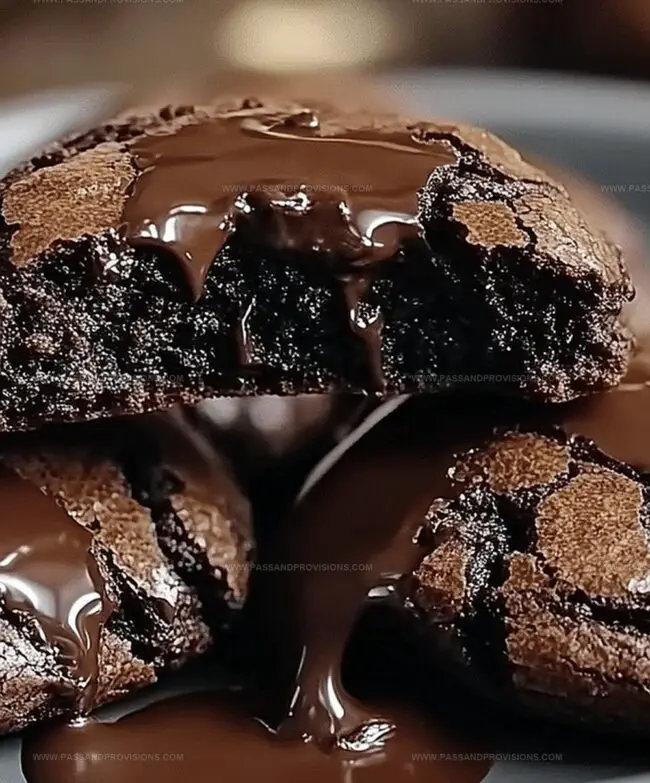
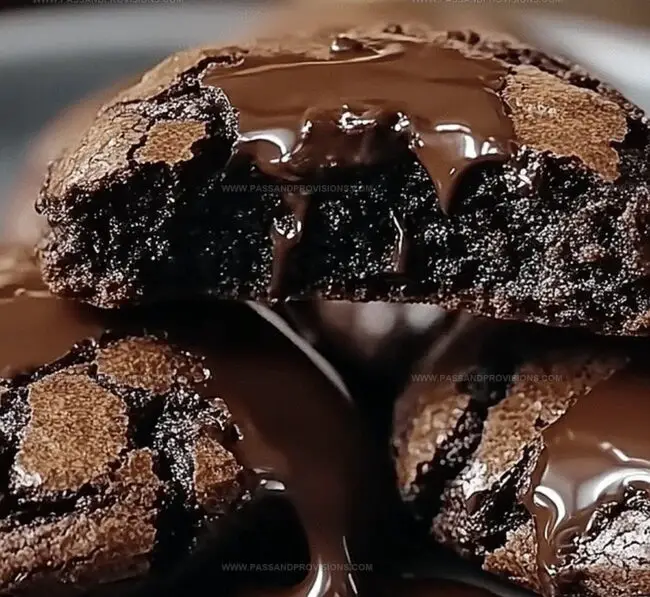
Molten centers burst with rich chocolate intensity, melting right through crisp edges.
Unexpected textures make every bite an adventure of sweet surprises.
Soft interiors contrast beautifully against delicate crackled surfaces, creating a sensory experience.
Professional bakers and home cooks will adore this simple yet stunning dessert.
Small details elevate these treats from ordinary to extraordinary.
One taste and you’ll understand why these cookies become instant favorites.
Let passion guide your baking journey and create something truly memorable.
Why Chocolate Lava Brownie Cookies Are a Crowd-Pleaser
Everything Inside These Gooey Brownie Cookies
Chocolate Base:Wet Ingredients:Dry Ingredients:How to Bake Cookies That Ooze Chocolate
Step 1: Melt Chocolate and Butter
Grab a microwave-safe bowl and toss in chocolate chips and butter. Zap in quick 20-second bursts, stirring between each round until everything transforms into a silky smooth mixture. Let it cool down slightly.
Step 2: Whip Wet Ingredients
Snag a large mixing bowl and whisk together granulated sugar, brown sugar, eggs, and vanilla extract until the mixture looks creamy and combined.
Step 3: Blend Wet and Dry Components
Pour the melted chocolate into the sugar mixture, stirring until perfectly blended. In another bowl, mix dry ingredients, then slowly fold them into the wet mixture until just incorporated.
Step 4: Chill Cookie Dough
Wrap the dough in plastic and park it in the refrigerator for at least an hour. This helps the dough firm up and become easier to handle.
Step 5: Shape Delicious Cookies
Crank the oven to 350F (175C) and line baking sheets with parchment paper. Scoop out dough balls, flatten them in your hand, and hide a few chocolate chips in the center. Wrap the dough around the chips to create perfect chocolate-filled spheres.
Step 6: Bake to Perfection
Arrange cookie balls on baking sheets, giving them room to spread. Slide into the oven and bake for 10-12 minutes. Look for crackly edges and slightly underdone centers- this is the secret to that amazing lava effect.
Step 7: Cool and Devour
Let cookies rest on the baking sheet for 5 minutes, then transfer to a wire rack. Serve warm and watch the chocolate ooze out with each bite!
Tips That Help Get the Lava Just Right
Store and Warm Cookies Without Losing Goo
Drinks That Go with These Brownie Cookies
Lava Cookie Variations for More Fun
Questions About These Cookies? Start Here
Chilling helps the dough firm up, prevents spreading, and allows the flavors to develop. It also makes the cookies easier to handle and shape, resulting in a more stable and delicious final product.
Yes, you can experiment with dark, milk, or semi-sweet chocolate chips. Just ensure the chocolate melts smoothly and complements the rich, fudgy texture of the cookies.
Look for crackly edges and a slightly underdone center. The cookies should be set around the edges but still soft in the middle. This ensures a gooey, molten chocolate center when you bite into them.
If the dough is too soft, refrigerate it for a bit longer. You can also lightly dust your hands with cocoa powder or flour to make shaping easier and prevent sticking.
Print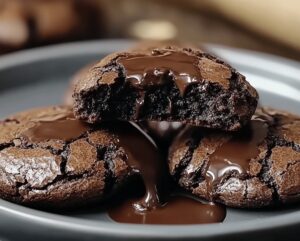
Chocolate Lava Brownie Cookies Recipe
- Total Time: 1 hour 27 minutes
- Yield: 12 1x
Description
Indulgent chocolate lava brownie cookies melt hearts with rich, gooey centers that ooze pure chocolate bliss. Dessert enthusiasts can savor these irresistible treats, promising a perfect balance of crisp edges and molten chocolate magic you’ll crave again and again.
Ingredients
Chocolate Ingredients:
- 1 cup (170 grams / 6 ounces) semi-sweet chocolate chips
- ½ cup (90 grams / 3.2 ounces) semi-sweet or dark chocolate chips
Dairy and Sweet Ingredients:
- ½ cup (115 grams / 4 ounces) unsalted butter
- ¾ cup (150 grams) granulated sugar
- ½ cup (100 grams) brown sugar, packed
- 2 large eggs, room temperature
- 1 teaspoon vanilla extract
Dry Ingredients:
- 1 cup (125 grams) all-purpose flour
- ¼ cup (25 grams) unsweetened cocoa powder
- ½ teaspoon baking powder
- ¼ teaspoon salt
Instructions
- Carefully melt chocolate and butter in a microwave-safe bowl using short intervals, stirring between each to ensure smooth consistency. Allow the mixture to cool slightly.
- In a spacious mixing bowl, vigorously whisk granulated sugar, brown sugar, eggs, and vanilla extract until the mixture becomes uniformly creamy and slightly aerated.
- Gently incorporate the melted chocolate into the sugar-egg blend, stirring until the color is consistent and no streaks remain.
- Separately, sift together flour, cocoa powder, baking powder, and salt to eliminate potential lumps and ensure even distribution of dry ingredients.
- Gradually fold the dry ingredients into the wet mixture, stirring minimally to prevent overmixing and maintain a tender texture.
- Wrap the dough completely in plastic film and refrigerate for a minimum of 60 minutes to allow flavors to meld and dough to firm up.
- Preheat the oven to 350F and line baking sheets with parchment paper for optimal cookie release.
- Portion the chilled dough into golf ball-sized rounds, creating a small indentation in each center to nestle additional chocolate chips.
- Carefully encase the chocolate chips within each dough ball, ensuring complete coverage and a smooth exterior.
- Arrange cookies on prepared baking sheets, maintaining adequate spacing to prevent merging during baking.
- Bake for 10-12 minutes, watching for crackled tops and slightly underdone centers that promise a molten chocolate experience.
- Allow cookies to rest on baking sheets for 5 minutes, enabling them to set slightly before transferring to a cooling rack.
- Serve immediately while chocolate centers remain delightfully warm and gooey for maximum sensory enjoyment.
Notes
- Chill dough thoroughly to prevent spreading and ensure a rich, fudgy texture during baking.
- Use high-quality dark chocolate for a more intense, complex flavor profile that elevates the entire dessert.
- Experiment with different chocolate types like milk or white chocolate for unique variations that suit different taste preferences.
- For gluten-free options, substitute all-purpose flour with almond flour or a gluten-free baking blend to accommodate dietary restrictions.
- Prep Time: 15 minutes (+1 hour chilling)
- Cook Time: 12 minutes
- Category: Desserts, Snacks
- Method: Baking
- Cuisine: American
Nutrition
- Serving Size: 12
- Calories: 230
- Sugar: 19g
- Sodium: 100mg
- Fat: 11g
- Saturated Fat: 6g
- Unsaturated Fat: 5g
- Trans Fat: 0g
- Carbohydrates: 31g
- Fiber: 1g
- Protein: 3g
- Cholesterol: 30mg
Jamie Granger
Recipe Developer & Food Writer
Expertise
Education
Culinary Institute of America
Jamie Granger turns ingredients into memories. With her recipes, she brings a fusion-forward flair to every creation.
Her dishes reflect the places she’s explored, the chefs she’s learned from, and the deep connection she has to food as a form of expression.
At Pass and Provision, Jamie develops recipes that balance flavor, health, and beauty, meals that don’t just satisfy your appetite but speak to your curiosity.