Playful Easter Egg Cheesecake Recipe: A Magical Spring Treat
Springtime calls for a delightful twist on classic desserts with this easter egg cheesecake that promises pure indulgence.
Creamy layers meld with chocolatey surprises in every delectable bite.
Sweet-toothed bakers will adore the playful combination of rich cheesecake and festive chocolate eggs.
Decadent and smooth, this dessert captures the essence of Easter celebrations.
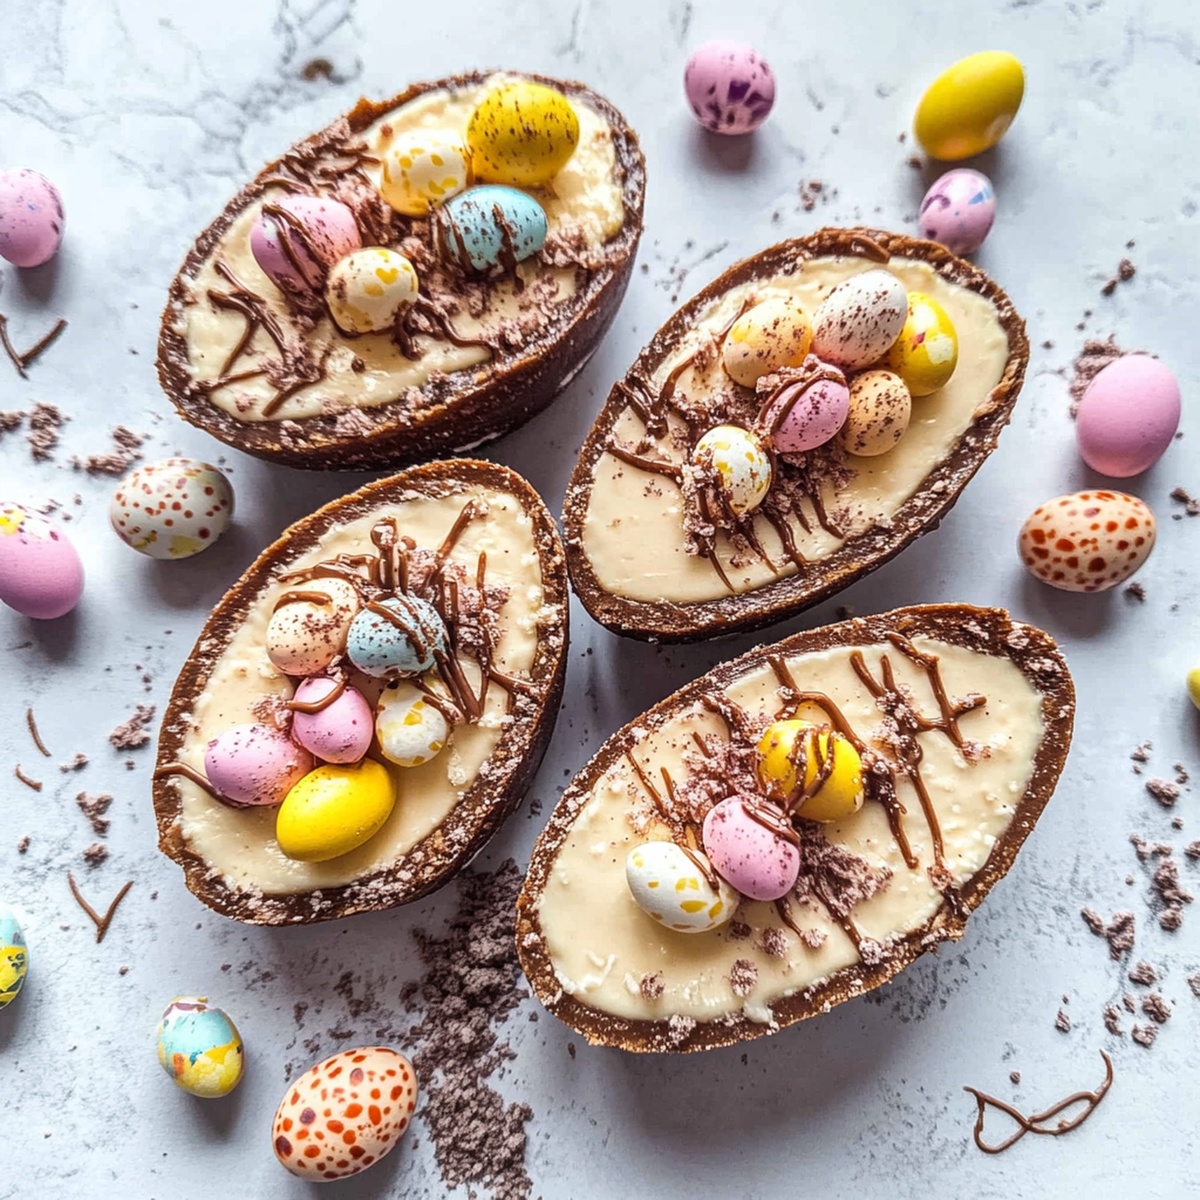
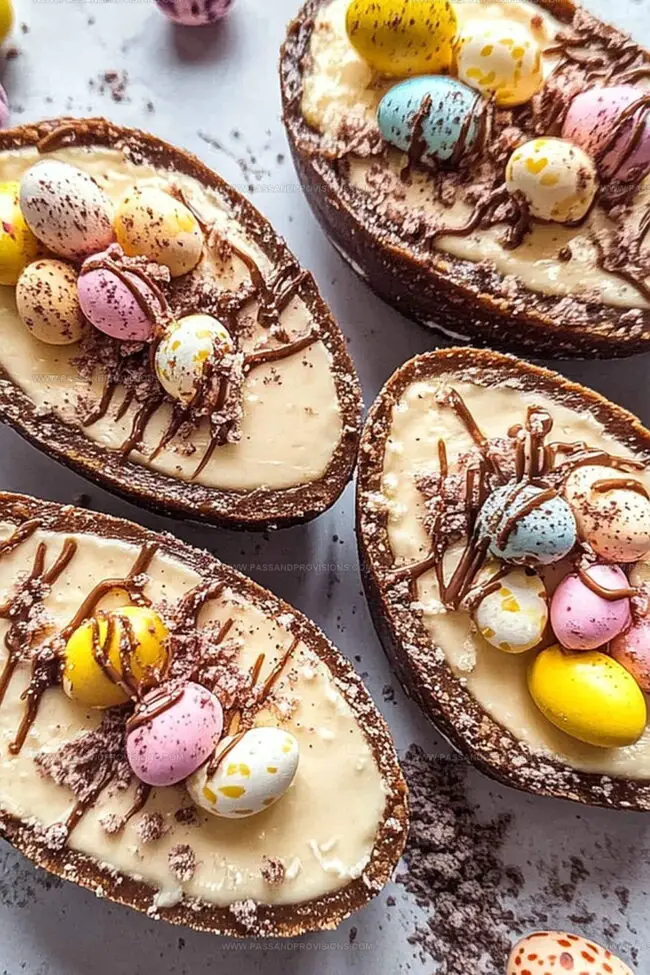
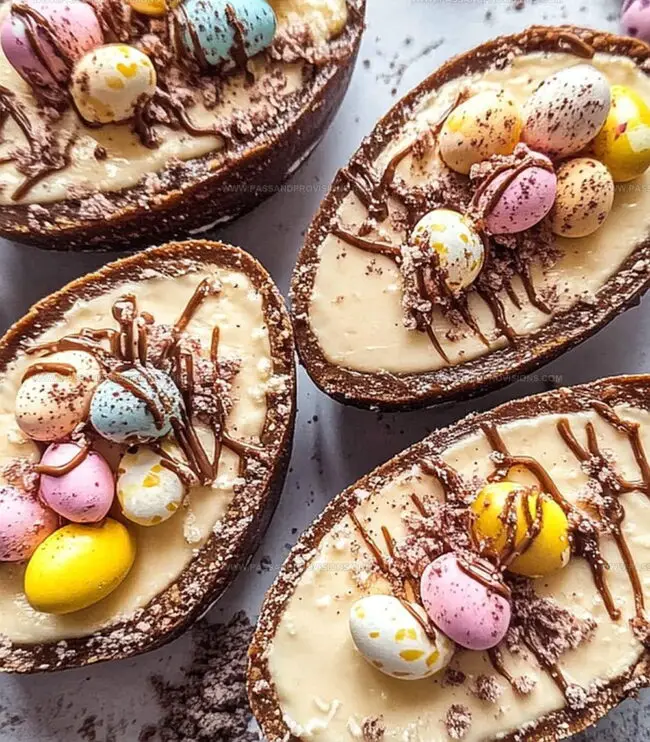
Colorful mini eggs nestled across the surface create a stunning visual treat.
Chocolate lovers and cheesecake enthusiasts will find this recipe irresistibly charming.
Prepare to delight your guests with a show-stopping dessert that transforms an ordinary gathering into a memorable feast.
Quick Recipe Overview
Easter Egg Cheesecake Ingredient Lineup
For Base Ingredients:For Filling Ingredients:For Decoration Ingredients:Gear to Help Build Your Easter Cheesecake
How to Bake a Festive Easter Cheesecake
Carefully slice your chocolate Easter egg into two perfect halves using a warm knife. This creates your delightful dessert vessel.
Crush biscuits into fine powder and mix with melted butter. Press this golden mixture into each egg half, forming a delectable base that will cradle your creamy filling.
Blend cream cheese with sweet sugar and vanilla until luxuriously smooth. Fold in whipped cream until the mixture becomes light and airy, promising a cloud-like texture.
Generously spoon the creamy mixture into each chocolate shell, creating elegant peaks and valleys. Smooth the surface with gentle strokes.
Drizzle melted chocolate across the top, scatter mini eggs, and sprinkle playful decorations. Refrigerate until firm, allowing flavors to mingle and texture to set perfectly.
Tasty Add-Ons for Cheesecake Flavor Twists
Serve Your Cheesecake with Colorful Flair
Keep That Cheesecake Fresh and Beautiful
Print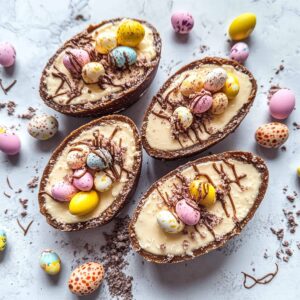
Whimsical Easter Egg Cheesecake Recipe
- Total Time: 20 minutes
- Yield: 13 1x
Description
Delightful Easter Egg Cheesecake brings festive cheer with its creamy layers and chocolate surprise. Sweet memories bloom as rich textures and playful colors promise a memorable dessert experience you’ll cherish.
Ingredients
- 1 large hollow chocolate Easter egg (approx. 150 grams / 5.3 oz)
- 235 grams / 8.3 oz full-fat cream cheese, at room temperature
- 95 milliliters / 3.2 fluid oz double cream (heavy cream)
- 60 grams / 2.1 oz digestive biscuits (or graham crackers)
- 40 grams / 1.4 oz icing sugar
- 25 grams / 0.9 oz unsalted butter, melted
- 1 teaspoon vanilla extract
- Assorted Easter chocolates (mini eggs, chocolate bunnies, sprinkles, etc.)
Instructions
- Chocolate Egg Preparation: Warm a sharp knife under hot water, thoroughly dry, and meticulously slice the chocolate Easter egg along its seam, creating two pristine halves.
- Base Construction: Pulverize digestive biscuits into fine granules using a food processor or manual crushing method. Incorporate melted butter until the mixture resembles damp sand. Distribute the crumbly base evenly within the egg halves, applying gentle pressure to create a compact foundation. Refrigerate momentarily while preparing the filling.
- Cheesecake Mixture: Blend cream cheese, icing sugar, and vanilla extract until achieving a luxuriously smooth consistency. Gradually fold in double cream, whisking until the mixture transforms into a voluptuous, stable texture.
- Assembly and Embellishment: Gracefully spoon the creamy filling into the egg shells, creating elegant peaks and smoothing the surface with precision. Adorn with artful drizzles of melted chocolate, scatter miniature chocolate eggs, position delicate chocolate bunnies, and sprinkle vibrant confectionery decorations.
- Chilling and Serving: Transfer the decorated Easter egg cheesecakes into the refrigerator, allowing them to set and solidify for a minimum of two hours before presenting this delectable dessert.
Notes
- Warm the knife slightly and dry thoroughly to create clean, precise cuts on the Easter egg without cracking or shattering the delicate chocolate shell.
- Press biscuit crumb mixture gently but firmly to create a compact, even base that won’t crumble when serving the cheesecake.
- Whisk cream cheese mixture slowly and steadily to ensure smooth, lump-free filling with consistent texture and no liquid separation.
- Allow minimum 2-hour refrigeration to set filling completely, helping cheesecake maintain shape and developing richer, more intense flavor profile.
- Prep Time: 20 minutes
- Cook Time: 0 minutes
- Category: Desserts
- Method: None
- Cuisine: American
Nutrition
- Serving Size: 13
- Calories: 250
- Sugar: 18 g
- Sodium: 150 mg
- Fat: 15 g
- Saturated Fat: 9 g
- Unsaturated Fat: 4 g
- Trans Fat: 0 g
- Carbohydrates: 25 g
- Fiber: 1 g
- Protein: 3 g
- Cholesterol: 40 mg
William Hawkins
Founder & Culinary Director
Expertise
Education
Sullivan University, Louisville, KY
William Hawkins isn’t just a chef, he’s a storyteller through food. From his hometown of Louisville, KY, he’s spent years refining his craft, turning local ingredients into something extraordinary.
With classical training from Sullivan University and a career marked by innovation, mentorship, and Southern soul, William approaches every recipe with purpose. His kitchen is where old techniques meet fresh ideas, and where comfort food gets a thoughtful, modern twist.
When he’s not building dishes from the ground up, he’s out gathering inspiration from nature, markets, and the stories people share around the table.