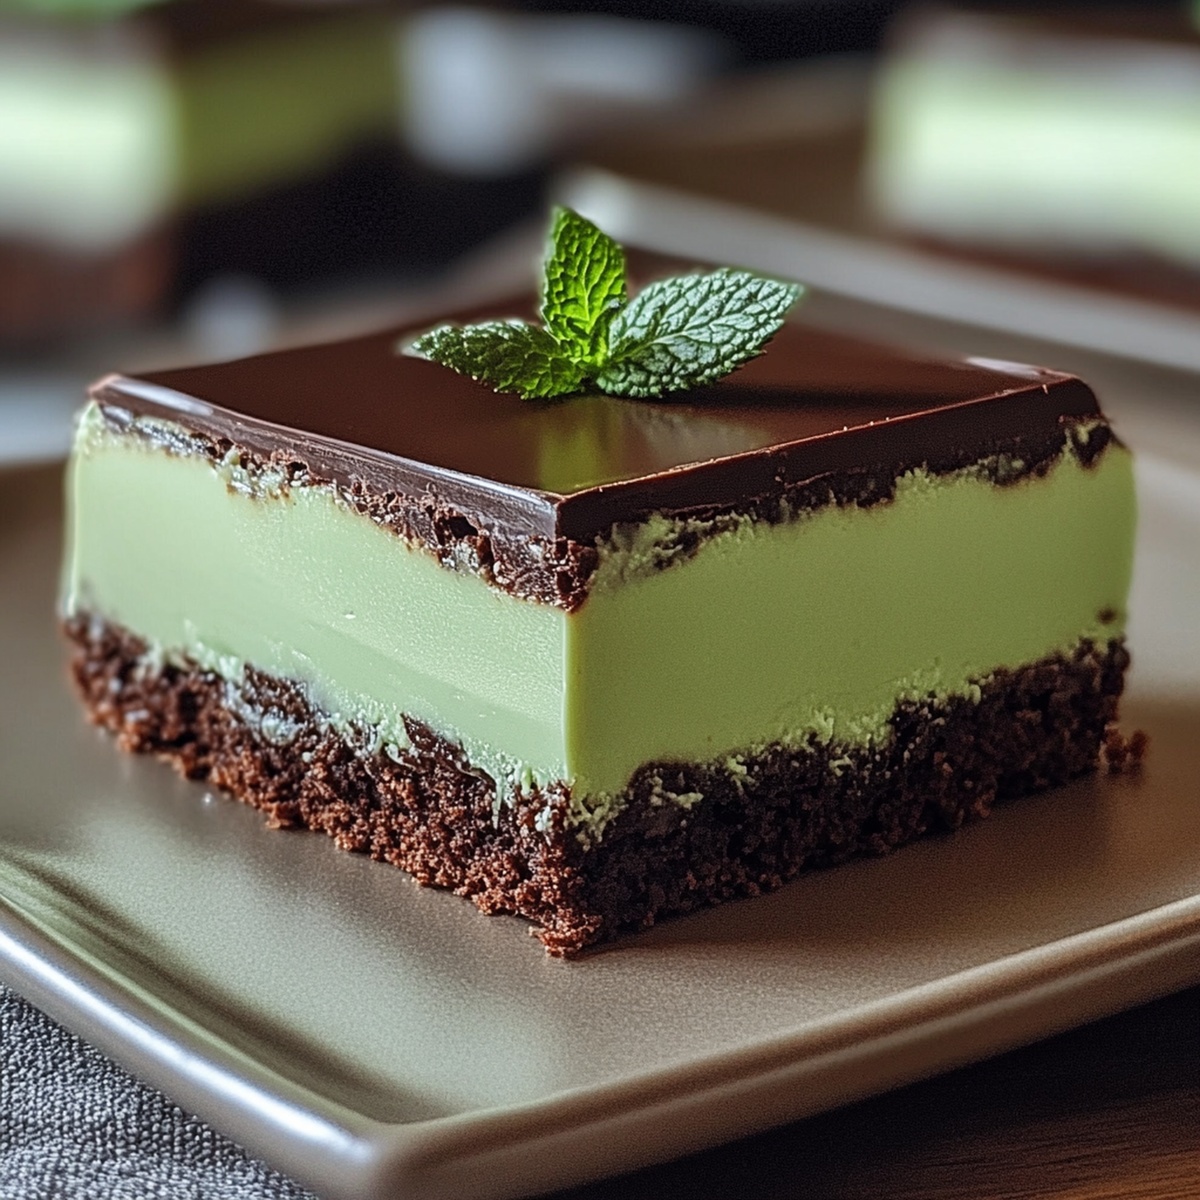
Refreshing Minty Delight: Smooth No-Bake Chocolate Slice Recipe
Decadent chocolate and cooling mint dance together in this irresistible no-bake mint chocolate slice that promises pure indulgence.
Layers of creamy goodness meld seamlessly into a dessert that requires zero oven time.
Each bite delivers a refreshing chocolate explosion that melts perfectly on your tongue.
The recipe combines simple ingredients with minimal effort for maximum satisfaction.
Chilled and set in mere hours, this slice becomes a go-to treat for spontaneous sweet cravings.
Rich chocolate meets crisp mint in a dessert that’s both elegant and effortless.
You’ll fall in love with this ridiculously easy and delicious no-bake dessert that’s sure to impress.
Quick Recipe Overview
Ingredients for No-Bake Mint Chocolate Slice
For Base:For Mint Cream Filling:For Chocolate Topping:No-Bake Mint Slice Tools & Prep Essentials
Instructions for a Perfect Mint Chocolate Slice
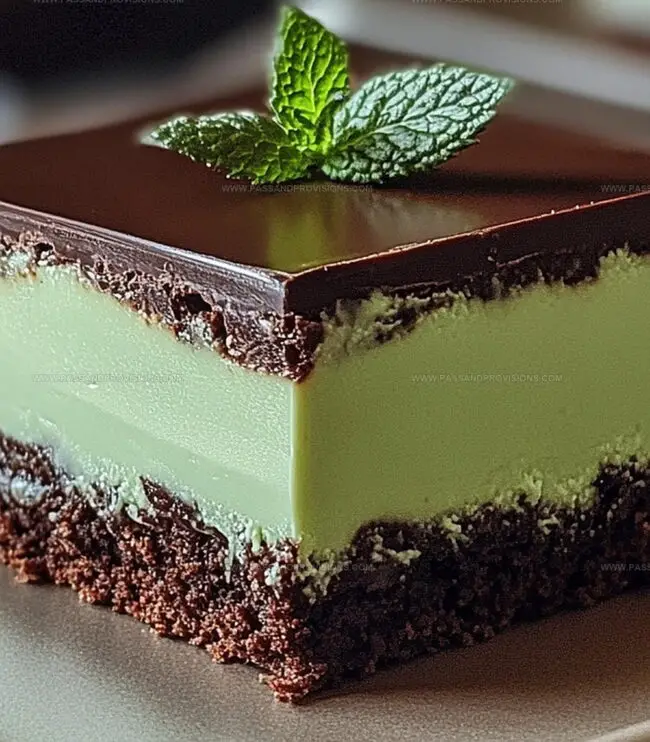
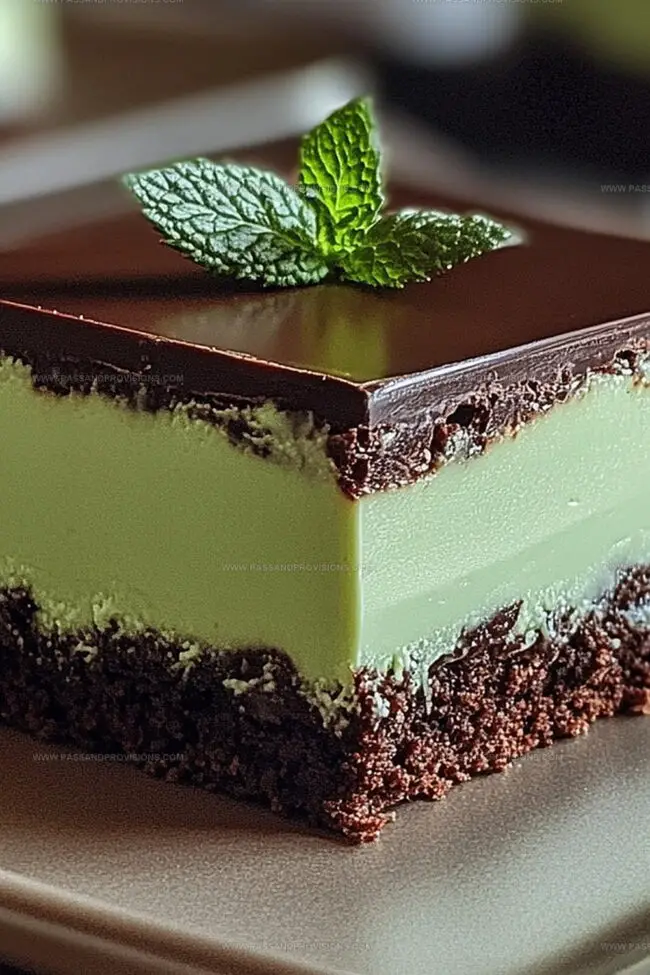
Press crushed cookies mixed with melted butter and cocoa powder into the prepared pan. Pack it down firmly to form a solid foundation for your slice. Slide the pan into the refrigerator to set while you craft the creamy layer.
Blend cream cheese with powdered sugar, mixing until silky smooth. Fold in fresh mint extract and a splash of green food coloring for a vibrant touch. Spread this luscious mixture evenly over the chilled base, creating a cool and refreshing layer.
Melt chocolate carefully, stirring until glossy and perfectly smooth. Pour the rich chocolate over the mint layer, tilting the pan to ensure complete coverage. Sprinkle some extra crushed cookies or mint chips for a delightful crunch.
Refrigerate the slice for at least two hours, allowing all layers to firm up and flavors to meld together. When ready, lift the slice out using the parchment paper and slice into perfect squares. Serve chilled and enjoy the decadent combination of mint and chocolate.
Mint Chocolate Tips for No-Bake Success
Serving Mint Chocolate Slice at Any Occasion
How to Store Mint Chocolate Slice Without Melting
Print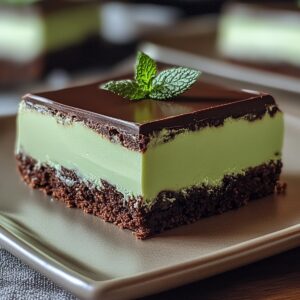
Smooth No-Bake Mint Chocolate Slice Recipe
- Total Time: 2 hours 15 minutes
- Yield: 13 1x
Description
Cool mint chocolate slice delivers a refreshing twist on classic desserts. Chocolate lovers can savor this chilled treat’s creamy layers and rich mint flavor without turning on an oven.
Ingredients
- 2 cups (200 g) chocolate biscuits, crushed (Oreos or graham crackers)
- ½ cup (115 g) unsalted butter, melted
- 2 tbsps cocoa powder
- 2 cups (250 g) powdered sugar
- ¼ cup (60 g) unsalted butter, softened
- 2 tbsps milk
- 1 tsp peppermint extract
- Few drops green food coloring (optional)
- 1 ½ cups (270 g) dark or milk chocolate chips
- 2 tbsps butter or coconut oil (for glossy finish)
Instructions
- Base Creation: Pulverize biscuits with cocoa, blending seamlessly with melted butter to craft a cohesive, textured foundation that will anchor the dessert’s structure.
- Pan Preparation: Firmly compress the crumbly mixture into a lined pan, creating an even, compact base layer that will provide stability for subsequent layers.
- Mint Filling Development: Whisk cream cheese until velvety smooth, gradually integrating powdered sugar and peppermint extract to develop a luxurious, aromatic filling with impeccable consistency.
- Texture Enhancement: Incorporate softened butter into the mint mixture, elevating the filling’s richness and generating a silken, indulgent mouthfeel.
- Layer Assembly: Meticulously spread the mint filling across the chilled base, ensuring a perfectly leveled surface that promises uniform flavor distribution.
- Chocolate Topping Formation: Gently melt chocolate with coconut oil, stirring until achieving a glossy, seamless coating that will crown the mint layer with decadent elegance.
- Finishing and Setting: Delicately drizzle the molten chocolate over the mint layer, tilting the pan to guarantee complete coverage, then refrigerate for 2-3 hours until the slice achieves a firm, sliceable consistency.
- Serving Presentation: Extract the set dessert using parchment paper, slice into precise portions, and serve chilled to maximize the refreshing mint-chocolate experience.
Notes
- Choose Quality Ingredients: Select fresh, high-quality cream cheese and pure peppermint extract for the most vibrant mint flavor and smooth texture.
- Chill Thoroughly: Allow the slice to set completely in the refrigerator for at least 3 hours to ensure a firm, clean-cutting consistency that holds its shape perfectly.
- Control Mint Intensity: Adjust peppermint extract gradually, tasting as you go to achieve your preferred level of mint flavor without overwhelming the chocolate base.
- Make It Dietary-Friendly: Swap regular biscuits with gluten-free alternatives and use dairy-free cream cheese and butter for a vegan-friendly version that maintains the dessert’s rich, creamy profile.
- Prep Time: 15 minutes
- Cook Time: 2 hours
- Category: Desserts, Snacks
- Method: None
- Cuisine: Australian
Nutrition
- Serving Size: 13
- Calories: 300
- Sugar: 24 g
- Sodium: 150 mg
- Fat: 18 g
- Saturated Fat: 10 g
- Unsaturated Fat: 8 g
- Trans Fat: 0 g
- Carbohydrates: 35 g
- Fiber: 1 g
- Protein: 2 g
- Cholesterol: 30 mg
William Hawkins
Founder & Culinary Director
Expertise
Education
Sullivan University, Louisville, KY
William Hawkins isn’t just a chef, he’s a storyteller through food. From his hometown of Louisville, KY, he’s spent years refining his craft, turning local ingredients into something extraordinary.
With classical training from Sullivan University and a career marked by innovation, mentorship, and Southern soul, William approaches every recipe with purpose. His kitchen is where old techniques meet fresh ideas, and where comfort food gets a thoughtful, modern twist.
When he’s not building dishes from the ground up, he’s out gathering inspiration from nature, markets, and the stories people share around the table.