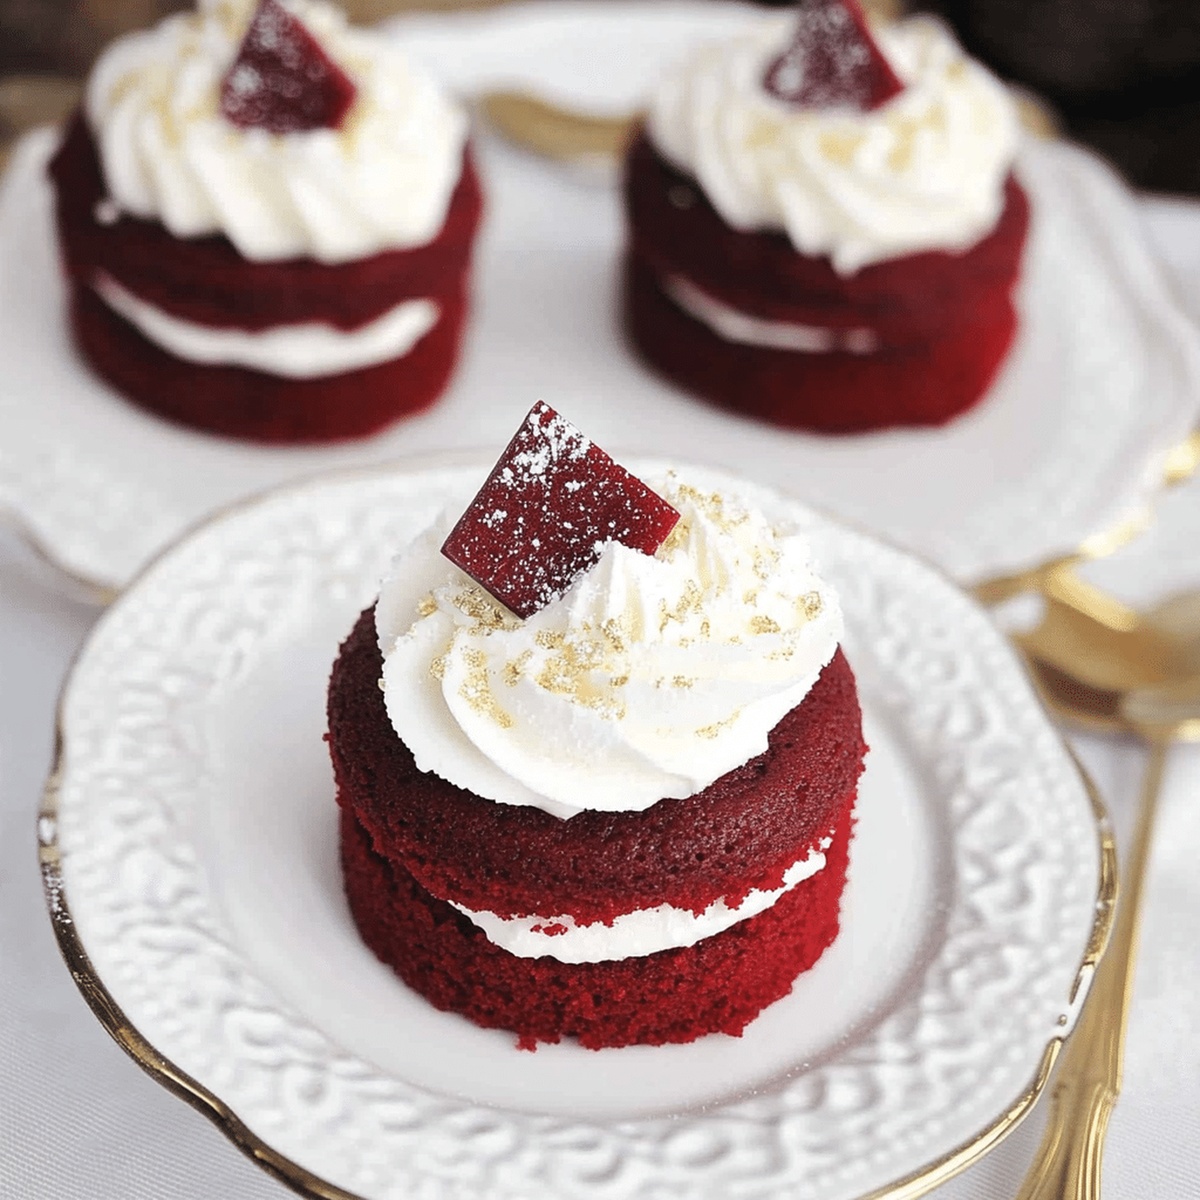
Dreamy Red Velvet Cake Minis Recipe for Sweet Celebrations
Crafting delectable red velvet cake minis brings pure culinary magic right into your kitchen.
Sweet memories of childhood desserts dance through this charming recipe.
Miniature treats always spark joy and conversation among guests.
Soft, velvety textures combine with rich cocoa undertones to create something extraordinary.
Baking these delightful bite-sized confections requires minimal effort but delivers maximum pleasure.
Each tiny cake promises a luxurious experience that feels both elegant and playful.
You will absolutely adore how these little desserts become instant crowd-pleasers at any gathering.
Prepare to make something truly spectacular that everyone will request again and again.
Reasons to Love Red Velvet Cake Minis
Ingredients to Whip Up Red Velvet Minis
Dry Ingredients:Wet Ingredients:Frosting Ingredients:Garnish:Instructions for Red Velvet Mini Cake Success
Step 1: Prepare Baking Space
Preheat oven to 350F (175C). Grab a mini muffin tin and either grease it lightly or line with adorable cupcake liners.
Step 2: Mix Dry Ingredients
Grab a mixing bowl and whisk together:Step 3: Blend Wet Ingredients
In a separate bowl, combine and mix thoroughly:Step 4: Combine Wet and Dry Mixtures
Gradually pour wet ingredients into dry ingredients. Stir until batter becomes smooth and vibrant red.
Step 5: Fill Muffin Cups
Carefully spoon batter into mini muffin cups, filling each about two-thirds full.
Step 6: Bake Mini Cakes
Place tin in preheated oven and bake for 12-15 minutes. Check doneness by inserting a toothpick- it should come out clean.
Step 7: Cool Completely
Remove from oven and let mini cakes cool entirely on a wire rack.
Step 8: Whip Up Cream Cheese Frosting
In a mixing bowl, beat together:Gradually add powdered sugar while mixing.
Step 9: Finish Frosting
Stir in vanilla extract and beat until frosting becomes silky smooth.
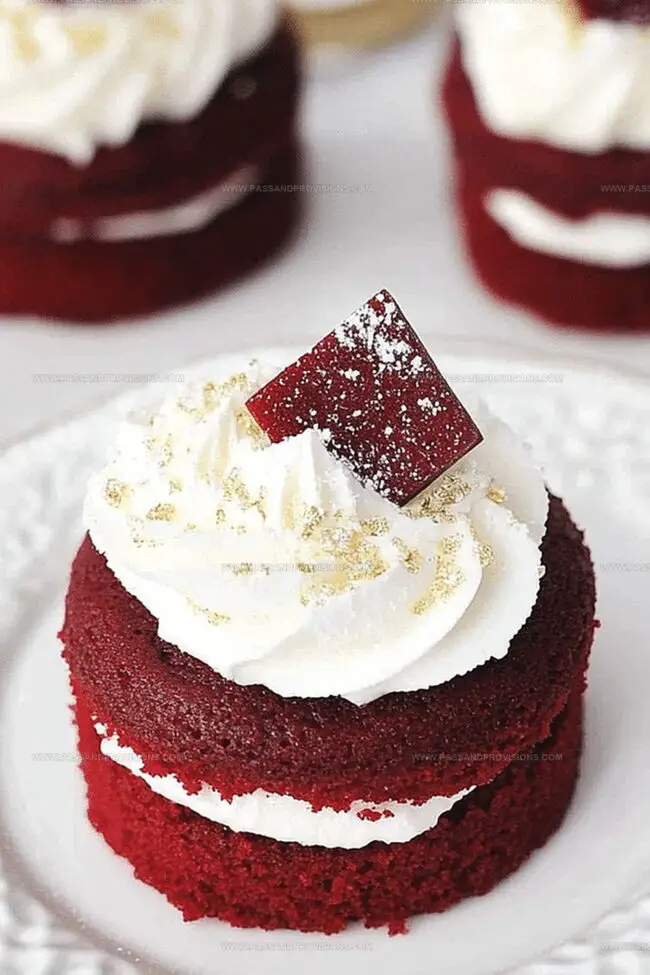
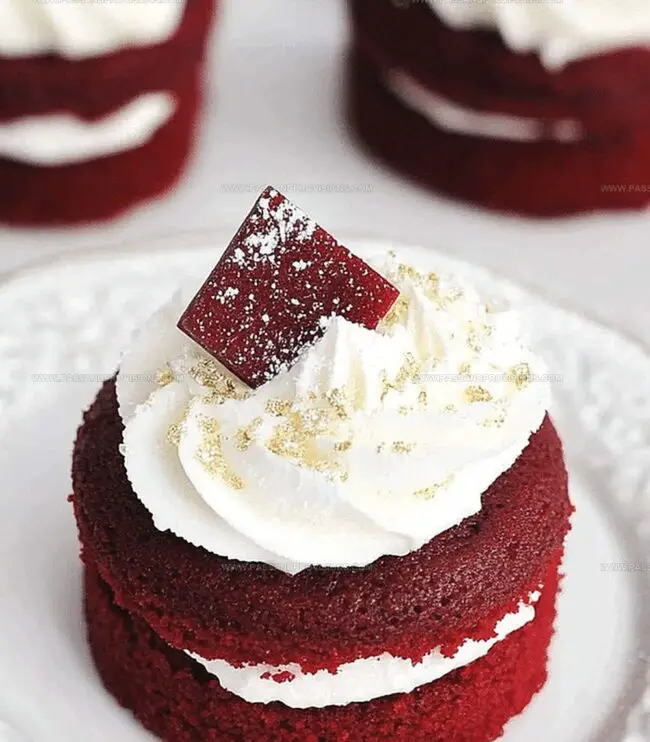
Step 10: Decorate Mini Cakes
Pipe or spread cream cheese frosting over cooled mini cakes.
Step 11: Add Finishing Touches
Sprinkle with red velvet cake crumbs or delicate white chocolate shavings.
Step 12: Serve and Enjoy
Serve immediately or refrigerate until ready to devour these delightful mini treats.
Pro Tips for Soft and Moist Red Velvet Minis
Red Velvet Minis: How to Store and Rewarm
Best Flavors to Serve with Cake Minis
Twist Ideas for Red Velvet Mini Cakes
Questions About Red Velvet Minis? Here’s Help
The rich red color comes from a combination of cocoa powder and red food coloring, which creates the cake’s signature vibrant appearance.
Vinegar helps activate the baking soda, creating a more tender and light texture in the mini cakes by reacting with the other ingredients.
Yes, you can omit the food coloring, but the cakes will have a more traditional chocolate brown color instead of the classic red velvet look.
The combination of softened cream cheese and butter, along with gradually added powdered sugar, creates a smooth and rich frosting that perfectly complements the red velvet flavor.
Print
Red Velvet Cake Minis Recipe
- Total Time: 35 minutes
- Yield: 12 1x
Description
Miniature red velvet cake delights bring Southern charm to dessert tables with irresistible chocolate and cream cheese allure. Rich crimson layers promise indulgent moments that invite you to savor each delectable bite.
Ingredients
Primary Ingredients:
- 1 ¼ cups (160g) all-purpose flour
- ¾ cup (150g) granulated sugar
- 1 large egg, room temperature
- ½ cup (120ml) buttermilk (or ½ cup milk + ½ teaspoon vinegar)
- ½ cup (120ml) vegetable oil
Flavor and Color Enhancers:
- ½ teaspoon baking soda
- ½ teaspoon cocoa powder
- ¼ teaspoon salt
- 1 teaspoon vanilla extract
- ½ teaspoon white vinegar
- 1 tablespoon red food coloring
Frosting and Decoration:
- 4 ounces (113g) cream cheese, softened
- ¼ cup (57g) unsalted butter, softened
- 1 ½ cups (180g) powdered sugar
- 1 teaspoon vanilla extract
- Red velvet cake crumbs
- White chocolate shavings (optional)
Instructions
- Prepare the oven by heating to 350F (175C) and prepare a mini muffin tin with non-stick spray or cupcake liners.
- Combine dry ingredients including flour, sugar, baking soda, cocoa powder, and salt in a mixing bowl, whisking thoroughly to eliminate any potential lumps.
- In a separate bowl, blend wet ingredients such as buttermilk, vegetable oil, egg, vanilla extract, white vinegar, and red food coloring until fully incorporated and uniform in color.
- Slowly integrate wet mixture into dry ingredients, stirring gently until a smooth, vibrant batter forms without overmixing.
- Distribute batter evenly into mini muffin cups, filling each approximately two-thirds full to allow proper rising during baking.
- Place muffin tin in preheated oven and bake for 12-15 minutes, checking doneness by inserting a toothpick that should emerge clean when withdrawn.
- Remove from oven and allow mini cakes to cool completely on a wire rack before frosting.
- Create cream cheese frosting by beating cream cheese and butter until light and creamy in texture.
- Gradually incorporate powdered sugar, mixing consistently to achieve a smooth, spreadable consistency.
- Add vanilla extract and continue beating until frosting reaches desired fluffy texture.
- Decorate cooled mini cakes by piping or spreading cream cheese frosting generously on top.
- Optionally embellish with red velvet cake crumbs or delicate white chocolate shavings for visual appeal.
- Serve immediately or refrigerate until ready to present and enjoy.
Notes
- Achieve vibrant red color by using gel food coloring instead of liquid, which provides more intense pigmentation without thinning the batter.
- Prevent dry mini cakes by carefully measuring ingredients and avoiding overbaking; check doneness at 12 minutes with a toothpick test.
- Create gluten-free variations by substituting all-purpose flour with almond or gluten-free flour blend, ensuring equal measurements and adding xanthan gum for texture stability.
- Simplify frosting application by transferring cream cheese mixture to a piping bag with a star tip for professional-looking decorative swirls on mini cakes.
- Prep Time: 20 minutes
- Cook Time: 15 minutes
- Category: Desserts, Snacks
- Method: Baking
- Cuisine: American
Nutrition
- Serving Size: 12
- Calories: 290
- Sugar: 25g
- Sodium: 200mg
- Fat: 15g
- Saturated Fat: 4g
- Unsaturated Fat: 10g
- Trans Fat: 0g
- Carbohydrates: 34g
- Fiber: <1g
- Protein: 3g
- Cholesterol: 30mg
Jamie Granger
Recipe Developer & Food Writer
Expertise
Education
Culinary Institute of America
Jamie Granger turns ingredients into memories. With her recipes, she brings a fusion-forward flair to every creation.
Her dishes reflect the places she’s explored, the chefs she’s learned from, and the deep connection she has to food as a form of expression.
At Pass and Provision, Jamie develops recipes that balance flavor, health, and beauty, meals that don’t just satisfy your appetite but speak to your curiosity.