
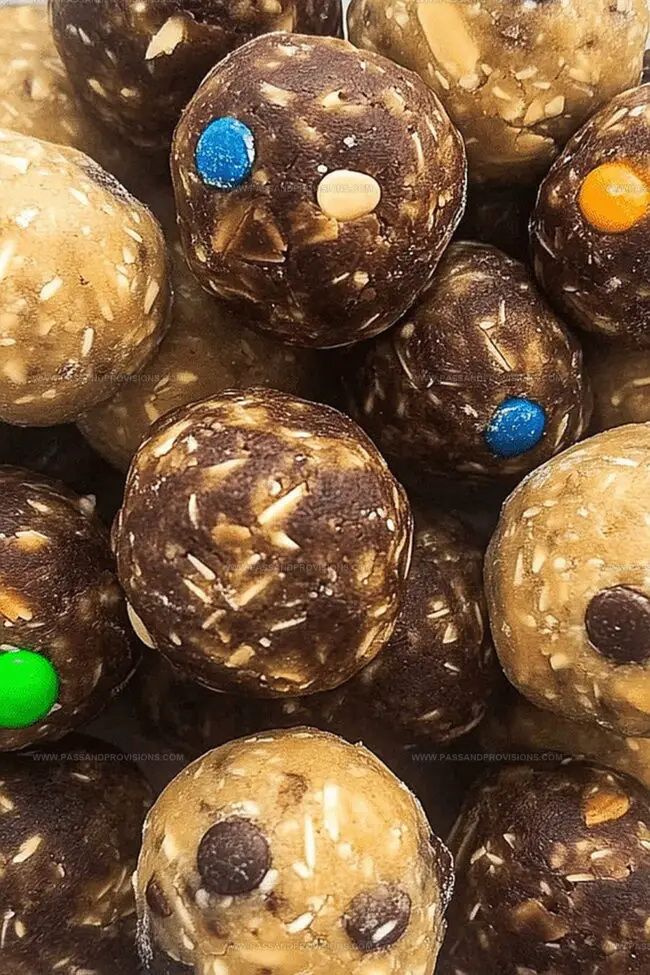
Homemade Protein Balls Recipe: Tasty Energy Bites for Everyone
Hey there, these protein-packed energy balls might just become your new favorite snack!
Mixing simple ingredients creates a delightful treat that keeps you feeling satisfied.
Nutritious and quick to assemble, they make perfect pre-workout fuel or midday energy boosters.
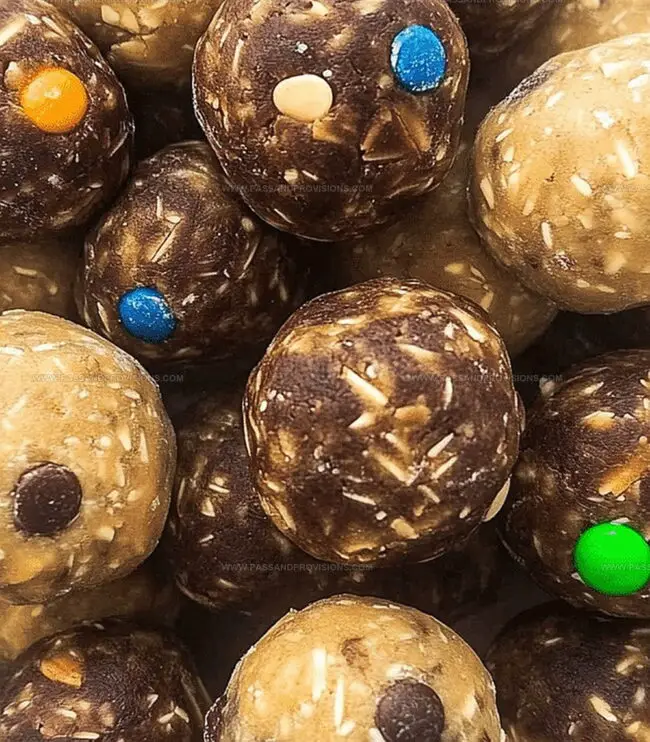
Nuts, dates, and protein powder blend seamlessly into bite-sized delights.
Sweet without being overwhelming, each morsel delivers a powerful punch of goodness.
No baking required means minimal effort for maximum taste and nutrition.
Whip up a batch and watch them disappear in minutes – you won’t be able to resist these delectable little bites!
What Makes Protein Balls a Go-To Snack
Ingredients Breakdown for Protein Balls
Base Protein Components:Sweeteners and Binders:Optional Mix-Ins:How to Mix and Shape Protein Balls
Step 1: Create A Sticky Flavor Explosion
In a spacious mixing bowl, dump all ingredients together. Use a sturdy spoon or spatula to blend everything until the mixture transforms into a cohesive, slightly sticky dough. The consistency should hold together when pressed.
Step 2: Shape Delicious Energy Spheres
Grab a tablespoon or small cookie scoop to portion out uniform amounts. Roll each portion between your palms, creating smooth round balls approximately one inch wide. Apply gentle pressure to help ingredients stick together.
Step 3: Chill And Solidify
Place your freshly formed energy spheres on a parchment-lined baking sheet or plate. Pop them into the refrigerator for 20-30 minutes. This cooling period helps them firm up and intensifies their delightful texture.
Step 4: Store And Enjoy
Transfer your chilled protein balls into an airtight container. They’ll happily hang out in the refrigerator for up to one week or can be frozen for three months. Perfect for quick snacks, pre-workout fuel, or midday energy boosts.
Tips That Help with Protein Balls
How to Store and Keep Protein Balls Fresh
What to Eat with Protein Balls
Different Ways to Customize Protein Balls
Protein Balls FAQs
Yes, they’re packed with nutrients from oats, protein powder, and peanut butter, providing a healthy energy boost and supporting muscle recovery.
Absolutely! You can substitute protein powder with ground nuts, chia seeds, or additional oats to maintain the mixture’s consistency.
Most people enjoy 2-3 protein balls as a snack or post-workout treat, but individual nutritional needs vary, so listen to your body.
These protein-rich snacks can help control hunger, stabilize blood sugar, and provide sustained energy, which may support weight management goals.
Print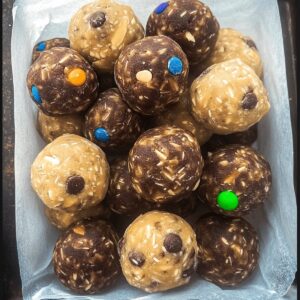
Protein Balls Recipe
- Total Time: 30 minutes
- Yield: 12 1x
Description
Delightful protein balls bring protein-packed energy to snack time with minimal effort. Quick and easy nutrition meets irresistible flavor in these simple, no-bake treats you can enjoy anytime, anywhere.
Ingredients
Protein Ingredients:
- ¼ cup protein powder (vanilla or chocolate)
- ½ cup creamy peanut butter (or almond butter)
Base Ingredients:
- 1 cup old-fashioned oats
- ⅓ cup honey (or maple syrup for a vegan option)
- ½ teaspoon vanilla extract
Optional Add-ins:
- ¼ cup ground flaxseed or chia seeds
- ¼ cup mini chocolate chips or dried fruit
Instructions
- In a spacious mixing vessel, thoroughly blend rolled oats, creamy peanut butter, golden honey, and protein powder until a cohesive, slightly tacky mixture forms.
- Incorporate optional enhancers like dark chocolate chips or ground flaxseed, stirring until evenly distributed throughout the dough.
- Using a precise tablespoon measure, scoop uniform portions of the mixture and roll between palms to create compact, round spheres approximately one inch in diameter.
- Arrange the freshly formed protein orbs on a chilled baking sheet or ceramic plate, ensuring they are not touching.
- Transfer the assembled batch to the refrigerator and allow them to set and solidify for approximately 25 minutes, which will help maintain their structural integrity.
- Once firmed, relocate the protein spheres to a sealed glass or plastic container with a secure lid.
- Preserve in the refrigerator compartment for up to seven days, or extend longevity by transferring to the freezer, where they will maintain quality for a maximum of three months.
Notes
- Customize protein powder to match dietary needs like whey, plant-based, or vegan options for different nutritional preferences.
- Use damp hands when rolling balls to prevent sticky mixture from clinging and create smoother, more uniform shapes.
- Experiment with alternative binding agents like almond butter or maple syrup if honey isn’t available, maintaining similar consistency.
- Add extra texture and nutrition by incorporating crushed nuts, chia seeds, or dried fruit for enhanced flavor and nutritional value.
- Prep Time: 10 minutes
- Cook Time: 20 minutes
- Category: Snacks, Breakfast
- Method: Blending
- Cuisine: American
Nutrition
- Serving Size: 12
- Calories: 160
- Sugar: 7 g
- Sodium: 2 mg
- Fat: 8 g
- Saturated Fat: 1.5 g
- Unsaturated Fat: 6.5 g
- Trans Fat: 0 g
- Carbohydrates: 18 g
- Fiber: 3 g
- Protein: 6 g
- Cholesterol: 0 mg
Jamie Granger
Recipe Developer & Food Writer
Expertise
Education
Culinary Institute of America
Jamie Granger turns ingredients into memories. With her recipes, she brings a fusion-forward flair to every creation.
Her dishes reflect the places she’s explored, the chefs she’s learned from, and the deep connection she has to food as a form of expression.
At Pass and Provision, Jamie develops recipes that balance flavor, health, and beauty, meals that don’t just satisfy your appetite but speak to your curiosity.