Matildas Chocolate Cake Recipe for Joyful Smiles
Sweet aromas of decadent matildas chocolate cake waft through the kitchen, promising pure indulgence.
Memories of childhood birthdays dance with rich cocoa memories.
Bakers seek comfort in every delectable slice of this nostalgic dessert.
Chocolate lovers understand the magical power of a perfectly crafted cake.
Smooth layers beckon with irresistible charm and velvety texture.
Whispers of vanilla and deep chocolate notes create an enchanting symphony.
Each bite promises a moment of blissful escape that connects you to pure culinary joy.
Get ready to savor a slice of pure chocolate heaven.
Matilda’s Chocolate Cake: What Makes It Legendary

What You’ll Need for Matilda’s Chocolate Cake
Dry Ingredients:Wet Ingredients:Liquid Ingredient:Bake Matilda’s Cake in a Few Steps
Step 1: Prepare Baking Workspace
Grab two 9-inch cake pans and coat them generously with cooking spray or butter. Line the bottom with parchment paper to ensure easy cake removal. Set oven temperature to 350F (175C) and allow it to warm up completely.
Step 2: Create Dry Ingredient Magic
Gather these dry ingredients:Toss all ingredients into a spacious mixing bowl. Whisk them together until perfectly blended and no clumps remain.
Step 3: Introduce Wet Ingredients
Pour in these liquid companions:Mix everything with an electric mixer or vigorous hand whisking until the batter looks smooth and silky.
Step 4: Add Liquid Transformation
Gently stream boiling water into the mixture. The batter will transform into an unusually thin consistency- this is exactly what you want! Stir until water integrates completely.
Step 5: Bake Chocolate Heaven
Pour batter evenly between prepared pans. Slide into preheated oven and bake for approximately 30-35 minutes. Cake is ready when a toothpick inserted comes out clean.
Baking Tips for Rich Chocolate Cake
How to Keep Matilda’s Cake Moist
Drinks and Desserts to Pair with This Cake
Fun Twists on Matilda’s Cake Recipe
Matilda’s Chocolate Cake FAQs
The boiling water helps to bloom the cocoa powder, intensifying the chocolate flavor and creating a more moist cake texture.
Yes, you can substitute dairy milk with alternatives like almond, soy, or oat milk without significantly affecting the cake’s outcome.
A thin batter is normal and actually helps create a lighter, more tender cake texture. Don’t worry about the consistency- it will bake perfectly.
Absolutely! This recipe is straightforward, requires minimal mixing skills, and uses simple ingredients that are easy to find in most kitchens.
Print
Matildas Chocolate Cake Recipe
- Total Time: 35 minutes
- Yield: 12 1x
Description
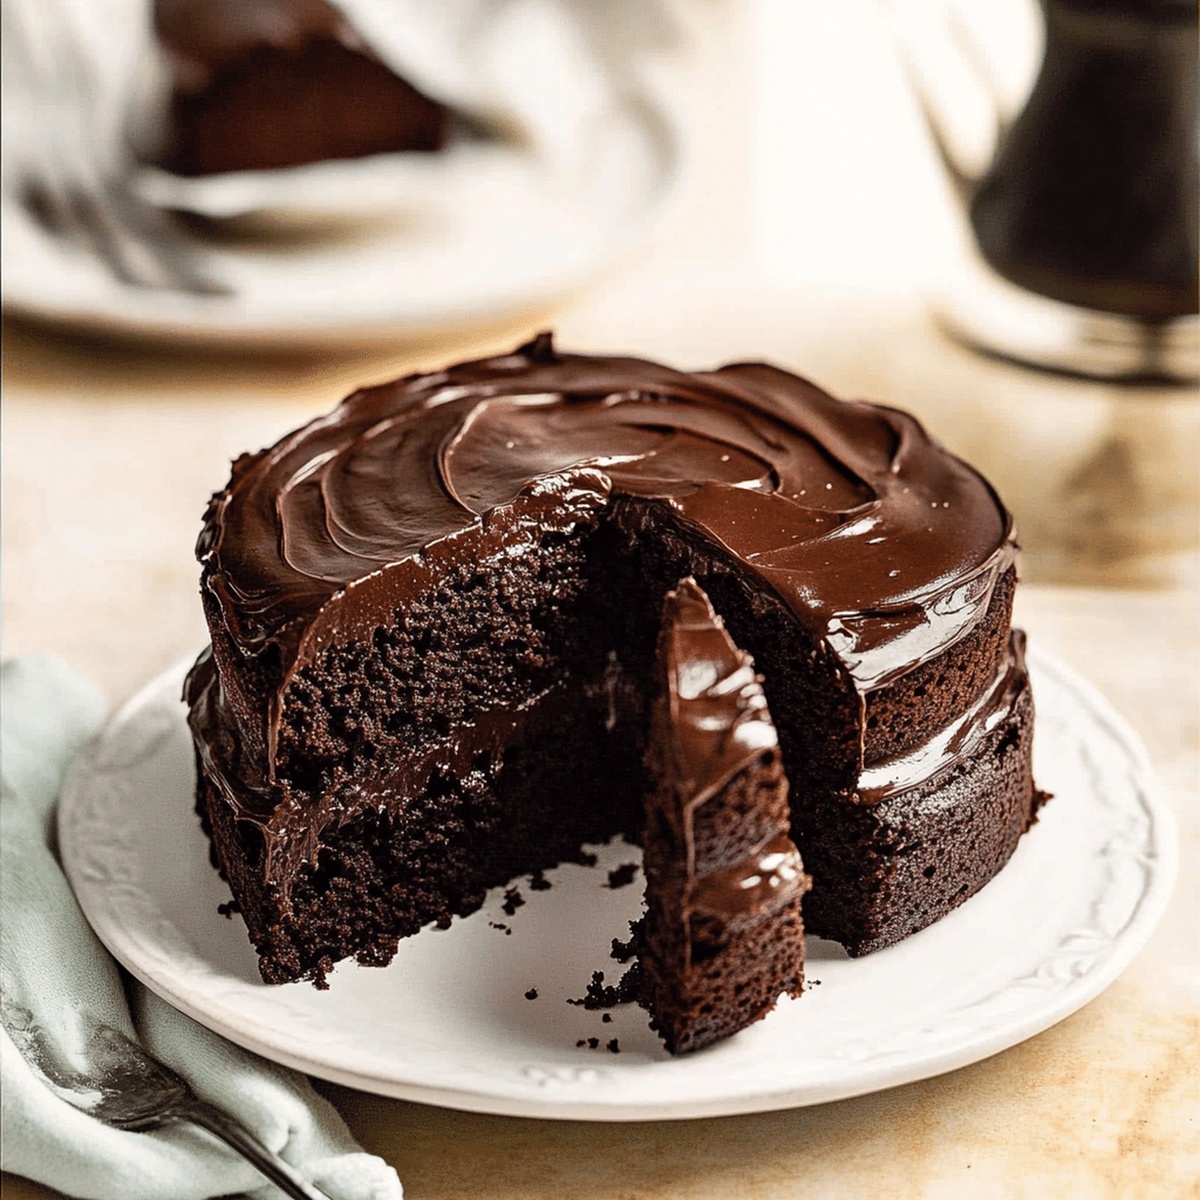
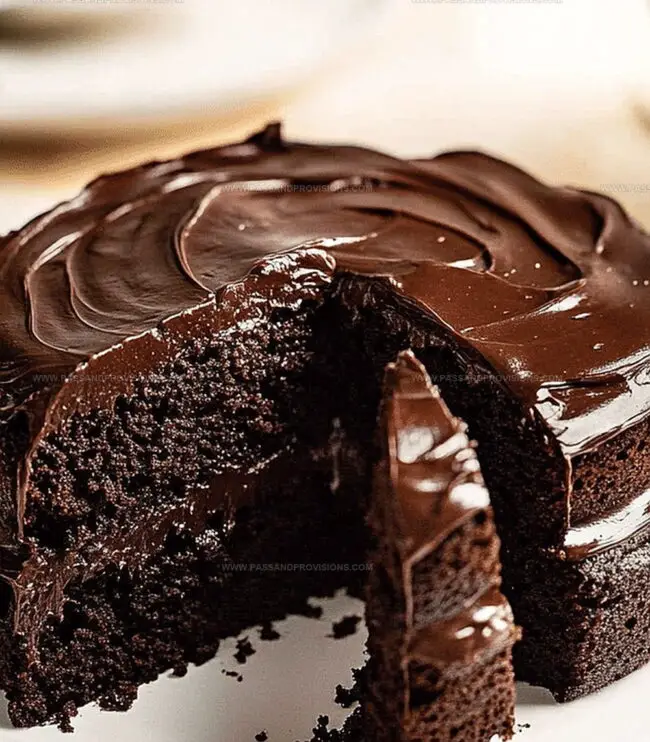
Matilda’s chocolate cake emerges as a rich, indulgent dessert that whispers sweet promises of pure delight. Each velvety slice promises chocolate comfort that lingers deliciously, drawing friends and family closer with its irresistible charm.
Ingredients
Main Ingredients:
- 2 cups (480 milliliters) all-purpose flour
- ¾ cup (180 milliliters) unsweetened cocoa powder
- 2 cups (400 grams) granulated sugar
- 1 cup (240 milliliters) whole milk
- 1 cup (240 milliliters) boiling water
Wet Ingredients:
- ½ cup (120 milliliters) vegetable oil
- 2 large eggs
- ½ cup (120 milliliters) melted butter
- 2 teaspoons vanilla extract
Leavening and Seasoning Ingredients:
- 1 ½ teaspoons baking powder
- 1 ½ teaspoons baking soda
- ½ teaspoon salt
Instructions
- Prepare the oven by heating to 350F (175C) and meticulously coat two 9-inch cake pans with parchment paper, ensuring complete coverage to prevent sticking.
- Combine all dry ingredients in a spacious mixing bowl, using a whisk to thoroughly integrate flour, cocoa powder, granulated sugar, baking powder, baking soda, and salt until uniformly blended.
- Introduce liquid components – milk, vegetable oil, eggs, and vanilla extract – to the dry mixture, whisking with vigor to create a smooth, homogeneous batter.
- Carefully pour boiling water (or coffee) into the mixture, stirring gently. The liquid will dramatically thin the batter, which is perfectly normal and essential for achieving a delicate cake texture.
- Distribute the liquid batter evenly between the prepared cake pans, using a spatula to ensure consistent coverage and eliminate any potential air pockets.
- Transfer pans to the preheated oven, positioning them centrally to promote even heat distribution and optimal baking results.
Notes
- Choose high-quality cocoa powder for richer, deeper chocolate flavor that elevates the entire cake’s taste profile.
- Ensure all ingredients are at room temperature to help them blend smoothly and create a more uniform batter consistency.
- Add instant espresso powder to the boiling water for an enhanced chocolate taste that deepens the cake’s complexity without overwhelming the primary chocolate notes.
- Line cake pans precisely with parchment paper and grease edges to guarantee easy cake removal and prevent sticking, ensuring a perfect cake presentation.
- Prep Time: 20 minutes
- Cook Time: 15 minutes
- Category: Desserts
- Method: Baking
- Cuisine: Australian
Nutrition
- Serving Size: 12
- Calories: 320
- Sugar: 28 g
- Sodium: 200 mg
- Fat: 14 g
- Saturated Fat: 2 g
- Unsaturated Fat: 10 g
- Trans Fat: 0 g
- Carbohydrates: 45 g
- Fiber: 2 g
- Protein: 4 g
- Cholesterol: 30 mg
Jamie Granger
Recipe Developer & Food Writer
Expertise
Education
Culinary Institute of America
Jamie Granger turns ingredients into memories. With her recipes, she brings a fusion-forward flair to every creation.
Her dishes reflect the places she’s explored, the chefs she’s learned from, and the deep connection she has to food as a form of expression.
At Pass and Provision, Jamie develops recipes that balance flavor, health, and beauty, meals that don’t just satisfy your appetite but speak to your curiosity.