
Magical Double PB Bars Recipe: No-Bake Dreaminess Awaits!
Decadent no-bake double peanut butter bars promise pure bliss for chocolate and peanut butter enthusiasts.
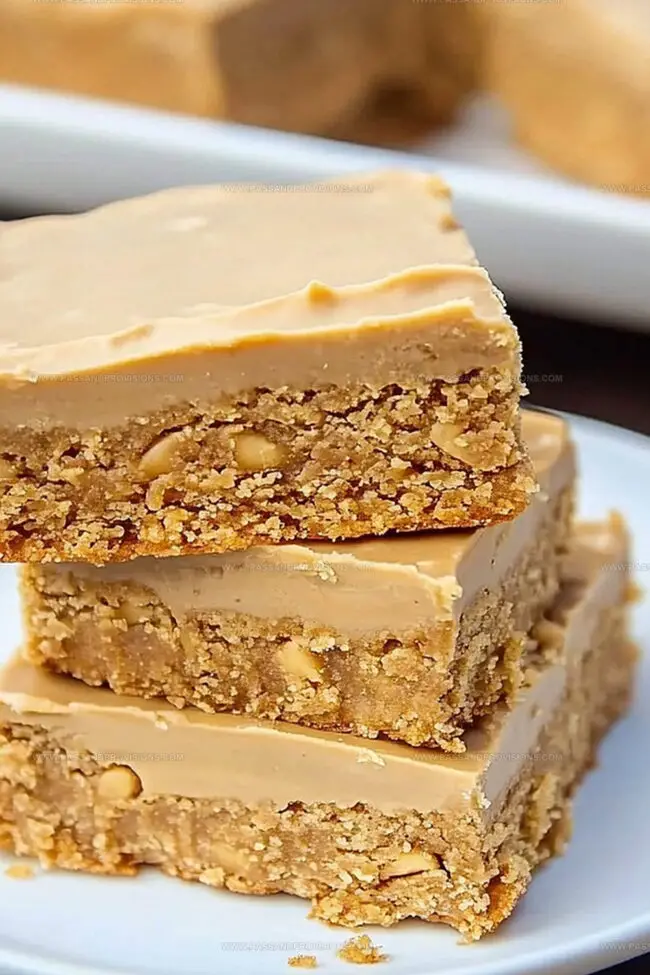
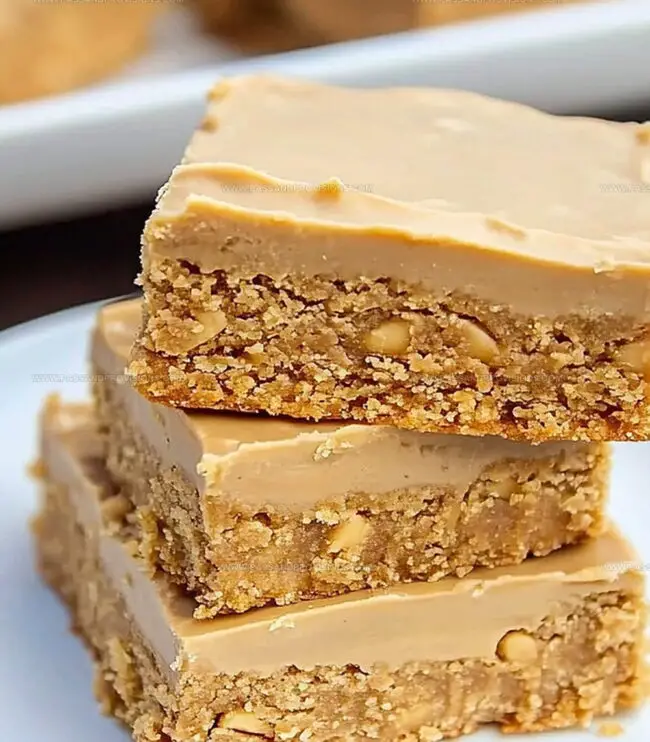
Sweet layers of creamy peanut butter melt seamlessly between rich chocolate coatings that dance across your taste buds.
Each bite delivers a perfect balance of smooth, velvety textures that practically melt in your mouth.
The simple recipe requires minimal ingredients and zero oven time, making it an effortless dessert for any skill level.
Chilled to perfection, these bars offer a luxurious treat that satisfies deep chocolate and peanut butter cravings.
No complicated techniques stand between you and this irresistible dessert.
Prepare to indulge in a heavenly confection that will become your new favorite sweet escape.
Quick Recipe Overview
What You Need for No-Bake Double Peanut Butter Bars
For Base Ingredients:For Topping Ingredients:For Optional Garnish:Tools for Making No-Bake Double Peanut Butter Bars Quickly
How to Press and Chill Double Peanut Butter Bars
Grab a 9×9-inch pan and line it with parchment paper for easy removal. Mix softened peanut butter with melted butter and vanilla until silky smooth. Fold in powdered sugar and graham cracker crumbs, creating a delectable mixture that holds together perfectly. Press the blend firmly into the pan, ensuring an even surface.
Melt chocolate chips and extra peanut butter together in short microwave bursts, stirring gently between each interval. Watch for a glossy, well-blended consistency. Pour the chocolate mixture over the peanut butter base, spreading it evenly with a spatula to create a tempting layer.
Pop the pan into the refrigerator and let the bars set for 1-2 hours until firm. Once chilled, slice into delightful squares. These no-bake treats are ready to satisfy your sweet tooth with minimal effort and maximum flavor.
Chocolate Layer Tips for Peanut Butter Bar Fans
Serve These Bars for Parties or Lunchbox Treats
Keep No-Bake Peanut Butter Bars Cold and Clean
Print
Dreamy No-Bake Double Peanut Butter Bars Recipe
- Total Time: 1 hour 10 minutes
- Yield: 13 1x
Description
Indulgent no-bake double peanut butter bars combine creamy layers of rich peanut butter and chocolate for a sinful dessert. Sweet chocolate crumbles melt perfectly with smooth peanut butter, creating an irresistible treat you cannot resist.
Ingredients
- 1 cup (250 g) creamy peanut butter
- ¼ cup (60 g) creamy peanut butter
- 1 cup (180 g) semi-sweet chocolate chips
- 1 ½ cups (150 g) graham cracker crumbs
- 2 cups (240 g) powdered sugar
- ½ cup (115 g) unsalted butter, melted
- 1 tsp vanilla extract
Instructions
- Foundation Preparation: Create a smooth base by thoroughly blending peanut butter, melted butter, and vanilla extract in a spacious mixing bowl until perfectly integrated.
- Texture Development: Incorporate powdered sugar and graham cracker crumbs into the mixture, stirring diligently until a cohesive, moldable consistency emerges.
- Base Establishment: Transfer the prepared mixture into a parchment-lined 9×9-inch pan, using firm, even pressure to create a compact, uniform layer that will serve as the bar’s foundation.
- Decadent Topping Creation: Utilize microwave technique to gently melt chocolate chips and peanut butter together, stirring carefully between 30-second intervals to achieve a glossy, seamless coating.
- Surface Finishing: Elegantly cascade the molten chocolate-peanut butter mixture over the prepared base, ensuring complete and balanced coverage across the entire surface.
- Chilling and Serving: Permit the bars to solidify in the refrigerator for 1-2 hours, allowing the layers to set completely. Once firm, slice into precise squares and serve chilled for maximum flavor and texture enjoyment.
Notes
- Use room temperature ingredients for smoother mixing and easier pressing into the pan, ensuring a compact and even layer without crumbling.
- Melt chocolate and peanut butter slowly and carefully to prevent burning, stirring frequently and using short microwave intervals to maintain a glossy, silky texture.
- Adjust powdered sugar quantity based on preferred sweetness, tasting the base mixture before pressing to ensure balanced flavor profile.
- Allow bars to set completely in refrigerator, then use a sharp knife dipped in hot water and wiped dry for clean, precise cuts without cracking the chocolate layer.
- Prep Time: 10 minutes
- Cook Time: 1 hour
- Category: Snacks, Desserts
- Method: None
- Cuisine: American
Nutrition
- Serving Size: 13
- Calories: 210
- Sugar: 10 g
- Sodium: 50 mg
- Fat: 12 g
- Saturated Fat: 5 g
- Unsaturated Fat: 7 g
- Trans Fat: 0 g
- Carbohydrates: 23 g
- Fiber: 1 g
- Protein: 4 g
- Cholesterol: 10 mg
William Hawkins
Founder & Culinary Director
Expertise
Education
Sullivan University, Louisville, KY
William Hawkins isn’t just a chef, he’s a storyteller through food. From his hometown of Louisville, KY, he’s spent years refining his craft, turning local ingredients into something extraordinary.
With classical training from Sullivan University and a career marked by innovation, mentorship, and Southern soul, William approaches every recipe with purpose. His kitchen is where old techniques meet fresh ideas, and where comfort food gets a thoughtful, modern twist.
When he’s not building dishes from the ground up, he’s out gathering inspiration from nature, markets, and the stories people share around the table.