Chocolate Lava Cakes Recipe with Irresistible Gooey Center
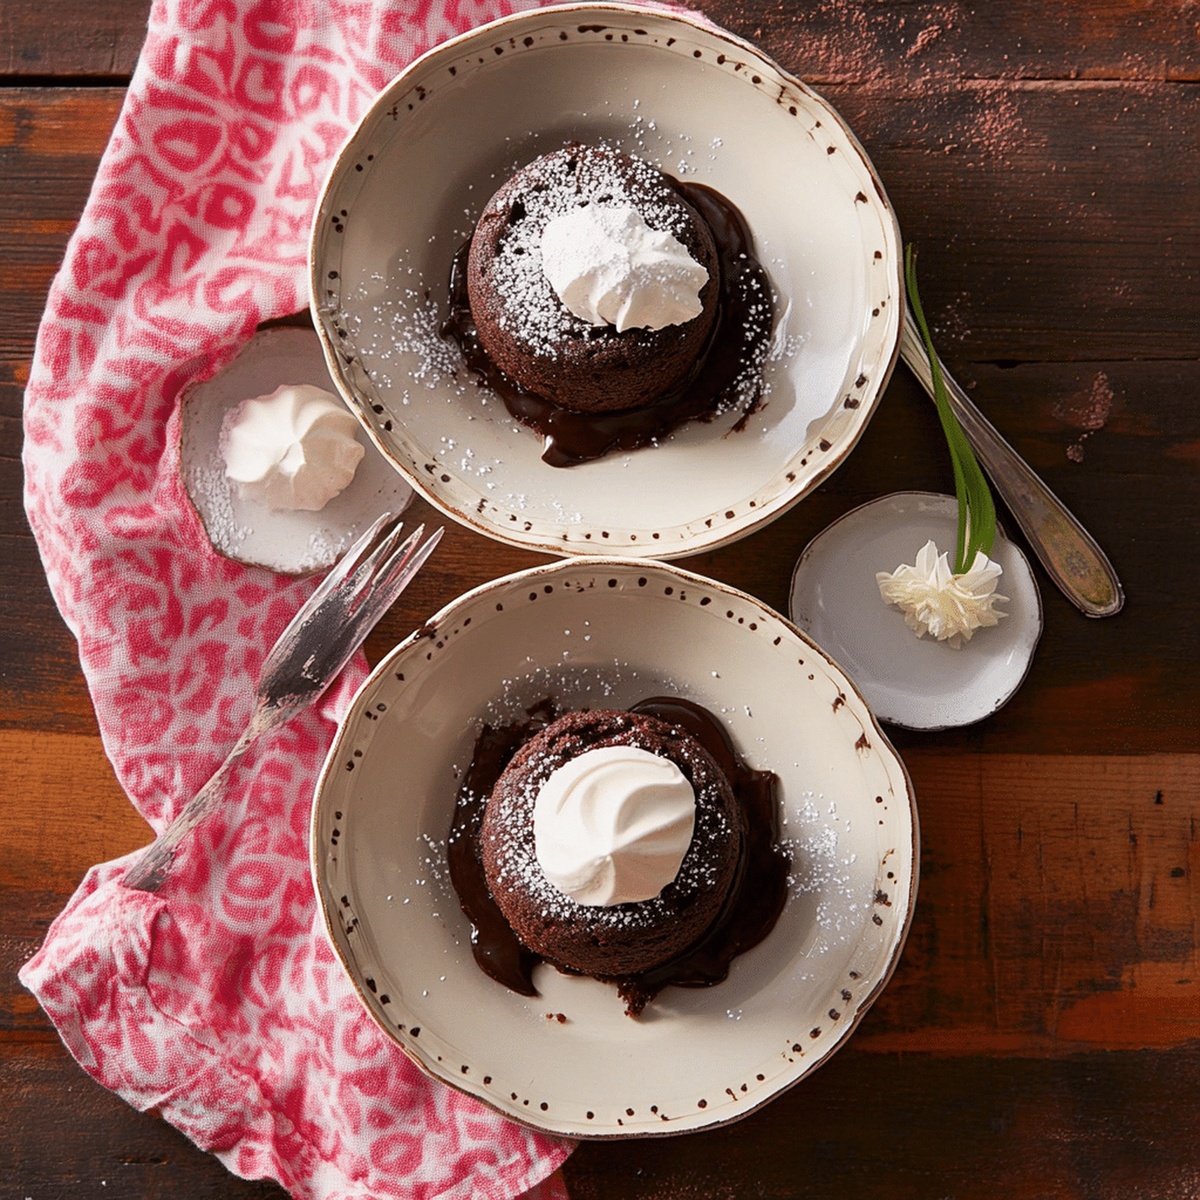
Molten chocolate lava cakes promise an indulgent dessert experience that melts hearts instantly.
Rich cocoa swirls create a decadent dance of flavors waiting to be savored.
Silky chocolate centers burst with warm, gooey goodness that tempts every sweet tooth.
Each bite promises a luxurious journey through intense, velvety chocolate landscapes.
Small yet powerful, these miniature desserts pack an incredible punch of pure deliciousness.
Surprisingly simple ingredients come together to craft an elegant treat that looks far more complicated than its actual preparation.
You’ll want to impress dinner guests with this effortlessly sophisticated chocolate masterpiece that guarantees wide-eyed wonder.
Why Chocolate Lava Cakes Make the Moment
What You Need for Chocolate Lava Cakes
Chocolate Base:Binding Ingredients:Dry Ingredients:Finishing Touches:Optional Coating:How to Bake Lava Cakes That Ooze Perfectly

Step 1: Prepare Baking Station
Warm up the oven to 425F (220C). Coat 4 ramekins with butter and sprinkle cocoa powder inside, shaking out extra powder.
Step 2: Melt Chocolate Mixture
Place ingredients in a heat-safe bowl. Melt using either:Stir until silky smooth. Allow mixture to cool slightly.
Step 3: Create Cake Batter
Whip eggs and sugar until light and fluffy. Gently fold melted chocolate into egg mixture. Sift flour and incorporate carefully without overmixing.
Step 4: Fill Ceramic Dishes
Pour batter evenly into prepared ramekins, filling about three-quarters full. Arrange ramekins on a baking sheet for stable transfer.
Step 5: Bake Perfectly
Slide baking sheet into preheated oven. Bake for 12-14 minutes until edges look set but centers remain soft and wobbly.
Step 6: Plate and Serve
Wait one minute after removing from oven. Carefully loosen cake edges with a knife. Flip ramekins onto serving plates. Remove dish gently.
Optional garnishes:Tips for Baking Time and Molten Centers
Store and Reheat Lava Cakes Without Overdoing It
What to Serve with Chocolate Lava Cakes
Fun Flavors to Add to Lava Cakes
Gluten-Free Chocolate Dream: Replace wheat flour with almond flour or gluten-free flour blend for a celiac-friendly version. Ensures same rich chocolate texture with zero gluten concerns.
Vegan Molten Magic: Substitute eggs with flax eggs, use dairy-free dark chocolate, and replace butter with coconut oil. Creates a plant-based lava cake that maintains decadent, gooey interior.
Reduced Sugar Chocolate Haven: Swap regular sugar with monk fruit sweetener or stevia. Use 70% dark chocolate to lower overall sugar content while preserving intense chocolate flavor. Perfect for low-sugar diets.
Keto Chocolate Lava Delight: Use almond flour, replace sugar with erythritol, and incorporate cream cheese for richness. Delivers a low-carb version that satisfies chocolate cravings without compromising ketogenic principles.
Your Lava Cake Questions Answered
High-quality dark chocolate and real butter create an incredibly smooth, intense chocolate flavor. The combination of whole eggs and extra egg yolks helps develop a luxurious, velvety texture that makes these cakes melt in your mouth.
Overmixing can cause the lava cakes to become dense and tough. Gently folding the ingredients preserves the delicate air bubbles, ensuring a light, tender cake with that signature molten center. Mixing just until ingredients are combined keeps the texture perfect.
Baking at a high temperature (425F) for a short time creates the signature liquid chocolate center. The quick, intense heat cooks the cake’s exterior while keeping the middle soft and runny. Removing the cakes when edges are set but center is still jiggly guarantees that beautiful flowing chocolate when cut.
Look for slightly puffed edges that appear set, while the center remains soft and slightly wobbly. The tops should look barely dry but not completely firm. Overbaking even by a minute can transform the molten center into a solid cake.
Print
Chocolate Lava Cakes Recipe
- Total Time: 22 minutes
- Yield: 2 1x
Description
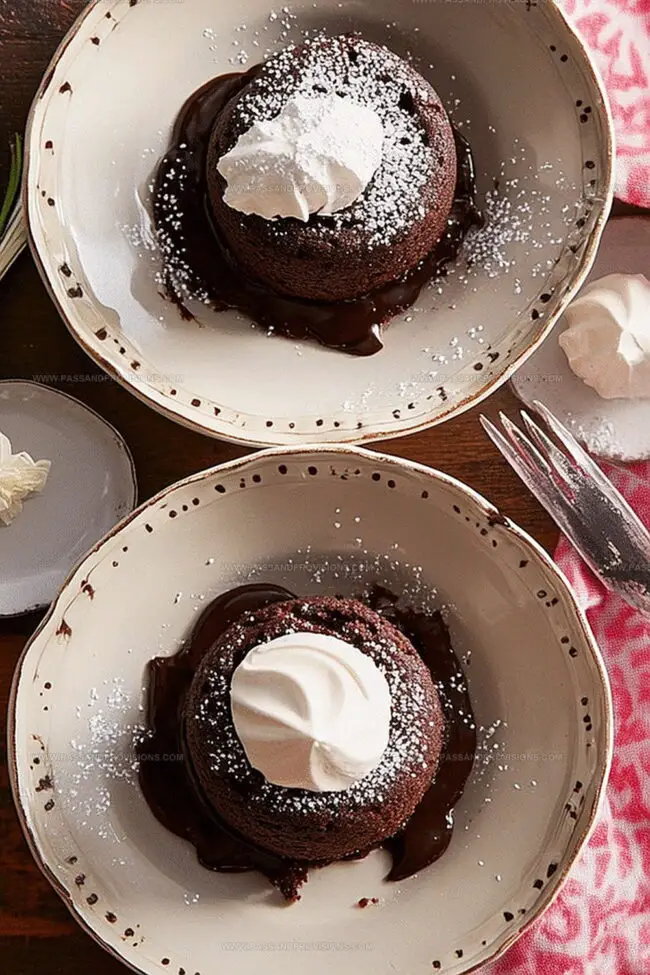
Molten chocolate lava cakes promise pure indulgence, melting hearts with rich, gooey centers. Baked to perfection, these elegant desserts deliver a luxurious experience that satisfies deep chocolate cravings and impresses guests with minimal effort.
Ingredients
Main Ingredients:
- 6 ounces (170g) semi-sweet or dark chocolate, chopped
- 2 large eggs
- 2 large egg yolks
- ½ cup (115g) unsalted butter
- ¼ cup (50g) granulated sugar
Flour and Coating:
- 2 tablespoons (15g) all-purpose flour
- Cocoa powder, for dusting ramekins
Preparation Ingredient:
- Unsalted butter, extra for greasing ramekins
Instructions
- Meticulously prepare baking vessels by coating four ramekins with softened butter, then generously sprinkle cocoa powder to create a non-stick surface. Gently tap out any loose powder.
- Create a velvety chocolate base by melting dark chocolate and butter together using a double boiler technique. Stir gently until the mixture transforms into a glossy, uniform consistency. Allow the melted mixture to cool slightly and avoid overheating.
- Whip eggs, additional egg yolks, and granulated sugar into a light, airy mixture. Continue whisking until the texture becomes pale and significantly thickened, which typically requires 1-2 minutes of vigorous mixing.
- Delicately fold the warm chocolate mixture into the egg mixture, ensuring a smooth integration without deflating the delicate egg foam. Sift flour over the liquid ingredients, gently incorporating until barely combined to maintain a luxurious, tender texture.
- Distribute the silky batter evenly among prepared ramekins, filling each approximately three-quarters full. Arrange the filled vessels on a sturdy baking sheet for stable oven transfer.
- Position the baking sheet in a preheated oven set at 425F (220C). Bake for 12-14 minutes, watching for distinct visual cues: set edges with centers remaining soft and slightly trembling.
- After removing from the oven, allow cakes to rest momentarily. Carefully loosen edges using a thin knife, then invert onto serving plates with a swift, confident motion.
- Present immediately, embellishing with a delicate dusting of powdered sugar. Optional accompaniments include fresh berries, whipped cream, or a pristine scoop of vanilla ice cream to complement the rich chocolate experience.
Notes
- Ensure ramekins are well-greased to prevent sticking and facilitate easy cake removal.
- Use high-quality dark chocolate for a rich, intense flavor that elevates the entire dessert.
- Avoid overmixing the batter to maintain a delicate, smooth texture and prevent dense cakes.
- Check doneness carefully; slightly underbaked centers create the signature molten chocolate core.
- Serve immediately after baking to experience the ultimate warm, gooey chocolate center.
- Experiment with gluten-free flour or almond flour for a celiac-friendly version.
- Add a pinch of espresso powder to intensify the chocolate’s depth without altering the primary flavor.
- For a lighter alternative, substitute half the butter with Greek yogurt to reduce overall fat content.
- Prep Time: 10 minutes
- Cook Time: 12 minutes
- Category: Desserts
- Method: Baking
- Cuisine: French
Nutrition
- Serving Size: 2
- Calories: 490
- Sugar: 25g
- Sodium: 50mg
- Fat: 32g
- Saturated Fat: 19g
- Unsaturated Fat: 11g
- Trans Fat: 0g
- Carbohydrates: 41g
- Fiber: 1g
- Protein: 7g
- Cholesterol: 160mg
Jamie Granger
Recipe Developer & Food Writer
Expertise
Education
Culinary Institute of America
Jamie Granger turns ingredients into memories. With her recipes, she brings a fusion-forward flair to every creation.
Her dishes reflect the places she’s explored, the chefs she’s learned from, and the deep connection she has to food as a form of expression.
At Pass and Provision, Jamie develops recipes that balance flavor, health, and beauty, meals that don’t just satisfy your appetite but speak to your curiosity.