Tasty Christmas Fudge Recipe for Holiday Joy
Sweet memories of childhood holidays always spark my love for this decadent christmas fudge recipe that melts perfectly on your tongue.
Grandma’s secret ingredients whisper nostalgic stories from her cozy kitchen.
Creamy chocolate swirls promise indulgent moments of pure bliss.
Rich textures blend seamlessly with smooth marshmallow undertones.
Festive flavors dance between sweet and velvety sensations.
Each bite transports you to warm, cheerful gatherings filled with laughter.
Prepare to create magic that connects generations through delightful culinary traditions.
What Makes Christmas Fudge Loved
Christmas Fudge Ingredients You’ll Want
Base Ingredients:Coloring and Flavoring:Decorative Topping:Preparation Support:How to Prepare Christmas Fudge That Stands Out
Step 1: Prepare Baking Pan
Line an 8×8-inch baking pan with parchment paper, allowing extra paper to hang over the edges for easy removal.
Step 2: Melt Chocolate Base
Combine white chocolate chips and sweetened condensed milk in a medium saucepan. Heat gently over low temperature, stirring continuously until:Remove from heat and mix in vanilla extract.
Step 3: Create Colorful Layers
Divide melted chocolate mixture into three separate bowls. Color each portion using gel food coloring:Stir each bowl until colors blend evenly.
Step 4: Craft Marbled Design
Spoon different colored mixtures into prepared pan, alternating between red, green, and white dollops. Gently drag a toothpick or skewer through colors to create swirled patterns.
Step 5: Add Festive Sparkle
Sprinkle holiday-themed decorative sprinkles across warm fudge surface. Softly press sprinkles to ensure they stick.
Step 6: Chill and Set
Refrigerate fudge for minimum two hours until completely firm.
Step 7: Slice and Serve
Lift fudge from pan using parchment paper overhang. Cut into small festive squares or rectangles. Enjoy your holiday treat!
Tips for the Smoothest Christmas Fudge
Keep Your Christmas Fudge Fresh
Best Pairings for Holiday Fudge
Different Takes on Christmas Fudge You Can Try
Your Christmas Fudge Questions Explained
Regular food coloring can make the fudge runny and dilute the mixture. Gel food coloring is more concentrated and won’t affect the texture, so it’s best to stick with gel colors for vibrant and stable results.
Use a light touch when swirling with a toothpick. Gentle, minimal movements will create a nice marbled effect without completely mixing the colors together. Work quickly and carefully to maintain distinct color sections.
Ensure you’re using low heat and stirring constantly. If the mixture looks grainy, remove from heat and continue stirring. You can also add a teaspoon of vegetable oil to help create a smoother consistency.
Yes! This fudge can be prepared up to a week in advance. Store it in an airtight container in the refrigerator. Just be sure to let it sit at room temperature for a few minutes before serving to soften slightly.
Print
Tasty Christmas Fudge Recipe
- Total Time: 2 hours 10 minutes
- Yield: 16 1x
Description
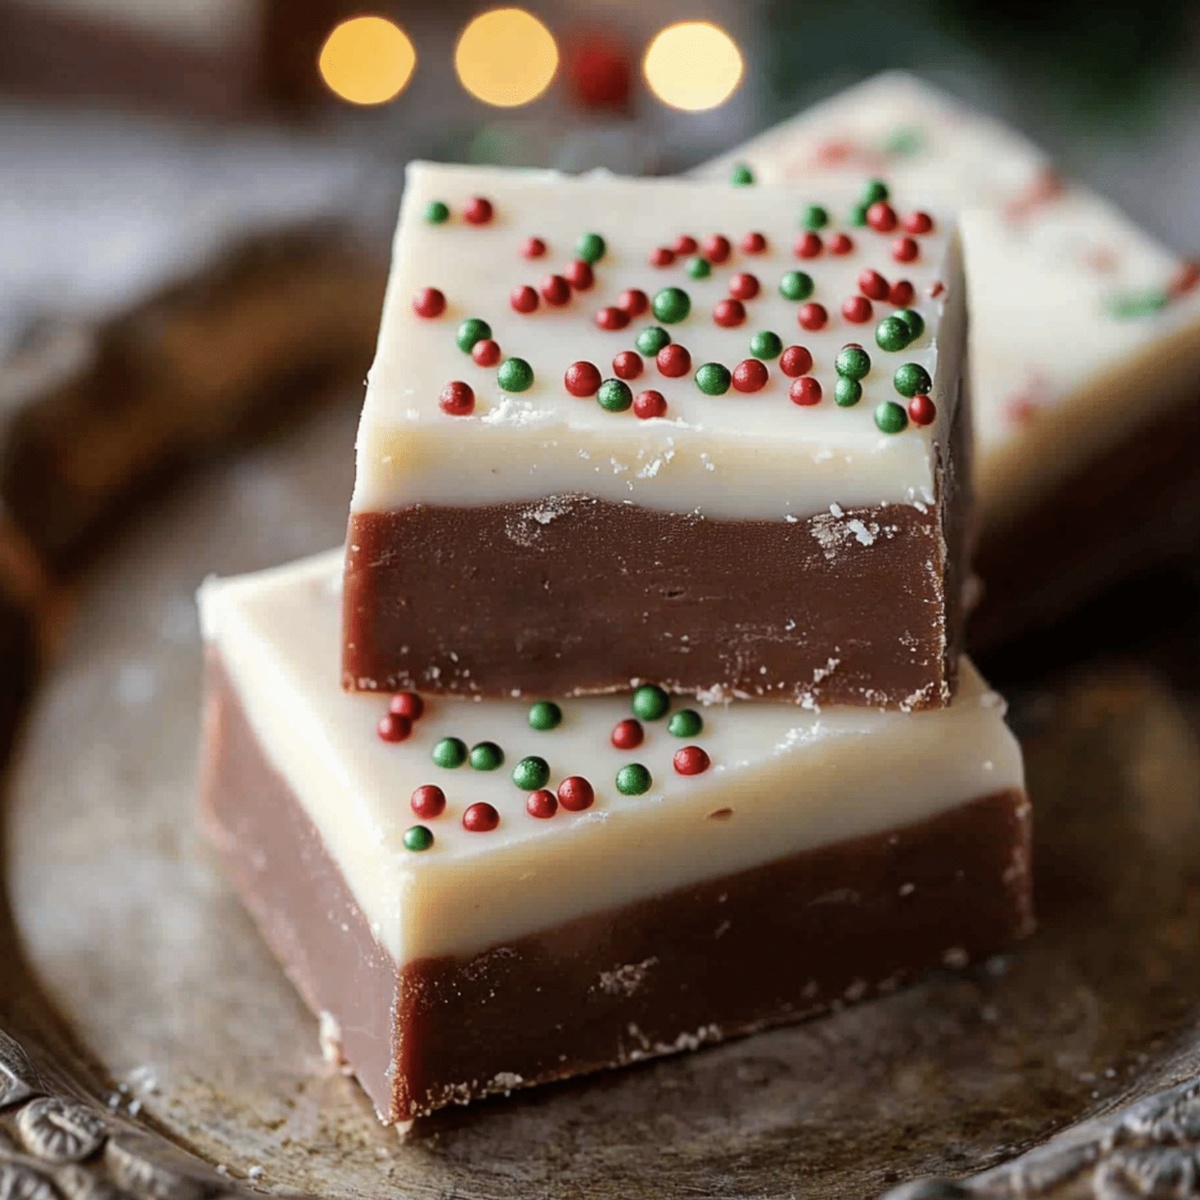
Rich chocolate Christmas fudge delivers pure holiday magic in one delightful bite. Creamy, indulgent squares melt on your palate, bringing festive cheer from the first sweet moment.
Ingredients
Main Ingredients:
- 3 cups (525 g) white chocolate chips
- 1 can (14 ounces / 396 g) sweetened condensed milk
Flavoring:
- 1 teaspoon vanilla extract
Decorative Ingredients:
- Red gel food coloring
- Green gel food coloring
- Holiday sprinkles
Instructions
- Prepare an 8-inch baking pan by lining it with parchment paper, ensuring excess paper hangs over the edges for effortless removal later.
- Melt white chocolate chips with sweetened condensed milk in a medium saucepan over low heat, stirring continuously until the mixture becomes completely smooth and homogeneous. Remove from heat and incorporate vanilla extract.
- Separate the melted chocolate mixture into three equal portions in different bowls, maintaining consistent volume.
- Create festive colors by adding red and green gel food coloring to two portions, leaving the third portion white. Mix each color thoroughly until evenly distributed.
- Pour alternating spoonfuls of red, green, and white mixtures into the prepared pan, creating a random, colorful pattern.
- Using a toothpick or thin skewer, gently swirl the colors together, creating an elegant marbled design without overmixing.
- While the fudge surface remains warm, delicately sprinkle holiday-themed decorative sprinkles across the top, pressing them lightly to ensure they adhere.
- Refrigerate the fudge for a minimum of 2 hours, allowing it to set completely and develop a firm, sliceable consistency.
- Lift the fully chilled fudge from the pan using the parchment paper overhang, then slice into bite-sized squares or rectangular pieces for serving.
Notes
- Experiment with different food coloring shades to create a personalized festive look that matches your holiday theme.
- Ensure the chocolate melts slowly and evenly by using low heat and stirring continuously to prevent burning or separation.
- Customize the fudge for dietary needs by using dairy-free white chocolate chips and coconut-based sweetened condensed milk for a vegan version.
- Let the fudge sit at room temperature for 10-15 minutes before cutting to achieve clean, smooth edges without cracking or crumbling.
- Prep Time: 10 minutes
- Cook Time: 2 hours
- Category: Desserts, Snacks
- Method: Blending
- Cuisine: American
Nutrition
- Serving Size: 16
- Calories: 224
- Sugar: 23 g
- Sodium: 66 mg
- Fat: 10 g
- Saturated Fat: 6 g
- Unsaturated Fat: 4 g
- Trans Fat: 0 g
- Carbohydrates: 30 g
- Fiber: 0 g
- Protein: 2 g
- Cholesterol: 13 mg
Jamie Granger
Recipe Developer & Food Writer
Expertise
Education
Culinary Institute of America
Jamie Granger turns ingredients into memories. With her recipes, she brings a fusion-forward flair to every creation.
Her dishes reflect the places she’s explored, the chefs she’s learned from, and the deep connection she has to food as a form of expression.
At Pass and Provision, Jamie develops recipes that balance flavor, health, and beauty, meals that don’t just satisfy your appetite but speak to your curiosity.