Easy Sugar Cookie Frosting Recipe: Silky Sweet Perfection
Sweet memories often dance around a classic sugar cookie frosting that connects generations of bakers.
Grandma’s kitchen whispers secrets of creamy perfection passed down through careful techniques.
Mixing ingredients becomes an art form with delicate balance and precise measurements.
Soft, pillowy textures promise delightful moments of pure indulgence.
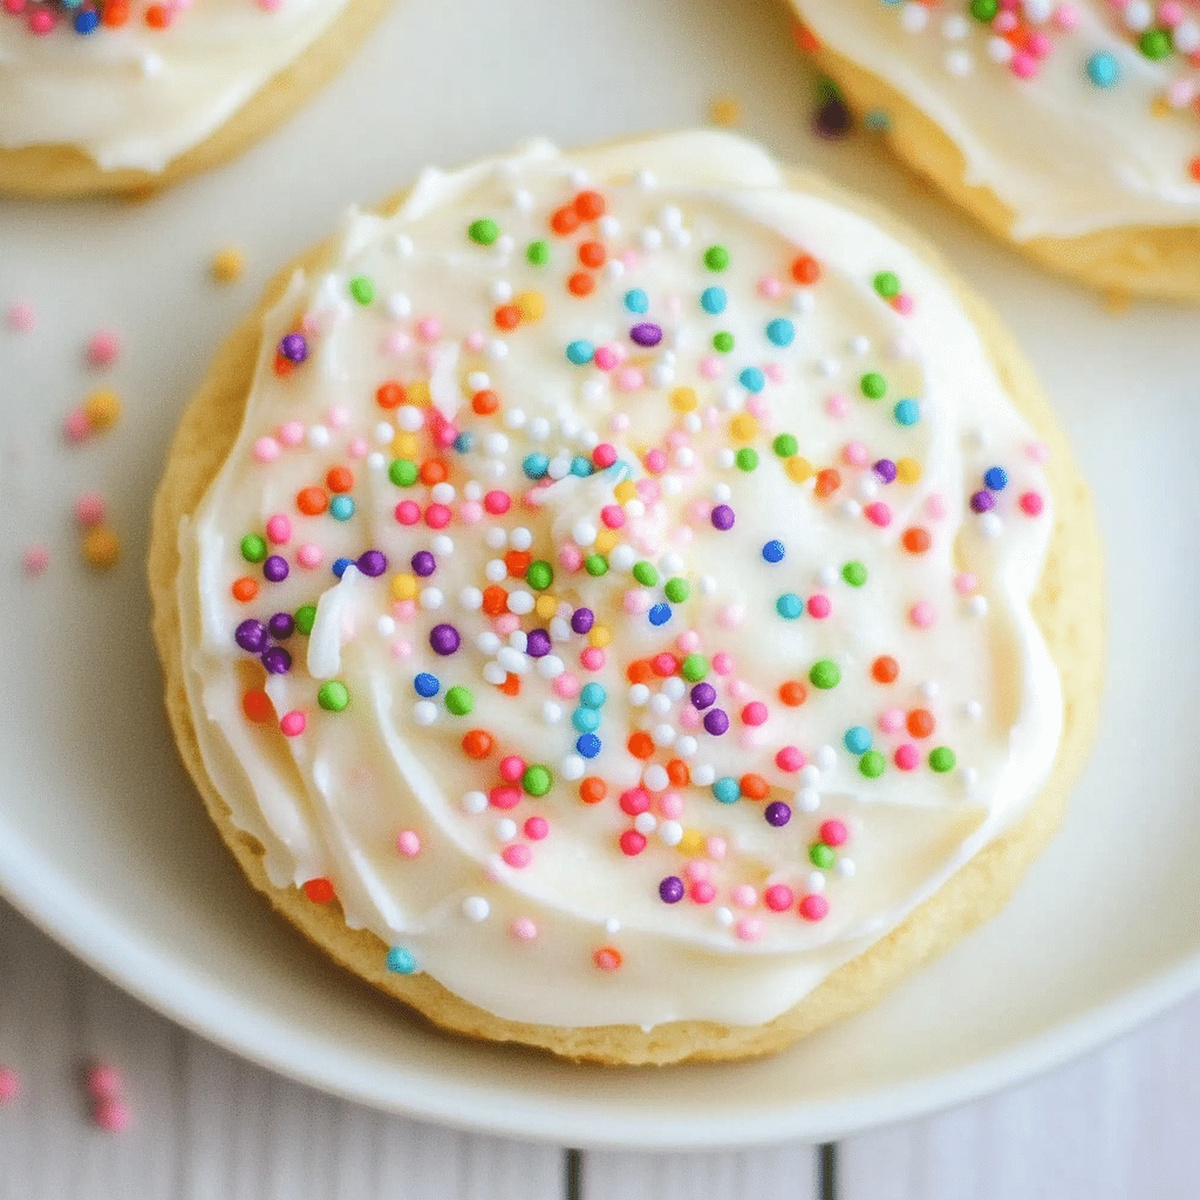
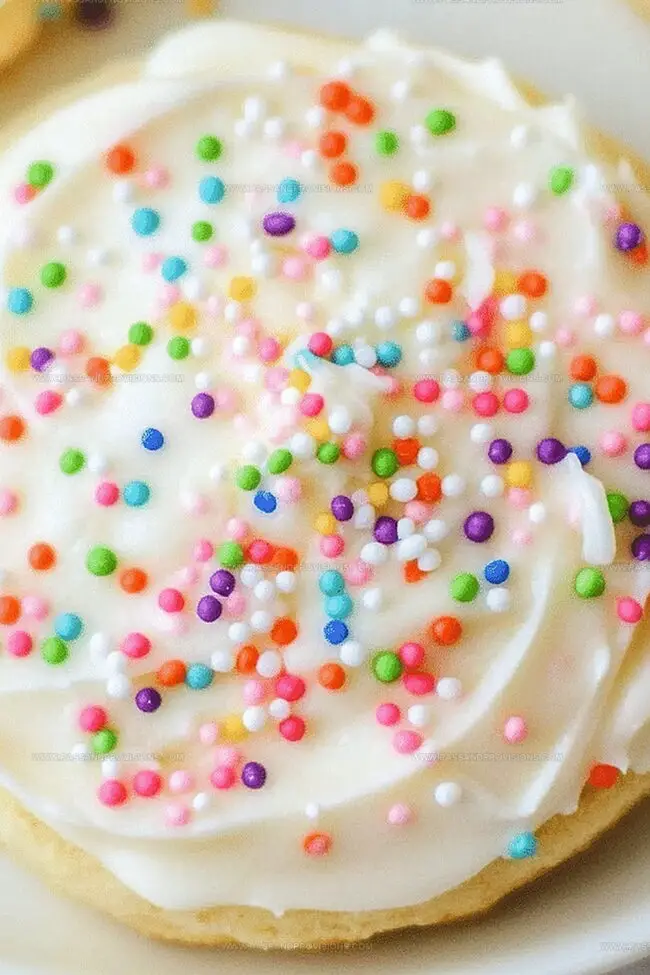
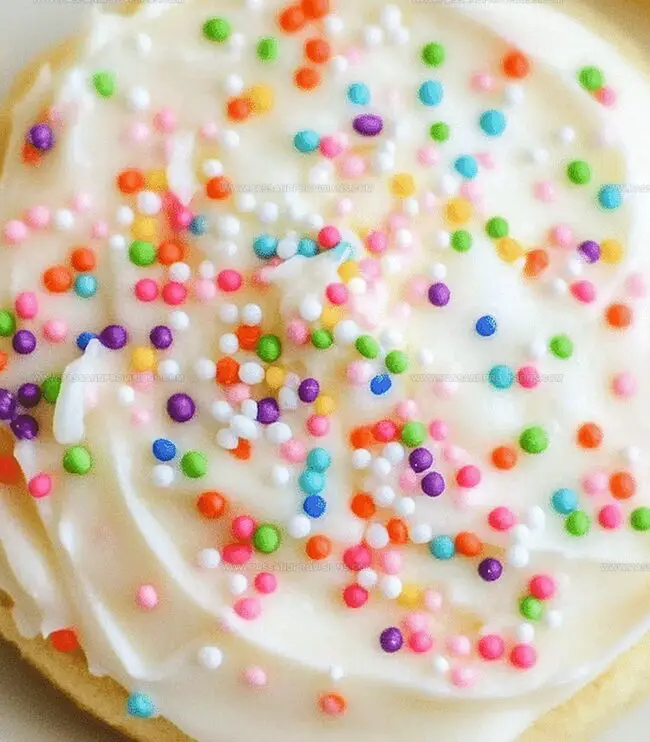
Decorative swirls and vibrant colors make these frostings a canvas for creativity.
Homemade treats spark joy and warmth in every shared bite.
You can transform simple cookies into edible masterpieces with this incredible recipe.
Sugar Cookie Frosting That Spreads Like a Dream
Everything You Need for Cookie Frosting Magic
Base Ingredients:Liquid Ingredients:Finishing Ingredients:Notes for Selection:How to Whip Up the Creamiest Sugar Frosting
Step 1: Soften and Cream Butter
Grab a large mixing bowl and your trusty mixer. Toss in softened butter and beat it until silky smooth and creamy. Aim for a light, fluffy texture that looks almost cloud-like.
Step 2: Gently Introduce Powdered Sugar
Slowly rain in the powdered sugar, one cup at a time. Keep the mixer on low to prevent a sugary explosion in your kitchen. Pause occasionally to scrape down the bowl’s sides, ensuring everything gets perfectly blended.
Step 3: Blend in Flavor Boosters
Pour in your milk, vanilla extract, and a pinch of salt. Crank up the mixer to medium speed and watch the magic happen. Want a smoother consistency? Add milk tiny teaspoon by teaspoon until it feels just right.
Step 4: Create a Color Wonderland
Divide your frosting into separate bowls. Time to get creative! Swirl in gel food coloring to create vibrant, eye-catching hues. Pro tip: Gel colors won’t mess with your frosting’s perfect texture.
Step 5: Decorate Your Cookies
Grab your cooled sugar cookies and let the decorating begin! Use an offset spatula for smooth coverage or a piping bag with a fine tip for intricate designs. Your cookies are about to become edible art.
Step 6: Let Frosting Set
Give your decorated cookies some breathing room. Let them sit at room temperature for several hours. This helps the frosting firm up just enough to make stacking a breeze.
Tips to Nail Color, Consistency, and Taste
Storing Frosting Without Drying It Out
What Cookies and Cakes Pair Best
Creative Frosting Variations to Try
Dairy-Free Delight: Replace butter with coconut oil or vegan margarine for a plant-based alternative that maintains creamy texture and rich flavor.
Chocolate Lover’s Dream: Mix in unsweetened cocoa powder to transform the classic white frosting into a decadent chocolate version that complements sugar cookies perfectly.
Zesty Citrus Option: Add fresh lemon or orange zest and a splash of corresponding juice to create a bright, refreshing frosting that brings a tangy kick to traditional sugar cookies.
Gluten-Free Friendly: Ensure all ingredients are certified gluten-free, especially powdered sugar, to make this recipe safe for those with gluten sensitivities while maintaining the original recipe’s smooth consistency.
Sugar Frosting Questions Solved
Mix on low speed and add sugar gradually, one cup at a time. This technique helps prevent sugar clouds and ensures a smooth, lump-free frosting.
Yes, you can prepare the frosting up to 5 days in advance. Store it in an airtight container in the refrigerator and bring to room temperature before using. Stir well before applying to cookies.
Gel food coloring is recommended because it provides vibrant colors without changing the frosting’s consistency. Liquid food coloring can make the frosting too runny.
Control the consistency by adding milk 1 teaspoon at a time. If it’s too thick, add a little milk. If it’s too thin, add more powdered sugar until you reach the desired texture.
Print
Sugar Cookie Frosting Recipe
- Total Time: 10 minutes
- Yield: 12 1x
Description
Delightful Sugar Cookie Frosting delivers sweet magic to classic treats with professional-grade elegance. Creamy, smooth icing provides perfect finishing touches that elevate simple cookies into memorable dessert experiences you’ll adore serving.
Ingredients
Main Ingredients:
- 1 cup (2 sticks/226 grams) unsalted butter (softened)
- 4 cups (454 grams) powdered sugar (sifted for best results)
Liquid Ingredients:
- 24 tablespoons (360 milliliters) milk (adjust for desired consistency)
- 1 teaspoon (5 milliliters) vanilla extract
Seasoning Ingredients:
- 1/8 teaspoon (0.6 grams) salt (optional, to balance sweetness)
- Food coloring (optional)
Instructions
- Prepare the butter foundation by whipping softened butter in a spacious mixing vessel until it transforms into a silky, uniform texture using an electric mixer. Ensure the butter is completely smooth with no lumps visible.
- Introduce powdered sugar gradually, incorporating it methodically to prevent a powdery explosion. Gently fold in sugar at low speed, meticulously scraping bowl edges to guarantee complete integration.
- Enhance the mixture’s complexity by introducing milk, vanilla extract, and a delicate touch of salt. Blend these elements on medium velocity until they harmonize into a cohesive, luxurious cream.
- Assess frosting’s viscosity, adjusting with minimal milk increments if the consistency appears too dense. Aim for a spreadable yet stable texture that maintains structural integrity.
- Unleash creativity by segmenting the frosting into separate containers and infusing with gel food colorants. Select vibrant hues that will make your sugar cookies visually captivating.
- Apply the personalized frosting onto completely cooled cookies using either a precision piping technique or a smooth spreading motion with an offset spatula for professional-looking results.
- Allow decorated cookies to rest at ambient temperature, permitting the frosting to gradually stabilize and develop a delicate outer shell, ensuring effortless storage and transportation.
Notes
- Softened butter is crucial for achieving a smooth, lump-free frosting that spreads easily and looks professional.
- Gradually add powdered sugar to prevent messy sugar clouds and ensure a silky, well-incorporated texture.
- Gel food coloring works best for vibrant, intense colors without thinning the frosting’s consistency.
- Let frosted cookies rest at room temperature to create a slightly hardened shell, perfect for stacking and storing without smudging.
- Prep Time: 10 minutes
- Cook Time: 0 minutes
- Category: Desserts, Snacks
- Method: Blending
- Cuisine: American
Nutrition
- Serving Size: 12
- Calories: 167
- Sugar: 18 g
- Sodium: 10 mg
- Fat: 7 g
- Saturated Fat: 4 g
- Unsaturated Fat: 3 g
- Trans Fat: 0 g
- Carbohydrates: 26 g
- Fiber: 0 g
- Protein: 0 g
- Cholesterol: 30 mg
Jamie Granger
Recipe Developer & Food Writer
Expertise
Education
Culinary Institute of America
Jamie Granger turns ingredients into memories. With her recipes, she brings a fusion-forward flair to every creation.
Her dishes reflect the places she’s explored, the chefs she’s learned from, and the deep connection she has to food as a form of expression.
At Pass and Provision, Jamie develops recipes that balance flavor, health, and beauty, meals that don’t just satisfy your appetite but speak to your curiosity.