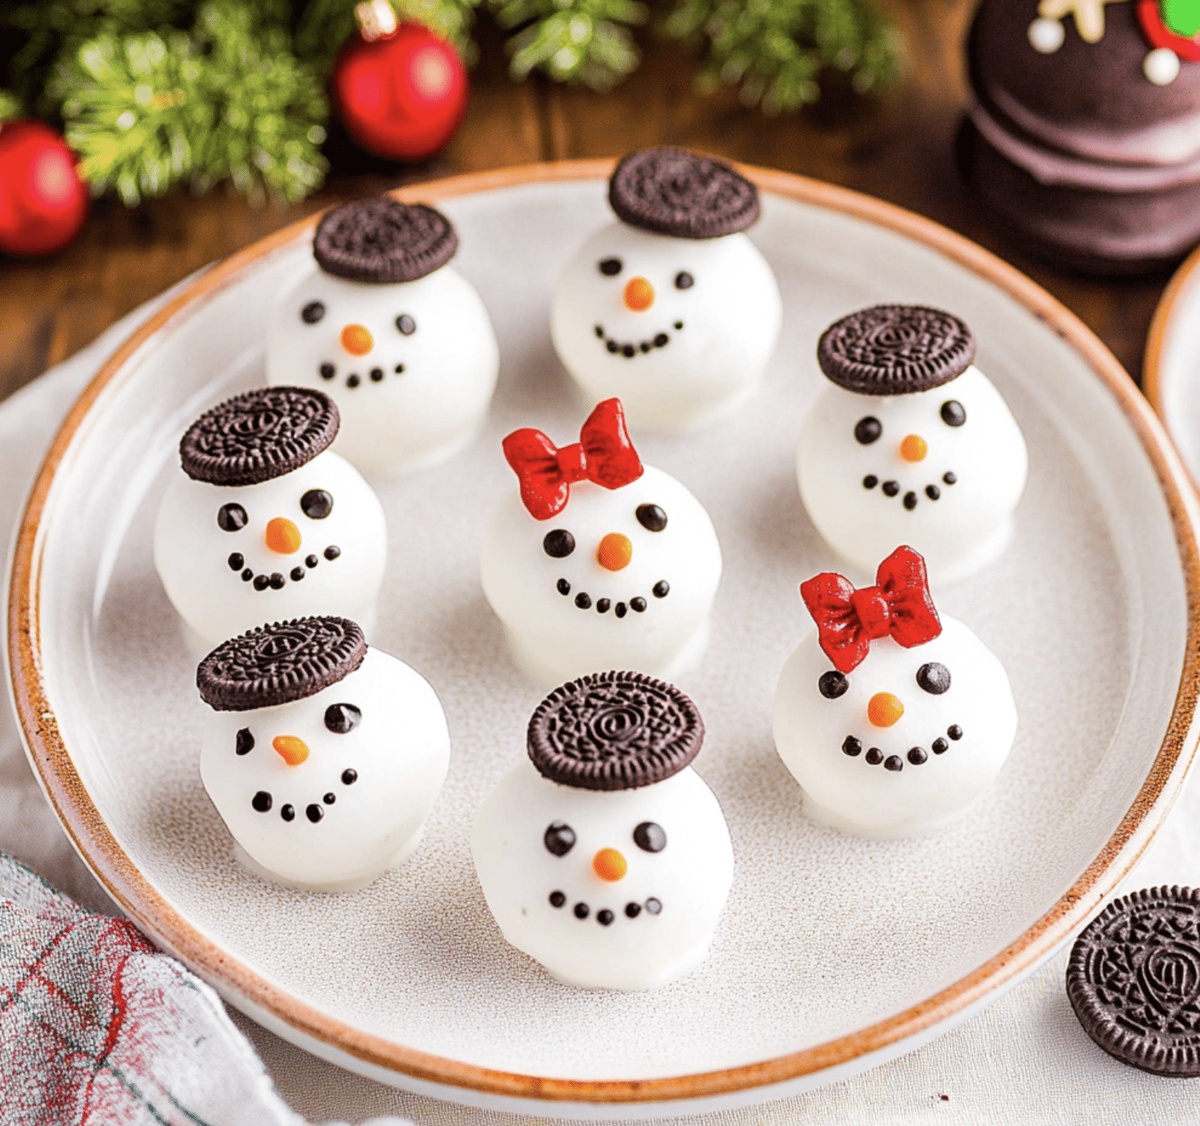
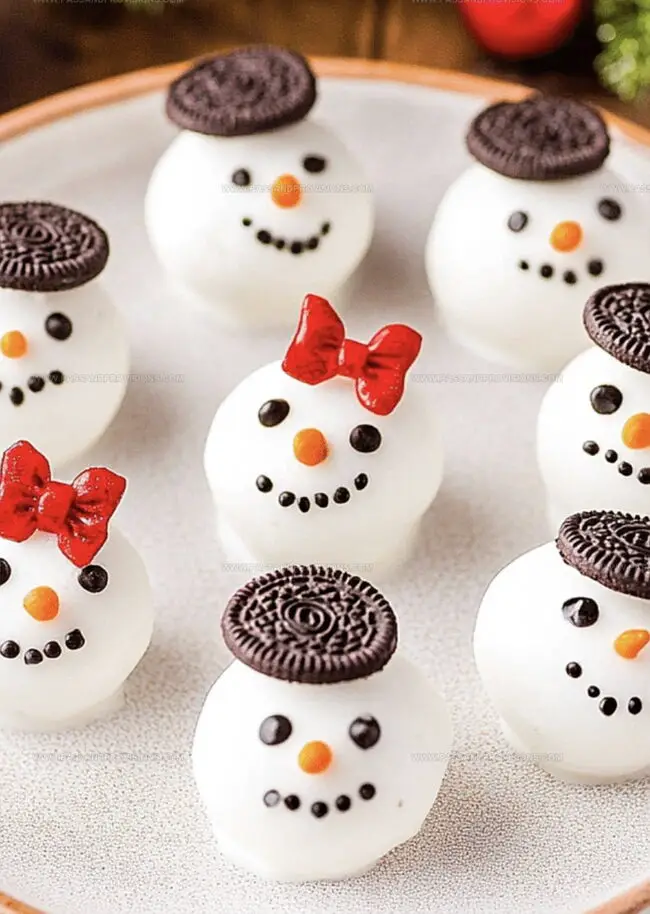
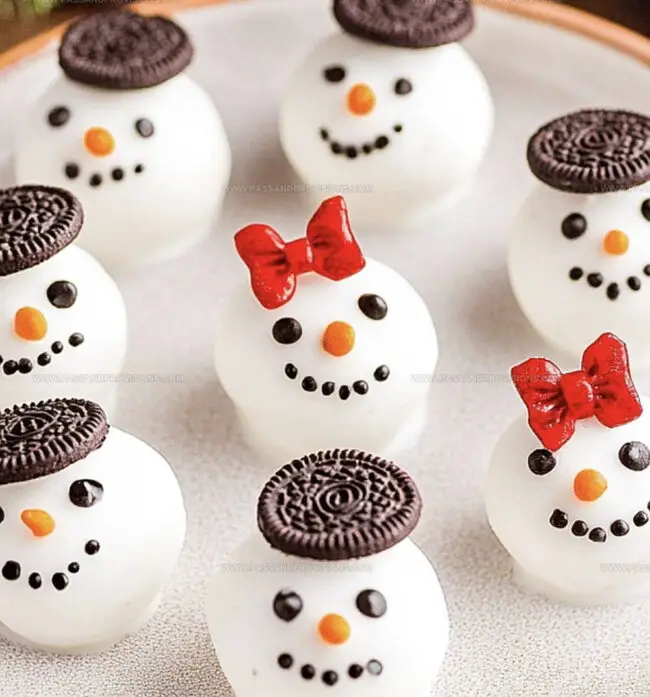
Adorable Snowman Oreo Balls Recipe for Frosty Winter Fun
Crafting delightful snowman oreo balls can spark pure winter magic in your kitchen.
Sweet crumbles of chocolate cookies blend perfectly with cream cheese for a playful treat.
Kids absolutely adore these cute spherical desserts that look like miniature snowpeople.
Decorating becomes a cheerful activity where creativity knows no bounds.
Festive gatherings deserve something whimsical and delicious that everyone can enjoy.
Smooth textures and rich flavors make these bite-sized delights irresistible.
You’ll want to roll up your sleeves and start creating these adorable winter-themed treats right now.
Why Snowman Oreo Balls Are Joyful
Everything You Need for Snowman Oreo Balls
Main Ingredients:Binding and Coating Ingredients:Decorative Ingredients:Assembling Snowman Oreo Balls with Ease
Crush Oreo Cookies
Place Oreo cookies in a food processor and pulse until they transform into fine, powdery crumbs that look like fresh snow.
Blend Cream Cheese Mixture
Add softened cream cheese to the processor and blend until the mixture becomes completely smooth and uniform, creating a creamy white base.
Prepare Chilling Station
Line a large baking sheet with parchment paper, creating a cool landing zone for your snowman treats.
Shape Snowman Balls
Scoop out the Oreo cream cheese mixture and roll into small, medium, and large balls to create snowman body parts:Chill Snowman Shapes
Place the shaped balls on the prepared parchment-lined baking sheet and refrigerate for about 30 minutes to firm up the mixture.
Melt White Chocolate Coating
Gently melt white chocolate in a microwave-safe bowl, stirring every 15 seconds to prevent burning and ensure a smooth, glossy finish.
Dip and Decorate Snowmen
Use toothpicks to dip each chilled ball into melted white chocolate, completely covering the Oreo balls to create a snowy exterior.
Add Snowman Details
Attach candies to create eyes, nose, and buttons, transforming the white chocolate-covered balls into adorable snowman characters.
Final Chill
Return the decorated snowman Oreo balls to the refrigerator for a final 15-minute chill to set the chocolate coating perfectly.
Tips for Keeping Snowman Oreo Balls Firm
Store Oreo Balls to Keep Their Shape
Pair Oreo Balls with These Fun Treats
Ways to Decorate Snowman Oreo Balls Differently
Snowman Oreo Ball Help and Advice
No, they’re super easy! You just need a food processor to crush the cookies and mix with cream cheese. The whole process takes about 15 minutes and requires minimal cooking skills.
Absolutely! Kids can help roll the mixture into balls and decorate them. It’s a fun, simple holiday activity that doesn’t involve dangerous cooking steps.
You’ll need a food processor, a mixing bowl, a baking sheet, and parchment paper. Optional items include melting chocolate and decorating supplies like small candies or icing for the snowman details.
Use a food processor to create fine cookie crumbs and blend the cream cheese thoroughly. Make sure the cream cheese is softened at room temperature for the smoothest mixture possible.
Print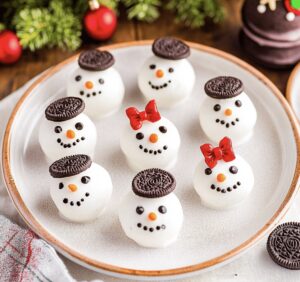
Snowman Oreo Balls Recipe
- Total Time: 50 minutes
- Yield: 36 1x
Description
Sweet snowman Oreo balls offer a whimsical winter dessert that delights with creamy chocolate and playful design. Guests will love these charming no-bake treats perfect for holiday gatherings or festive celebrations.
Ingredients
Oreo Balls Base:
- 36 Oreo cookies (about 1 standard package)
- 8 ounces (225 grams) cream cheese, softened
Coating and Decoration:
- 2 cups (350 grams) white chocolate or white candy melts
- Mini chocolate chips
- Orange sprinkles
- Black decorating gel
- Pretzel sticks (optional)
Garnish:
- Candy-coated sunflower seeds
Instructions
- Crush Oreo cookies into fine, uniform crumbs using a food processor, ensuring no large chunks remain.
- Incorporate softened cream cheese into the cookie crumbs, blending thoroughly until a cohesive, smooth mixture develops.
- Roll the mixture into small, uniform spheres, creating the base of each snowman’s body.
- Carefully shape the balls into slightly varied sizes to represent the snowman’s body segments, with a smaller ball for the head and a larger one for the bottom.
- Chill the formed snowman shapes in the refrigerator until firm and stable, approximately 15-20 minutes.
- Melt white chocolate coating, preparing it for dipping the chilled Oreo balls.
- Gently submerge each snowman shape into the melted white chocolate, ensuring complete and even coverage.
- Place dipped snowmen on a parchment-lined tray, allowing excess chocolate to drip off.
- Before the chocolate sets, add decorative elements like mini chocolate chips for eyes, pretzel sticks for arms, or orange candy for a carrot nose.
- Return the decorated snowmen to the refrigerator to allow the chocolate coating to completely harden.
- Optional: Dust with powdered sugar or add additional decorative details to enhance the snowman’s appearance.
Notes
- Crush Oreo cookies until they’re super fine for a smoother, more uniform texture that helps the balls hold together perfectly.
- Ensure cream cheese is at room temperature to blend seamlessly with cookie crumbs, preventing lumpy or uneven mixture.
- Use white chocolate coating for the classic snowman look, and have extra melted chocolate on hand for easy decorating touch-ups.
- Chill the Oreo balls thoroughly before dipping in chocolate to prevent crumbling and create a clean, smooth exterior that’s picture-perfect.
- Prep Time: 20 minutes
- Cook Time: 30 minutes
- Category: Desserts, Snacks
- Method: Blending
- Cuisine: American
Nutrition
- Serving Size: 36
- Calories: 138
- Sugar: 9 g
- Sodium: 85 mg
- Fat: 8 g
- Saturated Fat: 4.5 g
- Unsaturated Fat: 3.5 g
- Trans Fat: 0 g
- Carbohydrates: 15 g
- Fiber: 0.5 g
- Protein: 1.5 g
- Cholesterol: 20 mg
Jamie Granger
Recipe Developer & Food Writer
Expertise
Education
Culinary Institute of America
Jamie Granger turns ingredients into memories. With her recipes, she brings a fusion-forward flair to every creation.
Her dishes reflect the places she’s explored, the chefs she’s learned from, and the deep connection she has to food as a form of expression.
At Pass and Provision, Jamie develops recipes that balance flavor, health, and beauty, meals that don’t just satisfy your appetite but speak to your curiosity.