Irresistible Red Velvet Thumbprint Cookies with Cream Cheese Recipe
Sweet memories often bloom around these delightful red velvet thumbprint cookies with cream cheese that melt hearts instantly.
Cookie lovers appreciate unique twists on classic desserts.
Soft crimson dough nestles creamy centers perfectly.
Rich cocoa undertones dance through each delicate bite.
Impressive yet surprisingly simple, these treats promise pure joy.
Delicate thumbprints create adorable pockets for smooth cream cheese filling.
You will want to bake a double batch to share – or maybe not!
Why Red Velvet Thumbprint Cookies Always Win
Ingredients That Go Into Red Velvet Thumbprint Cookies
Filling:Cookie Base:Finishing Touches:Making Red Velvet Thumbprint Cookies Step-by-Step
Step 1: Prepare Cream Cheese Filling
In a mixing bowl, blend cream cheese, powdered sugar, and vanilla extract until the mixture becomes silky smooth and free of lumps. Use an electric mixer for the best results, creating a creamy and light filling that will make your cookies irresistible.
Ingredients:Step 2: Create Piping Bag
Transfer the cream cheese mixture into a piping bag or a resealable plastic bag. If using a plastic bag, carefully cut a small tip off one corner to create a makeshift piping tool. This technique ensures precise and elegant filling placement.
Step 3: Chill Filling
Place the prepared piping bag with the cream cheese filling into the refrigerator. Chilling helps the filling firm up and makes it easier to pipe onto the cookies later. Let it cool for at least 30 minutes while you prepare the cookie base.
Step 4: Mix Cookie Dough
In a large mixing bowl, combine:Whisk the dry ingredients together to ensure even distribution of flavors and a consistent texture.
Step 5: Cream Butter and Sugar
In a separate bowl, cream together:Beat until the mixture becomes light, fluffy, and pale in color. This process helps incorporate air and creates a tender cookie texture.
Step 6: Add Wet Ingredients
Mix in:Blend until the ingredients are fully incorporated and the dough achieves a vibrant red color.
Step 7: Combine Dry and Wet Ingredients
Gradually add the dry ingredient mixture to the wet ingredients. Mix until a smooth, cohesive dough forms. Be careful not to overmix, as this can make the cookies tough.
Step 8: Shape Cookie Dough
Roll the dough into small balls, about 1 inch in diameter. Place them on a parchment-lined baking sheet, leaving space between each cookie.
Step 9: Create Thumbprint Indentation
Using your thumb or the back of a small spoon, gently press a small indentation into the center of each cookie. This creates a perfect pocket for the cream cheese filling.
Step 10: Bake Cookies
Preheat the oven to 350°F (175°C). Bake the cookies for 10-12 minutes until the edges are set and the centers are slightly soft.
Step 11: Cool and Fill
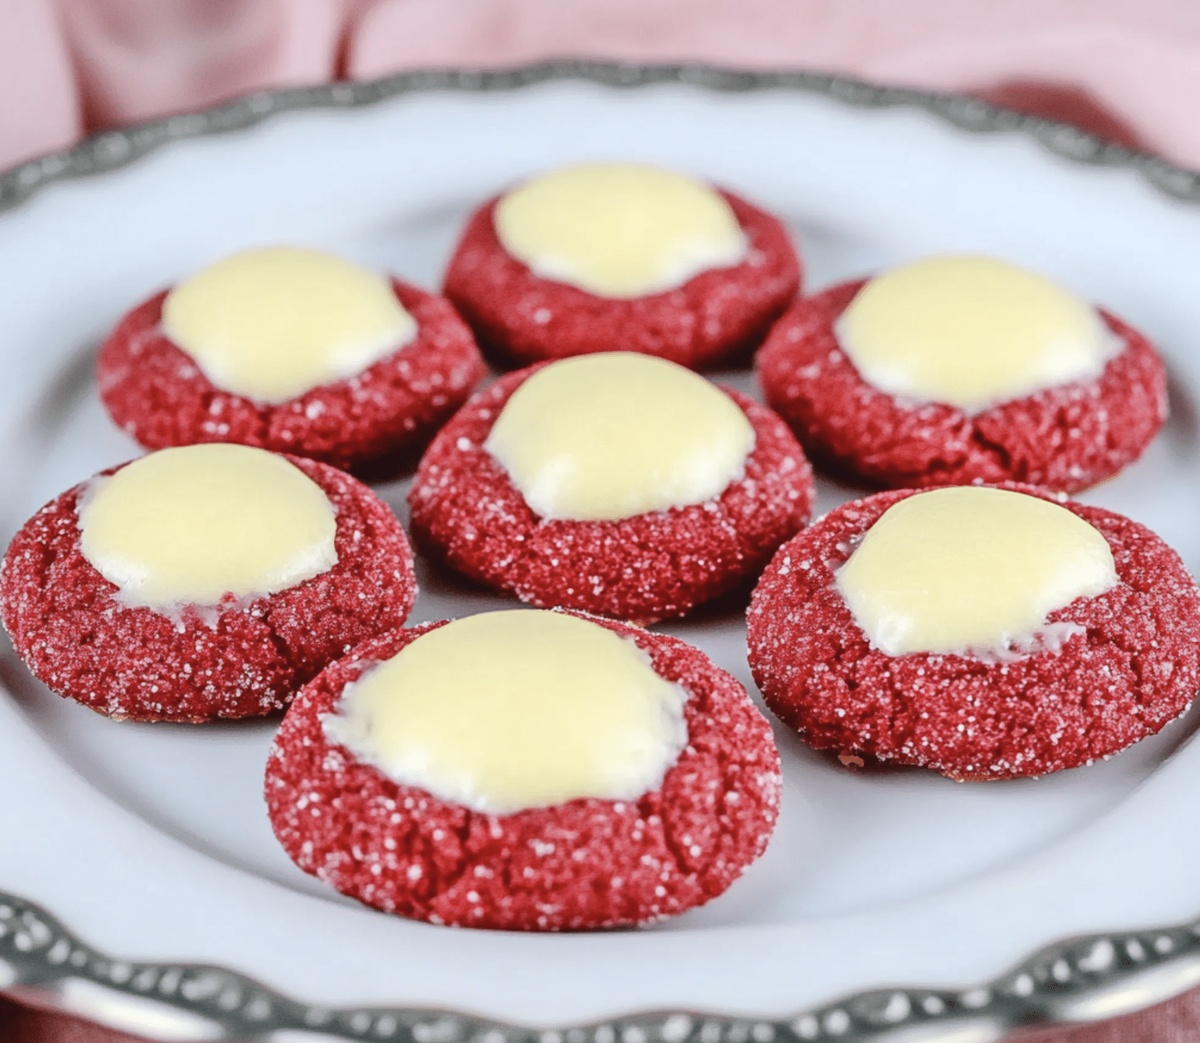
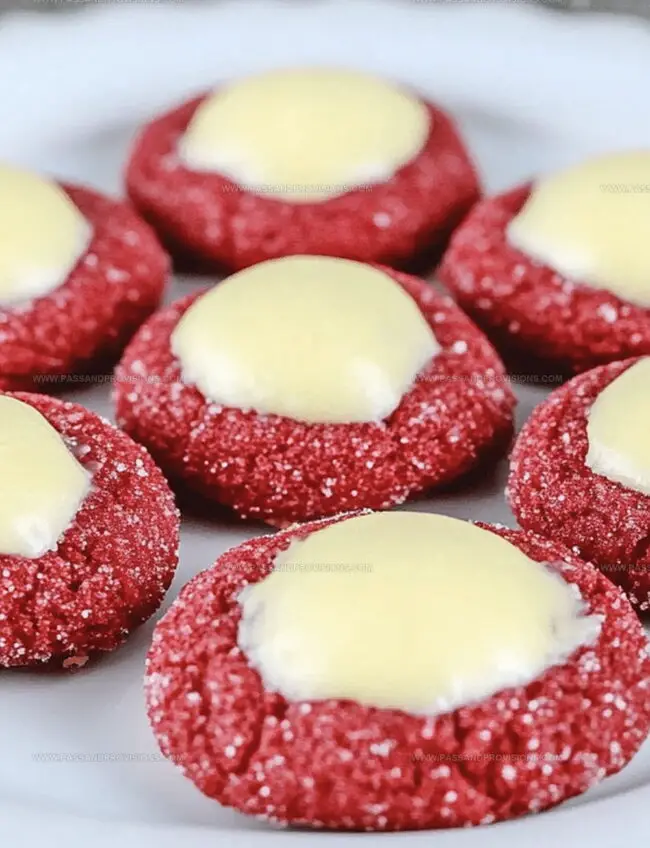
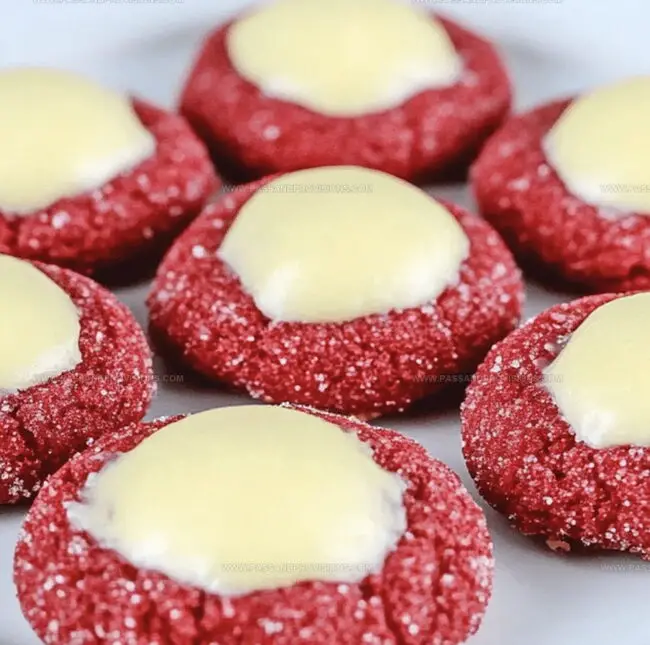
Allow the cookies to cool completely on a wire rack. Once cooled, pipe the chilled cream cheese filling into the thumbprint indentations.
Step 12: Serve and Enjoy
Arrange the filled Red Velvet Thumbprint Cookies on a serving platter. These delightful treats are perfect for sharing with friends and family during special occasions or as a sweet afternoon indulgence.
Tips for Red Velvet Cookies with Cream Cheese Centers
How to Keep Thumbprint Cookies Fresh Longer
What Tastes Great with Red Velvet Thumbprint Cookies
Red Velvet Thumbprint Cookie Variations You’ll Like
FAQs for Red Velvet Thumbprint Cookies
These cookies combine the rich, velvety flavor of red velvet with a creamy cream cheese filling, creating a delightful twist on traditional thumbprint cookies.
Yes, you can prepare the cream cheese filling in advance and refrigerate it. The cookie dough can also be made ahead and chilled before baking.
Use the back of a rounded teaspoon or your thumb to gently press an indentation in the center of each cookie dough ball before baking, being careful not to crack the edges.
Absolutely! The vibrant red color and elegant cream cheese filling make these cookies perfect for holidays, Valentine’s Day, or any festive gathering where you want to impress guests with a beautiful and delicious treat.
Print
Red Velvet Thumbprint Cookies With Cream Cheese Recipe
- Total Time: 50 minutes
- Yield: 24 1x
Description
Irresistible red velvet thumbprint cookies blend classic Southern charm with cream cheese elegance. Warm chocolate undertones and silky filling create a perfect dessert that melts in your mouth, tempting cookies lovers to savor each delightful bite.
Ingredients
Primary Ingredients:
- 1.5 cups (190 grams) all-purpose flour
- 0.5 cup (115 grams) unsalted butter, softened
- ⅔ cup (135 grams) granulated sugar
- 1 large egg
Chocolate Elements:
- 2 tablespoons (15 grams) cocoa powder
- 1 tablespoon red gel food coloring
Binding and Flavor Ingredients:
- 0.5 teaspoon baking powder
- 0.25 teaspoon salt
- 1 teaspoon vanilla extract
Cream Cheese Filling:
- 4 ounces (115 grams) cream cheese, softened
- 0.25 cup (30 grams) powdered sugar
- 0.5 teaspoon vanilla extract
Rolling Ingredient:
- 0.5 cup (50 grams) powdered sugar (for rolling, optional)
Instructions
- Whip cream cheese, powdered sugar, and vanilla extract until silky and uniform, creating a luscious filling that will later grace the cookie centers.
- Carefully transfer the cream cheese mixture into a piping bag or a zip-top bag, snipping a small corner to prepare for precise filling. Chill the mixture in the refrigerator to maintain its structure.
- Ensure the filling remains cool and firm while you prepare the cookie base, allowing for seamless integration of flavors and textures.
- The chilled filling will provide a creamy, tangy contrast to the rich red velvet cookie, creating a delightful balance of tastes and temperatures.
- When ready to assemble, the cold filling will pipe smoothly into the freshly baked cookie indentations, creating a professional and appetizing presentation.
Notes
- Soften cream cheese at room temperature for easier mixing and smoother texture.
- Use a star-tipped piping bag for an elegant and professional-looking cream cheese filling.
- Chill the cream cheese mixture before piping to maintain its shape and prevent spreading when baking.
- For a gluten-free version, substitute all-purpose flour with almond or gluten-free flour blend.
- Prep Time: 20 minutes
- Cook Time: 30 minutes
- Category: Desserts, Snacks
- Method: Blending
- Cuisine: American
Nutrition
- Serving Size: 24
- Calories: 160
- Sugar: 10 g
- Sodium: 80 mg
- Fat: 8 g
- Saturated Fat: 5 g
- Unsaturated Fat: 3 g
- Trans Fat: 0 g
- Carbohydrates: 21 g
- Fiber: 0.5 g
- Protein: 2 g
- Cholesterol: 30 mg
Jamie Granger
Recipe Developer & Food Writer
Expertise
Education
Culinary Institute of America
Jamie Granger turns ingredients into memories. With her recipes, she brings a fusion-forward flair to every creation.
Her dishes reflect the places she’s explored, the chefs she’s learned from, and the deep connection she has to food as a form of expression.
At Pass and Provision, Jamie develops recipes that balance flavor, health, and beauty, meals that don’t just satisfy your appetite but speak to your curiosity.