Irresistibly Gooey Red Velvet Cheesecake Brownies Recipe
Mixing red velvet cheesecake brownies creates a dessert that whispers pure indulgence.
Creamy layers meld with rich chocolate undertones for an unforgettable treat.
Sweet expectations dance between velvety textures and decadent swirls.
Chocolate lovers understand the magic of unexpected combinations.
Baking brings people together through shared moments of deliciousness.
Kitchen experiments often lead to remarkable discoveries.
Passionate bakers know that every recipe tells a delightful story.
Grab a fork and let the culinary adventure begin!
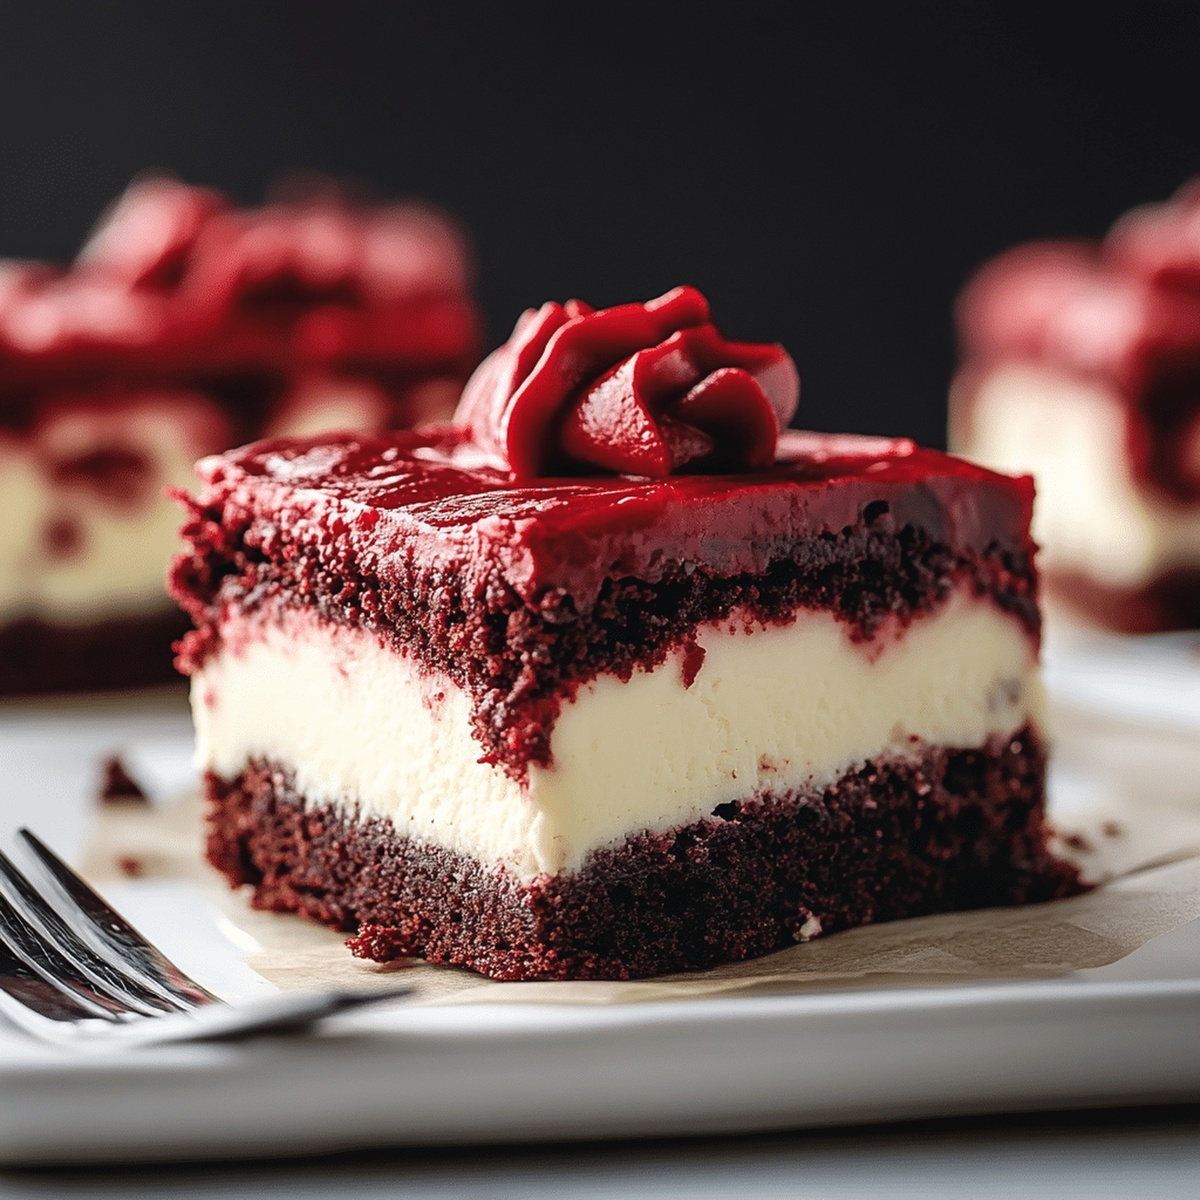
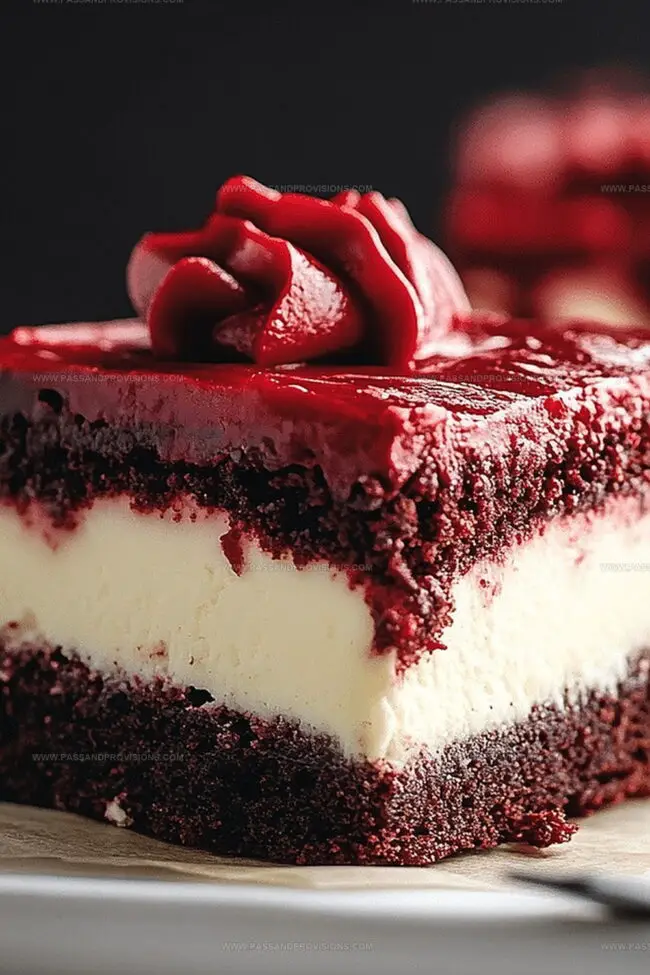
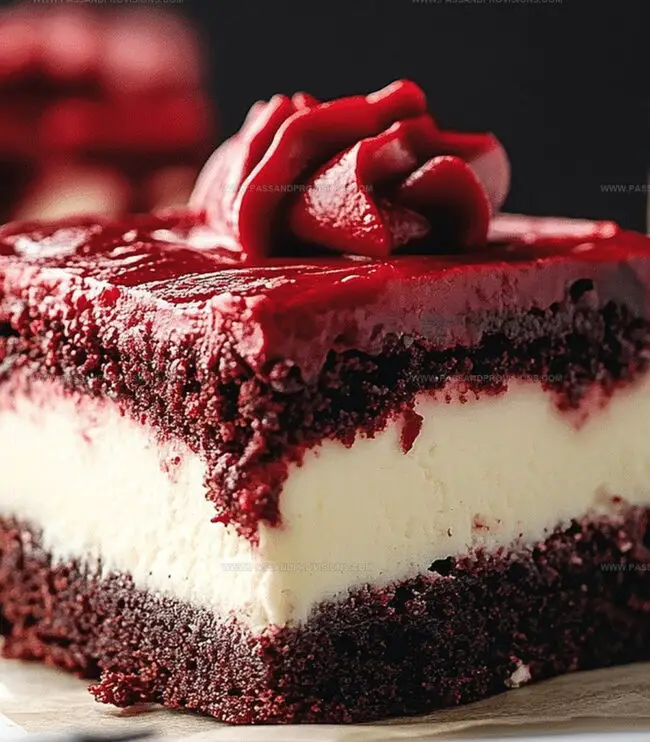
Red Velvet Cheesecake Brownies in the Spotlight
Ingredients for Red Velvet Cheesecake Brownies
Main Base Ingredients:Chocolate Components:Red Velvet and Cheesecake Layer:Dry Ingredients:Baking Instructions for Cheesecake Brownies
Step 1: Prepare Baking Pan
Preheat the oven to 350°F (175°C). Line an 8×8-inch baking pan with parchment paper, allowing extra paper to hang over the sides for easy brownie removal later.
Step 2: Create Brownie Batter
In a large mixing bowl, combine:Whisk these dry ingredients together until well blended.
In a separate bowl, mix:Blend until smooth and vibrant red.
Step 3: Prepare Cheesecake Swirl
In another bowl, beat:Whip until completely creamy and free of lumps.
Step 4: Assemble Brownie Layers
Pour the red velvet brownie batter into the prepared pan. Dollop the cheesecake mixture on top in random spots.
Step 5: Create Swirl Pattern
Use a knife or toothpick to gently drag through the batters, creating a marbled swirl effect without overmixing.
Step 6: Bake Brownies
Place the pan in the preheated oven. Bake for 30-35 minutes, or until a toothpick inserted near the center comes out with a few moist crumbs.
Step 7: Cool and Slice
Remove from oven and let cool completely in the pan. Use the parchment paper overhang to lift brownies out. Cut into squares and serve.
Tips for the Perfect Red Velvet Texture
Keeping Brownies Fresh for Days
What Tastes Great with These Brownies
Switch Things Up: Brownie Variations
Brownie FAQs Answered
The bright red color comes from red food coloring, which is a classic ingredient in red velvet recipes. A small amount of cocoa powder also contributes to the signature reddish-brown hue.
While you can skip the food coloring, it won’t have the traditional red velvet appearance. If you prefer, you can use natural alternatives like beet juice for a natural red tint.
Insert a toothpick near the center of the brownies. If it comes out with a few moist crumbs but not wet batter, the brownies are done. The edges should be set, and the center slightly soft.
Yes! Room temperature cream cheese and eggs blend more smoothly, creating a creamier cheesecake swirl and preventing lumps in the batter.
Print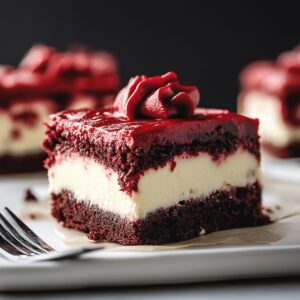
Red Velvet Cheesecake Brownies Recipe
- Total Time: 45 minutes
- Yield: 12 1x
Description
Indulgent Red Velvet Cheesecake Brownies blend luxurious chocolate and creamy cheesecake into one irresistible dessert. Rich layers of crimson brownie and tangy cream cheese swirl together, promising pure dessert bliss for chocolate enthusiasts.
Ingredients
Main Ingredients:
- 1 large egg
- 1 large egg yolk
- ½ cup (1 stick or 113 grams) unsalted butter, melted
- ¾ cup (150 grams) granulated sugar
- ¼ cup (50 grams) brown sugar
- 8 ounces (225 grams) cream cheese, softened
Dry Ingredients:
- ¾ cup (90 grams) all-purpose flour
- ¼ cup (25 grams) unsweetened cocoa powder
- ½ teaspoon salt
Flavor and Coloring Ingredients:
- 1 teaspoon vanilla extract
- ½ teaspoon vanilla extract
- 1 tablespoon red food coloring
- 1 teaspoon white vinegar
- ¼ cup (50 grams) granulated sugar
Instructions
- Prepare an 8×8-inch baking vessel by layering parchment paper with extended edges, ensuring smooth removal after baking.
- Heat the oven to a precise temperature of 350°F (175°C), creating an ideal environment for baking.
- Craft the brownie foundation by thoroughly blending dry ingredients with wet components, creating a rich chocolate base with velvety texture.
- Whip the cream cheese mixture until silky and smooth, ensuring no lumps remain for a consistent cheesecake layer.
- Pour the chocolate brownie batter into the prepared pan, spreading evenly with a spatula to create a uniform base.
- Delicately dollop the cream cheese mixture across the chocolate layer, using swirling motions to create a marbled aesthetic.
- Insert a knife or toothpick through the layers, generating intricate patterns and combining the red velvet cheesecake and chocolate elements.
- Transfer the pan to the preheated oven, allowing the dessert to bake until the edges become slightly firm and the center maintains a gentle jiggle.
- Remove from the oven and permit complete cooling at room temperature, which helps the brownies set and develop deeper flavor profiles.
- Once cooled, utilize the parchment paper overhang to lift the entire dessert from the pan, then slice into precise, clean squares for serving.
Notes
- Achieve deep red color by using high-quality cocoa powder and gel food coloring for vibrant, rich results.
- Control moisture by slightly underbaking brownies, which creates a fudgy texture that complements the creamy cheesecake swirl.
- Chill brownies completely before cutting to ensure clean, precise slices and prevent crumbling.
- Swap regular cream cheese with dairy-free alternatives for a lactose-intolerant friendly version, maintaining the decadent dessert’s original texture and flavor profile.
- Prep Time: 15 minutes
- Cook Time: 30 minutes
- Category: Desserts, Snacks
- Method: Baking
- Cuisine: American
Nutrition
- Serving Size: 12
- Calories: 260
- Sugar: 20 g
- Sodium: 150 mg
- Fat: 12 g
- Saturated Fat: 7 g
- Unsaturated Fat: 4 g
- Trans Fat: 0 g
- Carbohydrates: 33 g
- Fiber: 1 g
- Protein: 4 g
- Cholesterol: 70 mg
Jamie Granger
Recipe Developer & Food Writer
Expertise
Education
Culinary Institute of America
Jamie Granger turns ingredients into memories. With her recipes, she brings a fusion-forward flair to every creation.
Her dishes reflect the places she’s explored, the chefs she’s learned from, and the deep connection she has to food as a form of expression.
At Pass and Provision, Jamie develops recipes that balance flavor, health, and beauty, meals that don’t just satisfy your appetite but speak to your curiosity.