Dreamy Pistachio Pudding Sugar Cookie Bars Recipe for Sweet Bliss
Have you ever craved a dessert that combines the rich, nutty essence of pistachio pudding with the comforting sweetness of sugar cookies?
Soft crumbles melt together in a delightful harmony that surprises your taste buds.
Unexpected flavor combinations often create the most memorable treats.
Creamy pistachio notes dance alongside buttery cookie textures, promising a unique indulgence.
Each bite tells a story of culinary creativity and simple ingredients.
Baking these bars becomes an adventure of delicious exploration.
You won’t be able to resist trying this irresistible recipe that brings joy to every single slice.
Why People Love Pistachio Pudding Sugar Cookie Bars
Ingredients for Pistachio Pudding Sugar Cookie Bars
Base Ingredients:Flavor and Binding Ingredients:Additional Texture and Flavor Ingredients:Making Pistachio Pudding Sugar Cookie Bars from Scratch
Step 1: Prepare Baking Dish
Preheat oven to 350°F (175°C). Grease a 9×13-inch baking pan. Line the pan with parchment paper, allowing extra paper to hang over the sides for easy bar removal later.
Step 2: Mix Dry Ingredients
Combine in a medium bowl:Whisk these ingredients together until perfectly blended and no lumps remain.
Step 3: Cream Butter and Sugar
In a large mixing bowl, beat softened butter and granulated sugar until the mixture becomes light, fluffy, and pale yellow. Use an electric mixer on medium speed for best results.
Step 4: Add Wet Ingredients
Mix in:Blend until smooth and fully incorporated.
Step 5: Create Cookie Dough
Gradually add dry ingredient mixture to wet ingredients. Mix on low speed until a soft, cohesive dough forms. Be careful not to overmix.
Step 6: Spread Dough
Transfer cookie dough to prepared baking pan. Use a spatula or clean hands to spread evenly, ensuring smooth and consistent coverage across the entire pan.
Step 7: Bake Bars
Place pan in preheated oven. Bake for 20-25 minutes or until edges turn golden brown and center looks set. A toothpick inserted in the center should come out with a few moist crumbs.
Step 8: Cool and Cut
Remove from oven and let cool completely in the pan. Use parchment paper overhang to lift bars out. Cut into squares or rectangles using a sharp knife.
Tips for Better Pistachio Pudding Sugar Cookie Bars
How to Keep Pistachio Pudding Sugar Cookie Bars Fresh
Best Matches for Pistachio Pudding Sugar Cookie Bars
Ways to Change Up Pistachio Pudding Sugar Cookie Bars
Pistachio Pudding Sugar Cookie Bars FAQs
The pistachio pudding mix infuses the cookie bars with a rich, nutty pistachio taste and helps create a soft, moist texture that sets these bars apart from traditional sugar cookies.
Instant pudding mix works best for this recipe. Cook-and-serve pudding might alter the texture and moisture content of the bars, potentially affecting the final result.
If you only have a slightly different pan size, you can still make the recipe. Just watch the baking time carefully and check for doneness earlier, as pan size can affect how quickly the bars cook through.
While the pudding mix provides a pistachio flavor, the bars have a subtle pistachio taste. If you’re looking for an intense pistachio experience, you might want to add chopped pistachios to the batter for extra nutty crunch.
Print
Pistachio Pudding Sugar Cookie Bars Recipe
- Total Time: 45 minutes
- Yield: 24 1x
Description
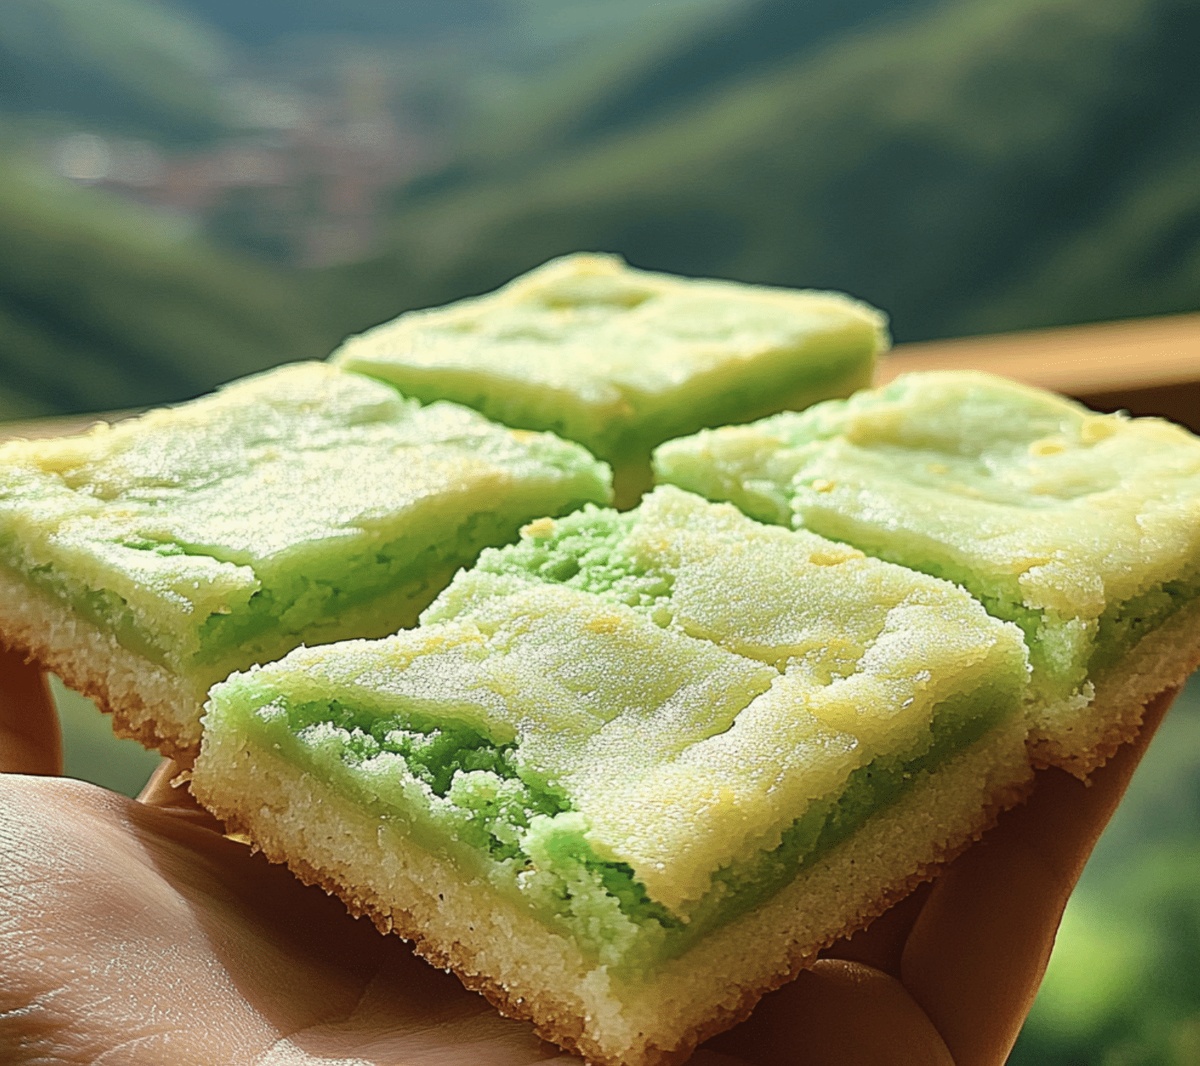
Indulgent Pistachio Pudding Sugar Cookie Bars bring nostalgic comfort with a delightful twist of nutty sweetness. Creamy pistachio infusion and buttery cookie base combine for a mouthwatering dessert that beckons you to savor each delectable bite.
Ingredients
Main Ingredients:
- 1 cup (225 g, 8 ounces) unsalted butter, softened
- 2 large eggs
- 2 ½ cups (310 g, 11 ounces) all-purpose flour
- 1 cup (200 g, 7 ounces) granulated sugar
- ½ cup (100 g, 3.5 ounces) light brown sugar, packed
Pudding and Flavoring Ingredients:
- 2 (3.4 ounces or 96 g) boxes instant pistachio pudding mix
- 1 teaspoon vanilla extract
- ½ cup (60 g, 2 ounces) chopped pistachios (optional)
Leavening and Seasoning Ingredients:
- 1 teaspoon baking powder
- ½ teaspoon baking soda
- ½ teaspoon salt
Frosting Ingredients:
- ½ cup (115 g, 4 ounces) unsalted butter, softened
- 2 cups (250 g, 9 ounces) powdered sugar
- 3–4 tablespoons (45–60 ml) milk or heavy cream
- Green food coloring (optional, for a brighter hue)
- Chopped pistachios for garnish (optional)
Instructions
- Warm the oven to a moderate temperature suitable for baking sweet treats, positioning the rack in the center to ensure even heat distribution.
- Prepare the baking vessel by coating the interior with a thin layer of butter or non-stick spray, then carefully line the pan with parchment paper, allowing extra paper to hang over the sides for effortless bar extraction after baking.
- Combine the dry ingredients in a mixing bowl, whisking together flour, instant pistachio pudding mix, and other powdery components until thoroughly integrated and lump-free.
- In a separate larger mixing bowl, cream together softened butter and sugars until the mixture becomes light, fluffy, and pale in color, creating a smooth base for the cookie bars.
- Incorporate eggs and vanilla extract into the butter mixture, blending until the ingredients are completely emulsified and the texture becomes uniform.
- Gradually fold the dry ingredient mixture into the wet ingredients, stirring gently to prevent overworking the batter, which could result in tough cookies.
- Transfer the soft dough into the prepared baking pan, using a spatula or clean hands to spread it evenly across the surface, ensuring a consistent thickness for uniform baking.
- Smooth the top of the dough with a flat utensil, creating a level surface that will bake into perfectly shaped bars.
- Place the pan in the preheated oven and bake until the edges turn golden brown and the center appears set but slightly soft.
- Remove from the oven and allow the bars to cool completely within the pan, which helps them maintain structural integrity.
- Once cooled, use the overhanging parchment paper to lift the entire batch out of the pan, then slice into neat, symmetrical squares for serving.
Notes
- Experiment with different pudding mix flavors like vanilla or banana for varied taste profiles.
- Swap out regular flour with gluten-free flour blend to make the recipe celiac-friendly and accommodate dietary restrictions.
- Use unsalted butter to better control the salt content and prevent the bars from becoming too salty.
- Chill the baked and cooled bars in the refrigerator for cleaner, more precise cutting lines when serving.
- Prep Time: 20 minutes
- Cook Time: 25 minutes
- Category: Desserts, Snacks
- Method: Baking
- Cuisine: American
Nutrition
- Serving Size: 24
- Calories: 280
- Sugar: 18 g
- Sodium: 150 mg
- Fat: 12 g
- Saturated Fat: 7 g
- Unsaturated Fat: 4 g
- Trans Fat: 0 g
- Carbohydrates: 38 g
- Fiber: 1 g
- Protein: 3 g
- Cholesterol: 40 mg
Jamie Granger
Recipe Developer & Food Writer
Expertise
Education
Culinary Institute of America
Jamie Granger turns ingredients into memories. With her recipes, she brings a fusion-forward flair to every creation.
Her dishes reflect the places she’s explored, the chefs she’s learned from, and the deep connection she has to food as a form of expression.
At Pass and Provision, Jamie develops recipes that balance flavor, health, and beauty, meals that don’t just satisfy your appetite but speak to your curiosity.