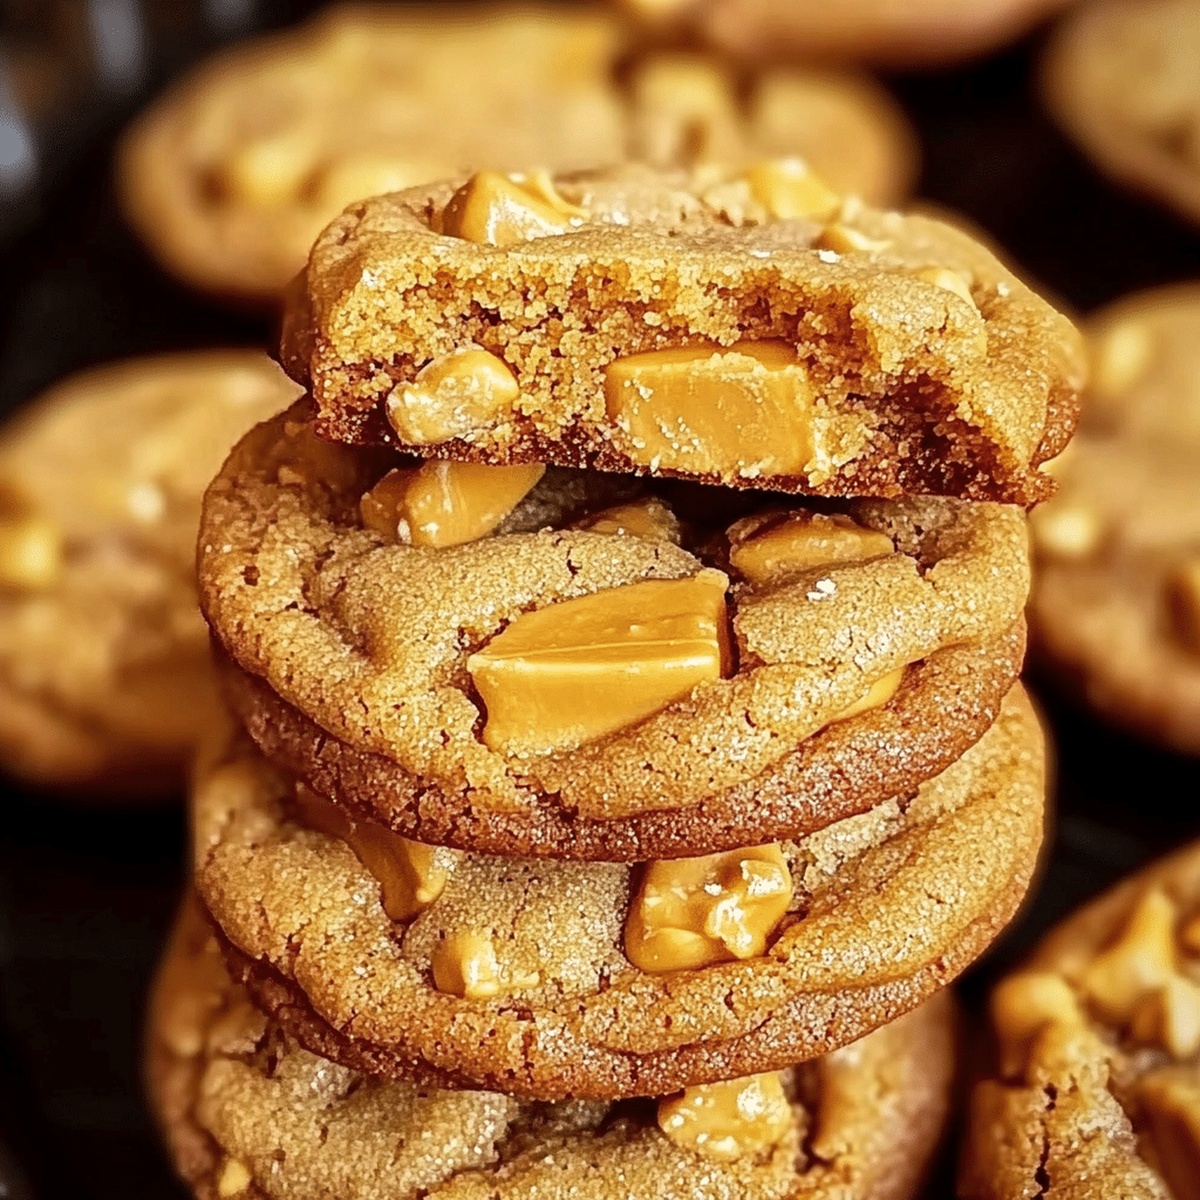
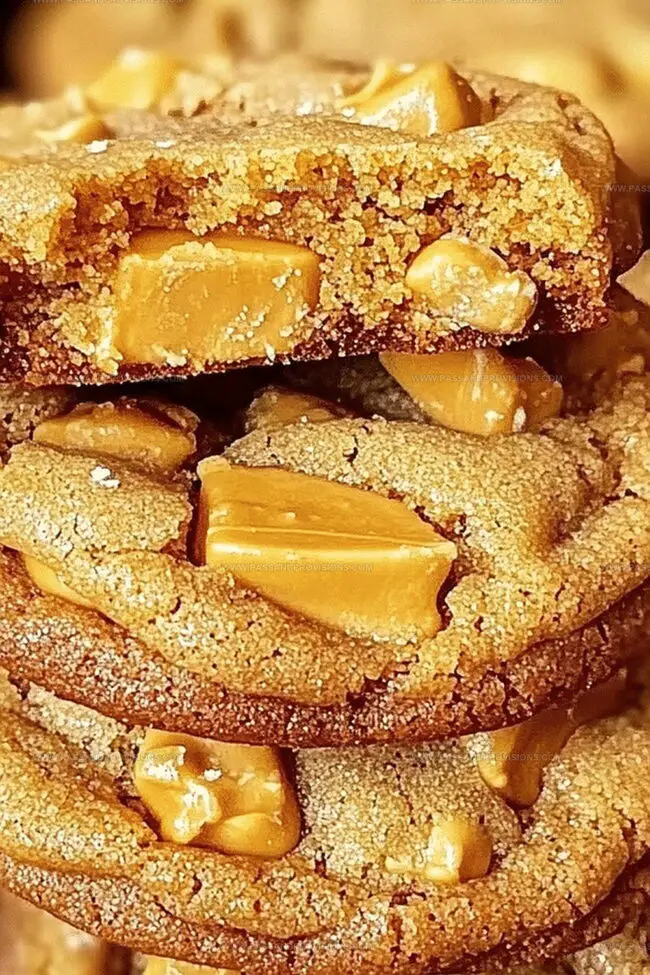
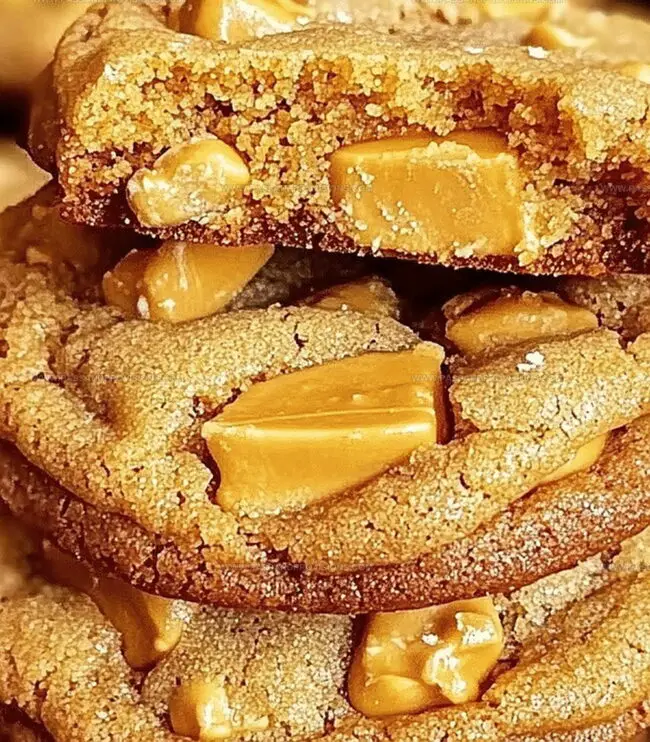
Crispy Peanut Butter Butterfinger Cookies Recipe for Cookie Lovers
Sweet childhood memories flood back when you bite into these irresistible peanut butter butterfinger cookies.
Crisp candy chunks create unexpected texture in every delectable morsel.
Crumbly edges give way to soft centers that melt on your tongue.
Decadent treats emerge from simple ingredients waiting in your pantry.
Nostalgic flavors blend perfectly with classic cookie comfort.
Quick mixing means minimal effort for maximum deliciousness.
One batch never seems enough when these beauties come out of the oven.
Bake a double portion and watch them disappear in minutes.
Peanut Butter Butterfinger Cookies That Crunch and Melt
Ingredients for Peanut Butter Butterfinger Cookie Success
Primary Fats and Sugars:Binding and Flavor Enhancers:Dry Ingredients:Cookie Mix-In:How to Mix and Bake Peanut Butter Butterfinger Cookies
Step 1: Warm Up the Oven
Crank the oven to 350F (175C). Line two baking sheets with parchment paper or silicone baking mats.
Step 2: Create a Creamy Base
In a large mixing bowl, blend together:Whip until the mixture looks light and fluffy.
Step 3: Add Moisture and Flavor
Mix in:Blend until everything is perfectly combined.
Step 4: Prepare Dry Ingredients
In a separate bowl, whisk together:Step 5: Combine Wet and Dry Mixtures
Gradually add dry ingredients to wet ingredients. Stir until just combined- don’t overmix.
Step 6: Introduce Butterfinger Magic
Gently fold chopped Butterfinger pieces into the cookie dough.
Step 7: Shape the Cookies
Scoop dough into small balls, about 1 1/2 tablespoons each. Place them 2 inches apart on prepared baking sheets.
Step 8: Create Classic Cookie Marks
Use a fork to gently flatten each dough ball, creating a classic crisscross pattern.
Step 9: Bake to Golden Perfection
Slide the baking sheets into the oven. Bake for 10-12 minutes until edges turn golden. Centers might look slightly soft- this is perfect.
Step 10: Cool and Enjoy
Let cookies rest on the baking sheet for 5 minutes. Transfer to a wire rack to cool completely. Savor your delicious creation!
Tips for Crunchy Edges and Soft Centers
Store These Cookies Without Losing Texture
Best Pairings for Butterfinger Cookie Moments
Variations to Make These Cookies Your Own
Butterfinger Cookie Questions and Answers
Gently fold the chopped Butterfinger pieces into the dough at the end of mixing to prevent crushing and ensure chunks remain visible in the cookies.
Creamy or crunchy peanut butter works well, but stick to traditional smooth or crunchy varieties. Avoid natural peanut butter with separated oils, as it can affect cookie texture.
Look for lightly golden edges and slightly underdone centers. The cookies will continue to set as they cool, creating a soft, chewy texture.
Flattening helps the cookies spread evenly and creates the classic crisscross pattern. It also ensures uniform baking and a consistent shape for each cookie.
Print
Peanut Butter Butterfinger Cookies Recipe
- Total Time: 27 minutes
- Yield: 12 1x
Description
Irresistible “Peanut Butter Butterfinger Cookies” blend classic comfort with crunchy candy bar excitement. Crisp edges, gooey centers, and crumbled Butterfinger pieces promise sweet indulgence you cannot resist.
Ingredients
Main Ingredients:
- ½ cup (1 stick) unsalted butter, softened
- ½ cup creamy peanut butter
- 1 large egg
- 1 cup chopped Butterfinger candy bars
Sweeteners:
- ½ cup granulated sugar
- ½ cup brown sugar, packed
Dry Ingredients:
- 1 ¼ cups all-purpose flour
- ½ teaspoon baking soda
- ¼ teaspoon baking powder
- ¼ teaspoon salt
Flavor Enhancers:
- 1 teaspoon vanilla extract
Instructions
- Warm the oven to 350F and prepare baking sheets with parchment paper or silicone mats.
- Blend butter, peanut butter, white and brown sugars in a mixing bowl until creamy and aerated.
- Incorporate egg and vanilla extract, mixing thoroughly until fully integrated.
- Sift flour, baking soda, baking powder, and salt in a separate bowl.
- Gradually combine dry ingredients with wet mixture, stirring until just incorporated.
- Tenderly fold crushed Butterfinger pieces into the cookie dough.
- Form dough into uniform round balls, spacing them approximately 2 inches apart on prepared sheets.
- Gently press each ball using fork tines to create distinctive crosshatch patterns.
- Slide trays into preheated oven and bake for 10-12 minutes until edges develop a delicate golden hue.
- Remove cookies when centers appear slightly soft, understanding they will solidify during cooling process.
- Allow cookies to rest on baking sheet for 5 minutes before transferring to wire cooling rack.
- Permit cookies to reach complete room temperature before serving or storing.
Notes
- Chill the dough for 30 minutes before baking to prevent excessive spreading and create a thicker, chewier cookie texture.
- Replace Butterfinger with other crushed candy bars like Heath or Snickers for unique flavor variations that keep the recipe exciting.
- Use natural peanut butter with minimal added sugar to control sweetness and enhance the authentic peanut flavor in the cookies.
- For gluten-free options, substitute all-purpose flour with a 1:1 gluten-free baking blend to make the recipe accessible to more people with dietary restrictions.
- Prep Time: 15 minutes
- Cook Time: 12 minutes
- Category: Desserts, Snacks
- Method: Baking
- Cuisine: American
Nutrition
- Serving Size: 12
- Calories: 190
- Sugar: 12 g
- Sodium: 100 mg
- Fat: 9 g
- Saturated Fat: 3.5 g
- Unsaturated Fat: 4 g
- Trans Fat: 0 g
- Carbohydrates: 25 g
- Fiber: 1 g
- Protein: 3 g
- Cholesterol: 15 mg


Jamie Granger
Recipe Developer & Food Writer
Expertise
Education
Culinary Institute of America
Jamie Granger turns ingredients into memories. With her recipes, she brings a fusion-forward flair to every creation.
Her dishes reflect the places she’s explored, the chefs she’s learned from, and the deep connection she has to food as a form of expression.
At Pass and Provision, Jamie develops recipes that balance flavor, health, and beauty, meals that don’t just satisfy your appetite but speak to your curiosity.