Dreamy No-Bake Mini Oreo Cheesecakes Recipe for Sweet Lovers
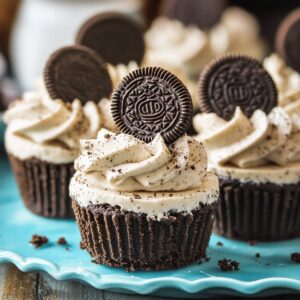
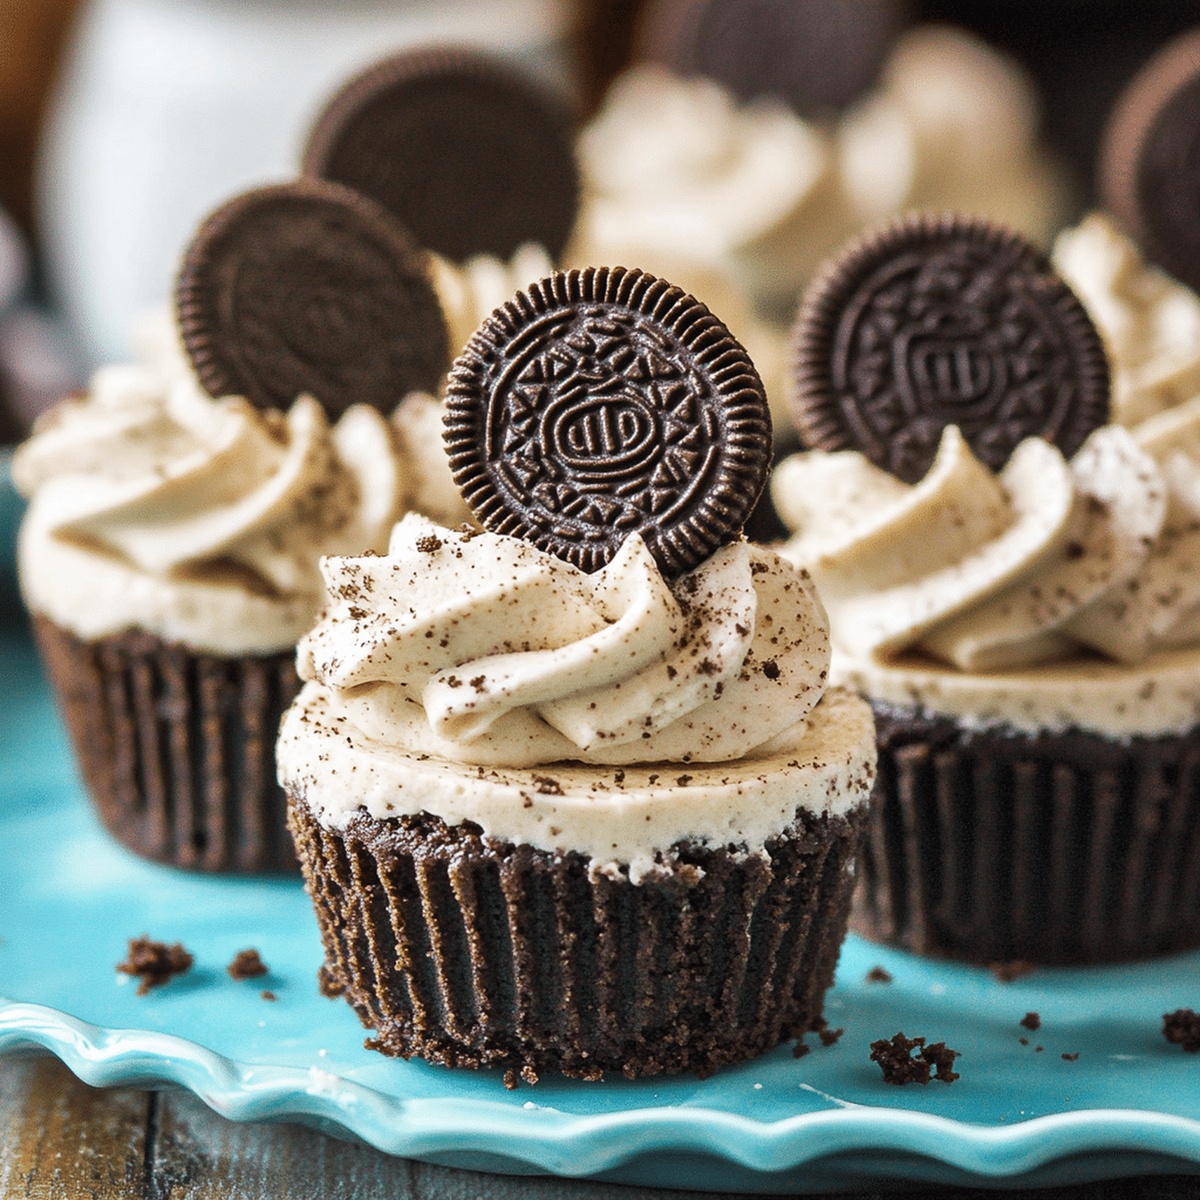
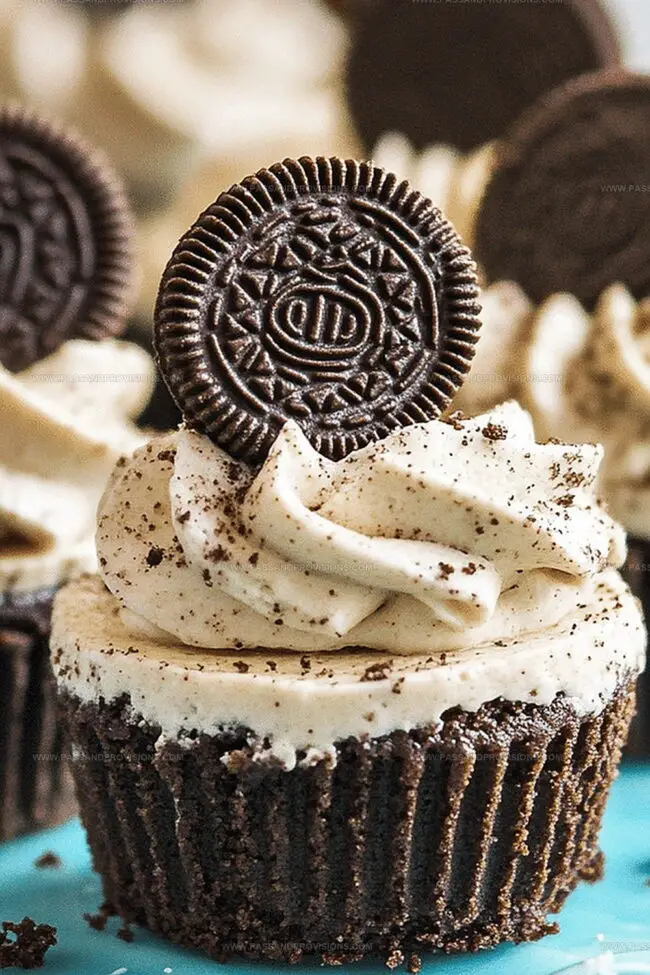
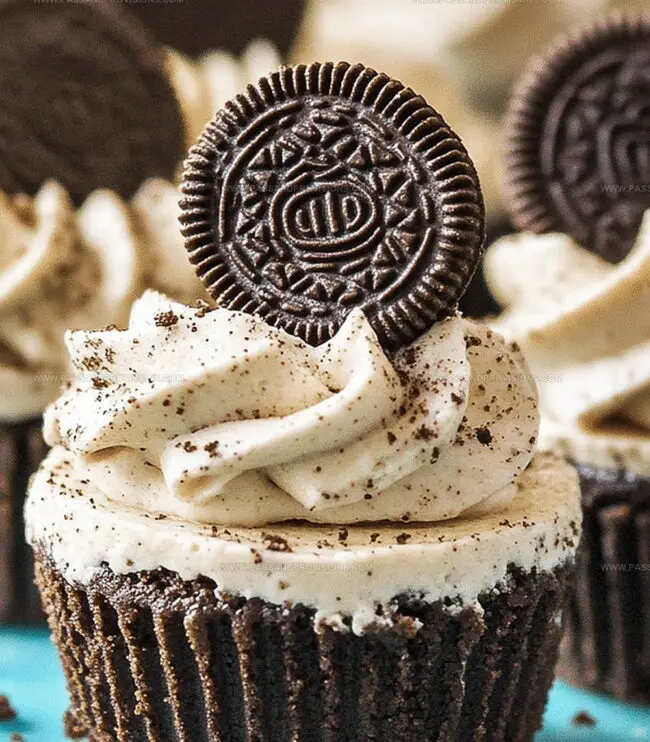
Whipping up no-bake mini oreo cheesecakes feels like unleashing pure dessert magic right in your kitchen.
Sweet dreams come true with these bite-sized delights that require zero oven time.
Creamy textures blend perfectly with classic chocolate cookie crumbs for an irresistible treat.
Minimal effort meets maximum satisfaction in this simple yet spectacular dessert.
Crunch meets smooth decadence in every single spoonful of these mini cheesecakes.
Cool and rich flavors dance together, creating a dessert that screams indulgence without complicated steps.
You won’t believe how quickly these little wonders come together with just a few ingredients.
Grab a fork and let the deliciousness begin!
Why No-Bake Mini Oreo Cheesecakes Are a Must-Make
All the Goods in No-Bake Mini Oreo Cheesecakes
Cookie Base:Dairy Components:Flavor Enhancers:Optional Garnish:How to Prep No-Bake Mini Oreo Cheesecakes in No Time
Step 1: Craft the Cookie Base
Grab your muffin tin and line it with 12 cupcake papers. Drop a whole Oreo cookie at the bottom of each paper, creating a delightful foundation for your mini cheesecakes.
Step 2: Whip Up the Creamy Filling
Grab a mixing bowl and blend cream cheese, sugar, and vanilla extract until silky smooth. In another bowl, whip heavy cream until it forms gorgeous peaks. Gently swirl the whipped cream into the cream cheese mixture. Crumble Oreos and fold them into the luscious mixture.
Step 3: Build and Chill Your Dessert
Scoop the cheesecake filling over each Oreo base, smoothing the tops with love. Sprinkle extra crushed Oreos on top for a playful crunch. Slide the tin into the refrigerator and let them chill for a minimum of 2 hours (overnight is even better for maximum flavor).
Step 4: Unveil and Devour
Carefully remove the cheesecakes from their papers. Crown each mini treat with a dollop of whipped cream. Serve chilled and watch everyone’s eyes light up with delight!
Tips for Smooth and Set No-Bake Mini Oreo Cheesecakes
Store and Chill No-Bake Mini Oreo Cheesecakes
Snack Combos for No-Bake Mini Oreo Cheesecakes
Remixing No-Bake Mini Oreo Cheesecakes with Fun Ideas
Gluten-Free Friendly: Replace standard Oreos with gluten-free chocolate sandwich cookies and use gluten-free graham crackers for the base.
Low-Sugar Option: Substitute sugar with stevia or monk fruit sweetener, and use sugar-free Oreo-style cookies to reduce overall sugar content.
Vegan Alternative: Use dairy-free cream cheese, coconut whipped cream, and vegan chocolate sandwich cookies to create a plant-based version of the dessert.
Chocolate Lovers’ Remix: Add melted dark chocolate to the cheesecake mixture and drizzle additional chocolate on top for an extra rich chocolate experience.
No-Bake Mini Oreo Cheesecakes: Your Questions Answered
Yes, you can substitute reduced-fat cream cheese, but the texture and richness might be slightly different from the original recipe.
A hand mixer or stand mixer works best, but you can also use a whisk and some arm strength to mix the ingredients thoroughly.
Using whole Oreo cookies as the base helps maintain a crisp texture. Ensure the cheesecake mixture is well-chilled before assembling to minimize moisture absorption.
Yes, these mini cheesecakes freeze well for up to 2 weeks. Wrap each individually in plastic wrap and store in an airtight container before freezing.
Print
No-Bake Mini Oreo Cheesecakes Recipe
- Total Time: 2 hours 10 minutes
- Yield: 12 1x
Description
Creamy no-bake mini oreo cheesecakes deliver pure dessert magic in bite-sized portions. Chocolate cookie crusts and silky cream cheese filling promise delightful indulgence for chocolate lovers seeking simple, irresistible sweet treats.
Ingredients
Main Ingredients:
- 8 ounces (225 g) cream cheese, softened
- 1 cup (240 ml) heavy whipping cream
- ¼ cup (50 g) granulated sugar
Oreo Cookies:
- 12 Oreo cookies (whole, for the base)
- 6 Oreo cookies, crushed
- 3 Oreo cookies, crushed (for garnish)
Flavor Enhancer:
- ½ teaspoon vanilla extract
Optional Topping:
- Whipped cream (optional)
Instructions
- Arrange cupcake liners in a muffin tin, positioning a whole Oreo cookie as the foundational layer for each individual cheesecake base.
- Create a velvety cream cheese mixture by blending cream cheese with sugar and vanilla extract until achieving a silky, uniform consistency.
- Separately whip heavy cream until it develops sturdy, defined peaks that hold their shape elegantly.
- Delicately incorporate the whipped cream into the cream cheese blend, using gentle folding motions to maintain the mixture’s airy texture.
- Crush additional Oreo cookies and fold them into the cheesecake filling, distributing the cookie fragments evenly throughout the creamy mixture.
- Carefully distribute the Oreo-infused cheesecake filling over each cookie base, using a spatula to smooth the surface and ensure an even layer.
- Sprinkle additional crushed Oreos across the top of each mini cheesecake for a decorative and flavorful garnish.
- Refrigerate the assembled desserts for a minimum of two hours, allowing them to set completely and develop a rich, creamy consistency.
- When ready to serve, gently remove the cheesecakes from their liners, optionally crown with a dollop of whipped cream, and present these chilled, indulgent treats.
Notes
- Crush Oreos finely to create a uniform, compact base that holds together perfectly without crumbling when you bite into the mini cheesecake.
- Use room temperature cream cheese to ensure a smooth, lump-free filling that blends seamlessly with whipped cream.
- For a gluten-free version, swap regular Oreos with gluten-free chocolate sandwich cookies to accommodate dietary restrictions.
- Experiment with different Oreo flavors like mint, peanut butter, or birthday cake to add exciting twists to the classic recipe and surprise your taste buds.
- Prep Time: 10 minutes
- Cook Time: 2 hours
- Category: Desserts, Snacks
- Method: None
- Cuisine: American
Nutrition
- Serving Size: 12
- Calories: 250
- Sugar: 12 g
- Sodium: 150 mg
- Fat: 20 g
- Saturated Fat: 10 g
- Unsaturated Fat: 8 g
- Trans Fat: 0 g
- Carbohydrates: 19 g
- Fiber: 1 g
- Protein: 3 g
- Cholesterol: 50 mg


Jamie Granger
Recipe Developer & Food Writer
Expertise
Education
Culinary Institute of America
Jamie Granger turns ingredients into memories. With her recipes, she brings a fusion-forward flair to every creation.
Her dishes reflect the places she’s explored, the chefs she’s learned from, and the deep connection she has to food as a form of expression.
At Pass and Provision, Jamie develops recipes that balance flavor, health, and beauty, meals that don’t just satisfy your appetite but speak to your curiosity.