Adorable Mini Trifles Recipe: Petite Treats That Wow Guests!
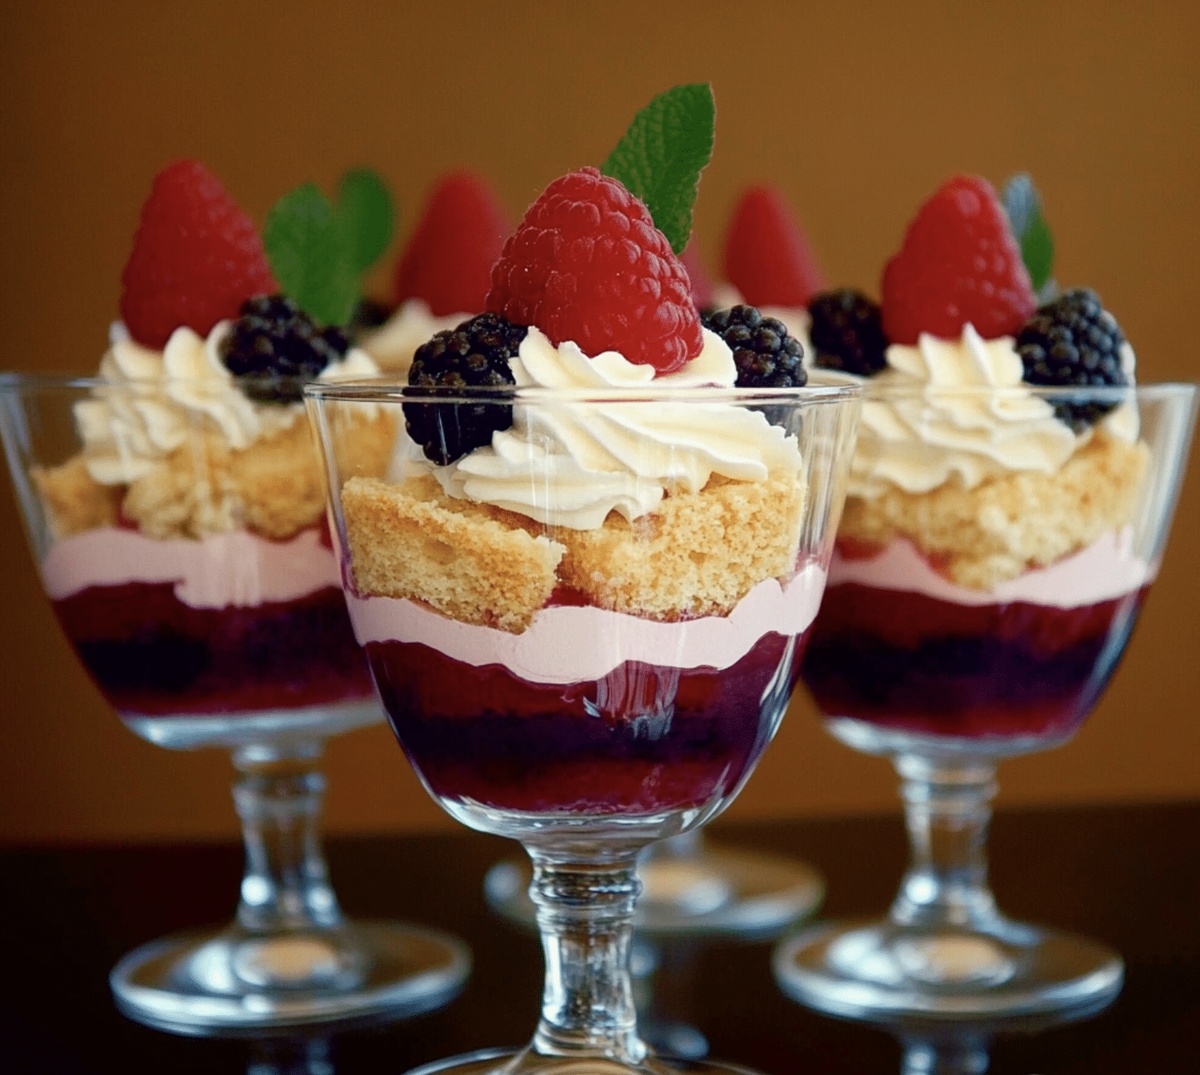
Delight awaits with these mini trifles that promise a whimsical twist on classic dessert traditions.
Sweet layers of creamy goodness stack up like edible memories.
Each spoonful carries a symphony of textures and flavors dancing together.
Delicate portions make these treats perfect for intimate gatherings or solo indulgence.
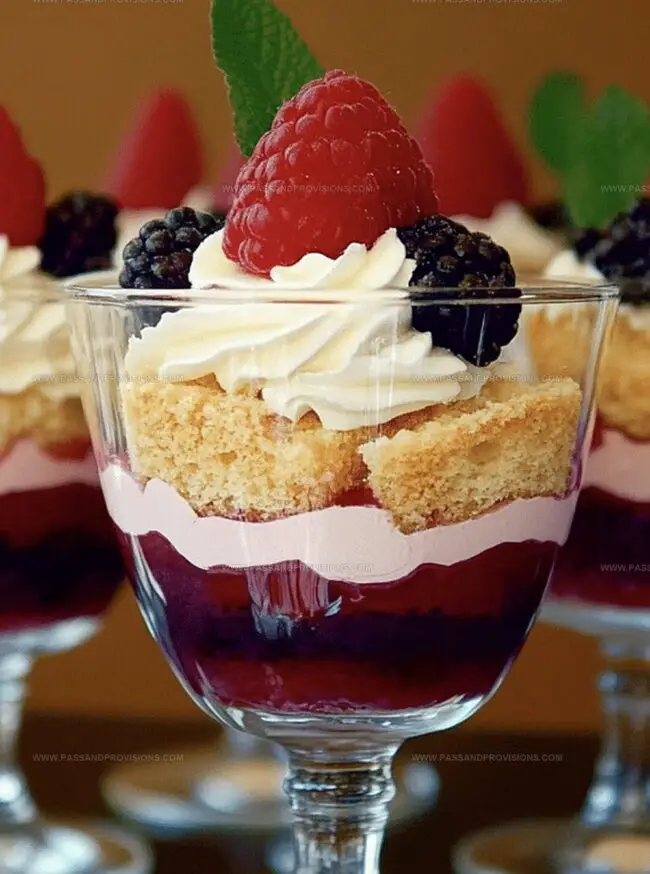
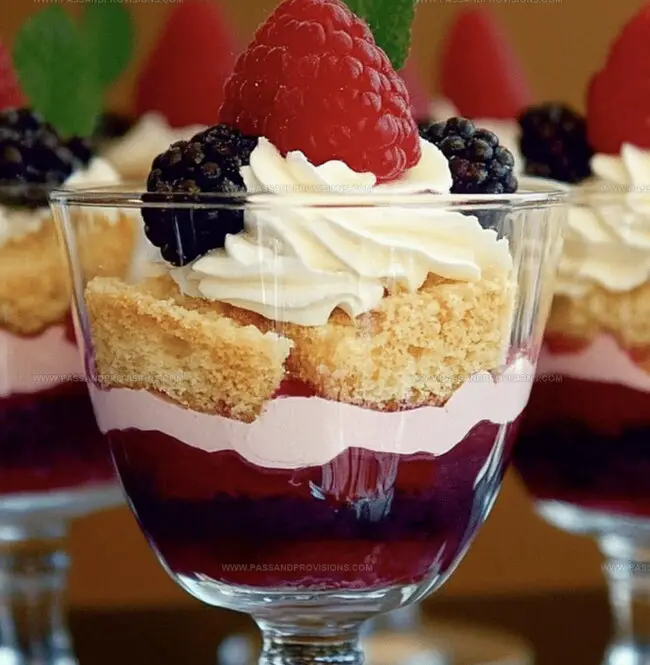
Colorful ingredients peek through transparent glasses, creating visual excitement before the first bite.
Dessert lovers appreciate how simple techniques can produce stunning results.
You’ll want to savor every luxurious moment of this elegant treat.
Why Mini Trifles Steal the Show
Simple Ingredients for Mini Trifles
Main Base:Fruit Component:Cream and Topping:How to Assemble Mini Trifles Like a Pro
Step 1: Cube the Cake
Slice the cake carefully on a clean cutting board. Cut into small, uniform bite-sized cubes that will fit nicely in serving glasses or small dessert containers. Make sure the pieces are roughly the same size for a consistent look and texture.
Step 2: Warm the Fruit Preserves
Gently heat the fruit preserves or jam in a small saucepan over low heat. Stir continuously to prevent burning. You want the preserves to become slightly runny, making it easier to drizzle over the cake cubes.
Step 3: Layer the Dessert
Select clear glasses or dessert dishes for a beautiful presentation. Start by placing a layer of cake cubes at the bottom of each container. Drizzle warm fruit preserves over the cake pieces.
Step 4: Add Creamy Goodness
Prepare the cream layers by choosing between options:Gently spoon the cream over the cake and preserves, creating a smooth, even layer.
Step 5: Create Fruit Layers
Add fresh or prepared fruits on top of the cream layer:Step 6: Repeat Layering
Continue creating layers by repeating the process:Step 7: Chill and Serve
Refrigerate the mini trifles for at least one hour before serving. This allows the flavors to meld and the dessert to set. Top with a sprinkle of chocolate shavings or a mint leaf just before serving for an elegant touch.
Tips for Layering Mini Trifles Just Right
How to Store Mini Trifles Without Soggy Layers
Great Combos to Serve with Mini Trifles
Mini Trifle Style and Flavor Variations
All You Need to Know About Mini Trifles
Vanilla, pound, or sponge cake are perfect choices. They absorb the flavors well and provide a soft, tender base for the dessert.
Yes, you can prepare them up to 24 hours in advance. Cover and refrigerate, but add any crunchy toppings like nuts or cookies just before serving to maintain their texture.
Layer carefully using a spoon or piping bag. Gently add each component and let it settle before adding the next layer to keep distinct, beautiful layers.
Absolutely! They’re individual servings that look elegant, are easy to serve, and allow guests to enjoy a perfectly portioned dessert without cutting or scooping.
Print
Mini Trifles Recipe
- Total Time: 1 hour 15 minutes
- Yield: 6 1x
Description
Layers of creamy vanilla custard and fresh berries dance in these delightful mini trifles, offering a perfect balance of sweetness and texture. Rich English tradition meets modern dessert elegance, inviting you to savor each spoonful of pure indulgence.
Ingredients
Main Ingredients:
- 1 pound cake or sponge cake, cubed
- 2 cups (480 ml / 16 fluid ounces) custard or vanilla pudding
- 1 ½ cups (225 grams / 8 ounces) fresh fruit (e.g., berries, diced peaches, or bananas)
Cream and Flavor Enhancers:
- 1 cup (240 ml / 8 fluid ounces) whipped cream or whipped topping
- ¼ cup (60 ml / 2 fluid ounces) fruit preserves or jam (optional, for extra flavor)
Garnish:
- Additional whipped cream
- Fresh fruit
- Shaved chocolate, nuts, or sprinkles (optional)
Instructions
- Slice the cake into small, uniform cubes to ensure consistent texture and easy layering in individual serving glasses.
- Gently heat the fruit preserves or jam in a microwave or small saucepan, stirring occasionally to achieve a smooth, pourable consistency.
- Arrange a layer of cake cubes at the bottom of each serving glass, creating a sturdy foundation for the trifle.
- Drizzle the warmed preserves evenly over the cake layer, allowing the liquid to slightly soak into the cake pieces and enhance their flavor.
- Carefully spoon a generous layer of whipped cream over the preserved cake, spreading it smoothly to create a light and airy texture.
- Sprinkle fresh or thawed berries across the cream layer, distributing them evenly to ensure each spoonful has a burst of fruity flavor.
- Repeat the layering process with additional cake cubes, preserves, whipped cream, and berries until the glasses are nearly full.
- Finish the trifles with a final dollop of whipped cream and a decorative garnish of berries or a light dusting of chocolate shavings.
- Refrigerate the mini trifles for at least 30 minutes before serving to allow the flavors to meld and the dessert to set properly.
Notes
- Gently slice the cake into uniform, bite-sized cubes to ensure even layering and a neat presentation in each mini trifle.
- Warm fruit preserves or jam briefly in the microwave or on the stovetop, stirring occasionally, to achieve a smooth, pourable consistency that easily coats the cake layers.
- Experiment with different cake flavors like chocolate, vanilla, or lemon to create unique and personalized mini trifle combinations that suit your taste preferences.
- For a lighter version, substitute whipped cream with Greek yogurt or a low-fat whipped topping to reduce calories while maintaining a creamy texture.
- Prep Time: 15 minutes
- Cook Time: 1 hour
- Category: Desserts, Snacks
- Method: Blending
- Cuisine: British
Nutrition
- Serving Size: 6
- Calories: 300
- Sugar: 18 g
- Sodium: 150 mg
- Fat: 15 g
- Saturated Fat: 9 g
- Unsaturated Fat: 4 g
- Trans Fat: 0 g
- Carbohydrates: 37 g
- Fiber: 2 g
- Protein: 4 g
- Cholesterol: 50 mg
Jamie Granger
Recipe Developer & Food Writer
Expertise
Education
Culinary Institute of America
Jamie Granger turns ingredients into memories. With her recipes, she brings a fusion-forward flair to every creation.
Her dishes reflect the places she’s explored, the chefs she’s learned from, and the deep connection she has to food as a form of expression.
At Pass and Provision, Jamie develops recipes that balance flavor, health, and beauty, meals that don’t just satisfy your appetite but speak to your curiosity.