Irresistibly Sticky Rice Krispie Treats Recipe for Sweet Smiles
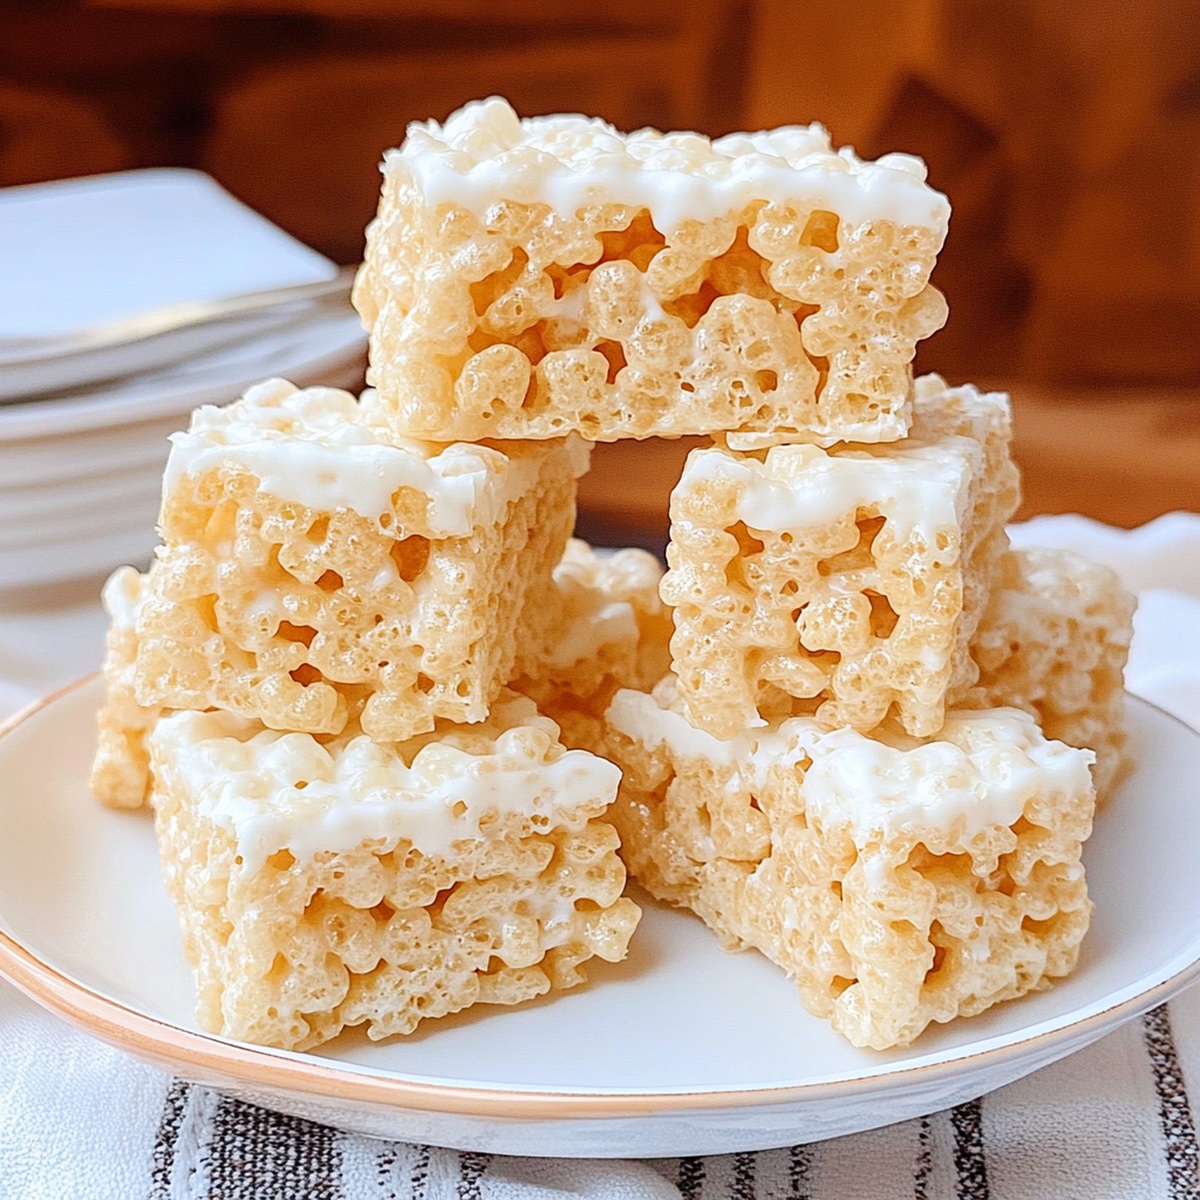
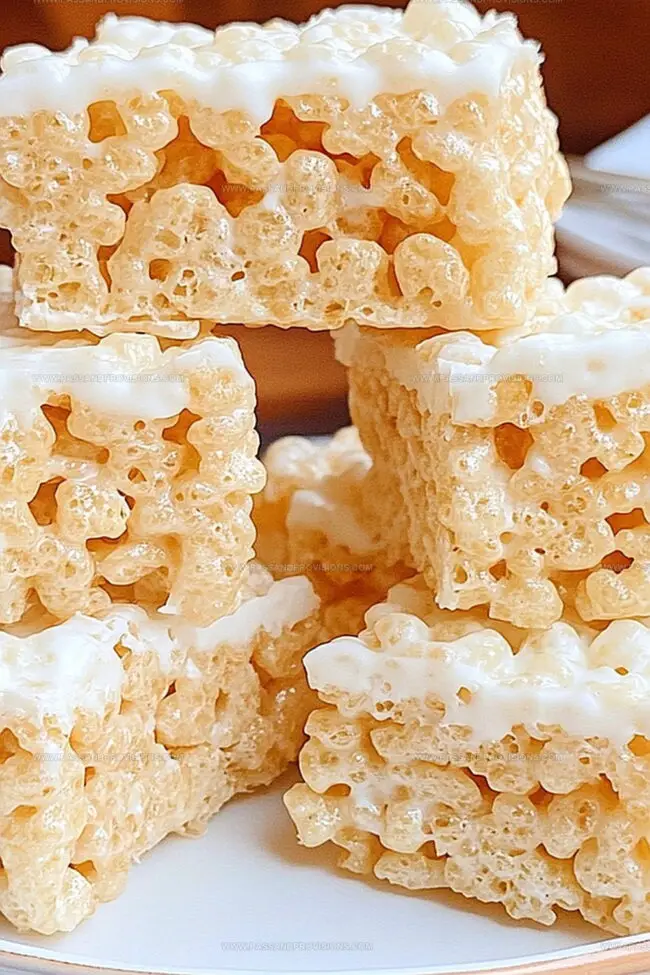
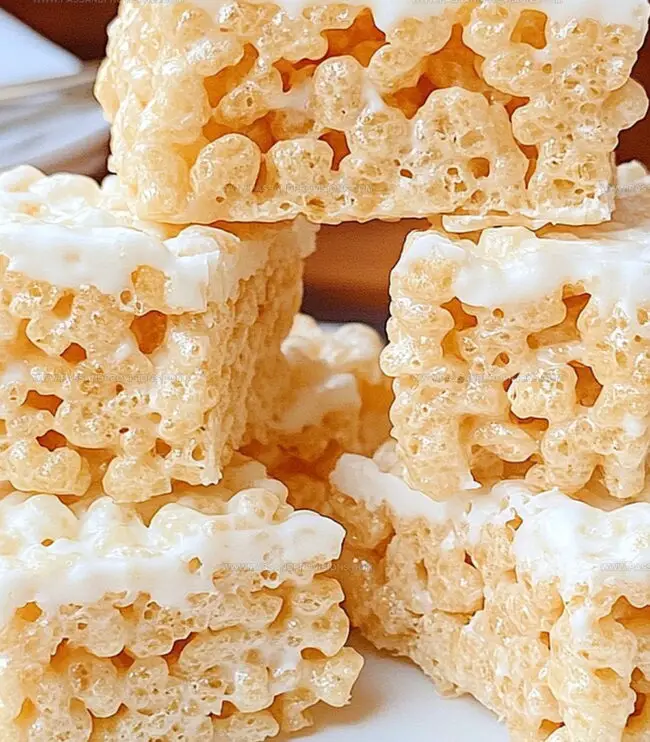
Crisp and chewy marshmallow rice krispie treats bring pure nostalgic delight to every sweet tooth.
These classic no-bake desserts melt memories of childhood into every gooey bite.
Soft marshmallows bind crispy rice cereal with buttery magic that creates an irresistible texture.
Anyone craving a quick and simple dessert will adore these mouthwatering squares of pure comfort.
Melted marshmallows and butter create a smooth, sticky base that perfectly coats each cereal piece.
The treat comes together in minutes, requiring just three basic ingredients.
You’ll want to make a double batch because these won’t last long on the dessert plate.
Quick Recipe Overview
Rice Krispie Treats Must-Have Ingredients
For Base Ingredients:For Cereal Component:For Optional Enhancements:Tools You’ll Want for Rice Krispie Treats
Easy Instructions for Rice Krispie Treats Recipe
Coat a 9×13 inch pan with butter or cooking spray. Line with parchment paper for super easy removal later.
Melt butter in a large pot over low heat. Dump in marshmallows and stir until they transform into a silky smooth mixture. Pull from heat and mix in a splash of vanilla for extra flavor.
Gently fold Rice Krispies into the marshmallow blend until every crisp is beautifully coated. For serious gooey lovers, toss in extra marshmallows or sprinkle in chocolate chips.
Transfer the sticky mixture to your prepared pan. Use a buttered spatula to spread evenly, pressing lightly to keep the treats soft and tender. Avoid smashing them down too hard.
Let the treats chill at room temperature for about 30 minutes. Slice into squares and enjoy your homemade sweet sensation!
Rice Krispie Treats: Pro Tips & Flavors
Ways to Serve Rice Krispie Treats at Events
How to Keep Rice Krispie Treats Fresh
Print
Gooey Rice Krispie Treats Recipe
- Total Time: 15 minutes
- Yield: 13 1x
Description
Rice krispie treats blend childhood nostalgia with simple marshmallow magic. Creamy, sweet squares offer quick comfort and delightful crunch for dessert lovers who crave classic American snacks.
Ingredients
- 6 cups rice krispies cereal
- 1 10 oz (283 g) bag mini marshmallows
- 1 cup additional mini marshmallows
- ½ cup (1 stick or 113 g) unsalted butter
- 1 tsp pure vanilla extract
- ¼ tsp salt
- ½ cup mini chocolate chips
- ¼ cup rainbow sprinkles
- Drizzle of melted chocolate
- Drizzle of melted caramel
Instructions
- Prep Station: Grease a 9×13-inch baking dish with butter or non-stick spray, alternatively line with parchment paper for easy removal.
- Butter Fusion: In a large pot over low heat, melt butter completely, creating a smooth base for the marshmallow transformation.
- Marshmallow Alchemy: Introduce most marshmallows into the melted butter, stirring constantly until the mixture becomes a glossy, uniform liquid. Remove from heat and infuse with vanilla extract and a delicate salt touch.
- Cereal Integration: Swiftly fold Rice Krispies into the marshmallow blend, ensuring each crisp receives a thorough coating. If desired, fold in reserved marshmallows or additional mix-ins like chocolate chips.
- Molding Magic: Transfer the mixture to the prepared dish, using a butter-coated spatula to distribute evenly. Gently press to maintain a tender, airy texture.
- Setting Phase: Let the treats rest at room temperature for 30 minutes, allowing them to stabilize and achieve the ideal consistency.
- Serving Ritual: Slice into neat squares using a sharp knife, creating perfectly portioned delights ready to be savored.
Notes
- Prevent Sticking Smartly: Use butter or non-stick spray on your spatula and hands to prevent marshmallow mixture from clinging and make spreading easier.
- Control Marshmallow Melting: Keep heat low and stir continuously to achieve smooth, glossy texture without burning or creating lumpy consistency.
- Work Swiftly: Act quickly when mixing cereal with marshmallow blend to ensure even coating and prevent mixture from cooling and becoming hard to manipulate.
- Customize Creatively: Experiment with add-ins like chocolate chips, sprinkles, or crushed nuts after slightly cooling the mixture to maintain texture and prevent complete melting.
- Prep Time: 5 minutes
- Cook Time: 10 minutes
- Category: Snacks, Desserts
- Method: Baking
- Cuisine: American
Nutrition
- Serving Size: 13
- Calories: 150
- Sugar: 14 g
- Sodium: 90 mg
- Fat: 6 g
- Saturated Fat: 4 g
- Unsaturated Fat: 2 g
- Trans Fat: 0 g
- Carbohydrates: 22 g
- Fiber: 0 g
- Protein: 1 g
- Cholesterol: 15 mg
William Hawkins
Founder & Culinary Director
Expertise
Education
Sullivan University, Louisville, KY
William Hawkins isn’t just a chef, he’s a storyteller through food. From his hometown of Louisville, KY, he’s spent years refining his craft, turning local ingredients into something extraordinary.
With classical training from Sullivan University and a career marked by innovation, mentorship, and Southern soul, William approaches every recipe with purpose. His kitchen is where old techniques meet fresh ideas, and where comfort food gets a thoughtful, modern twist.
When he’s not building dishes from the ground up, he’s out gathering inspiration from nature, markets, and the stories people share around the table.