Pillowy Cherry Sweet Rolls Recipe: Homemade Morning Joy
Soft, pillowy dough meets vibrant cherry swirls in this decadent sweet rolls recipe.
These cherry-packed delights bring a burst of fruity charm to any breakfast or brunch spread.
Rolling tender cherries into buttery, golden dough creates a heavenly treat that melts in your mouth.
Each spiral promises a perfect balance of sweet and tangy flavors.
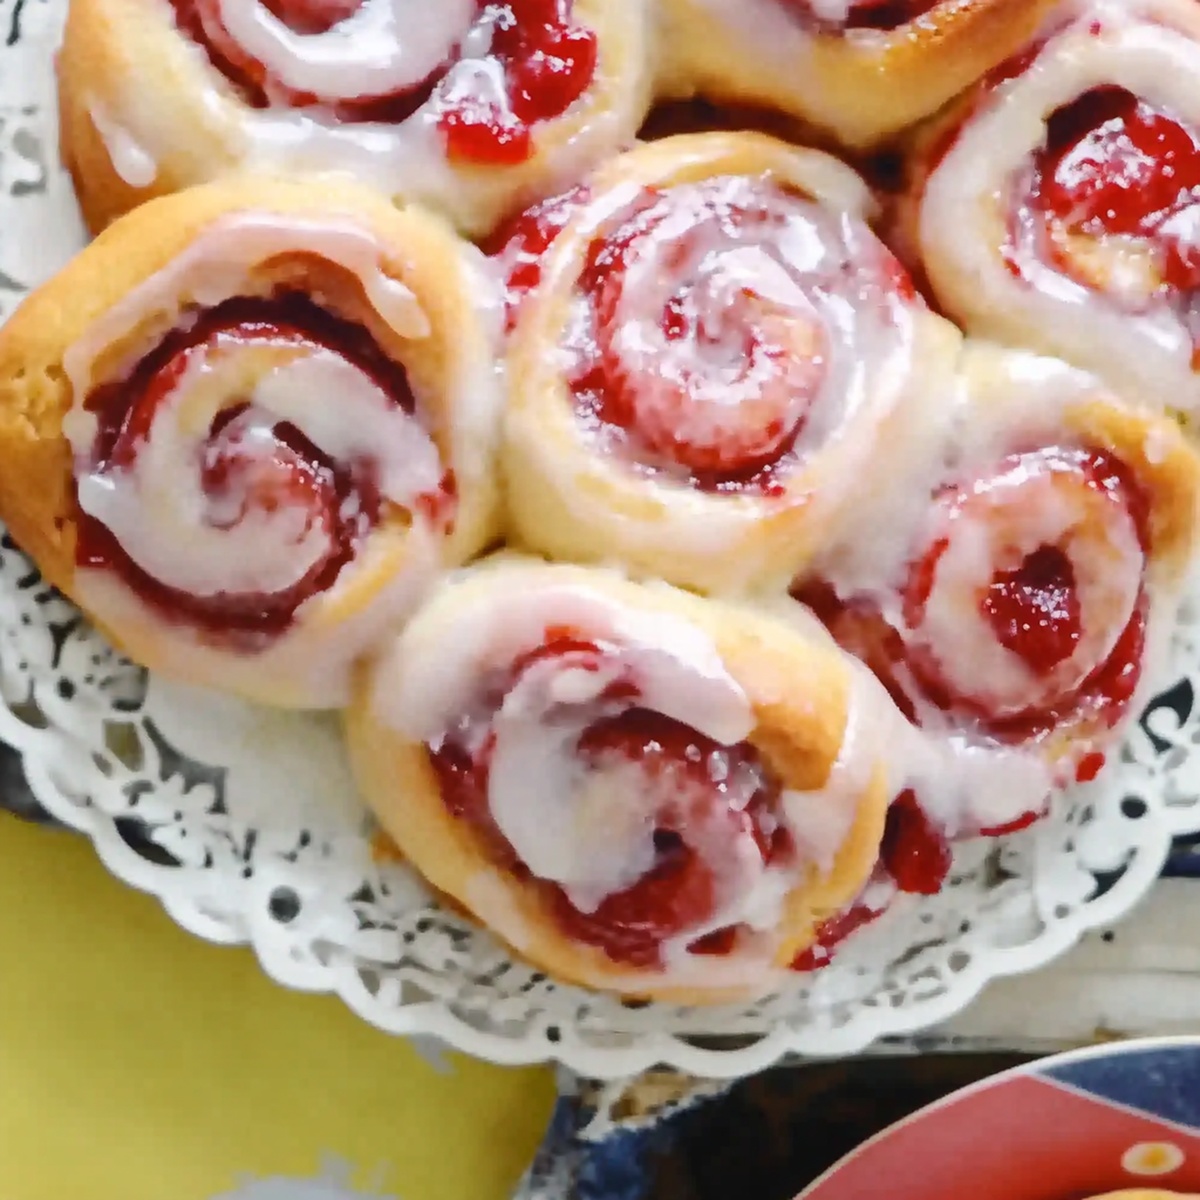
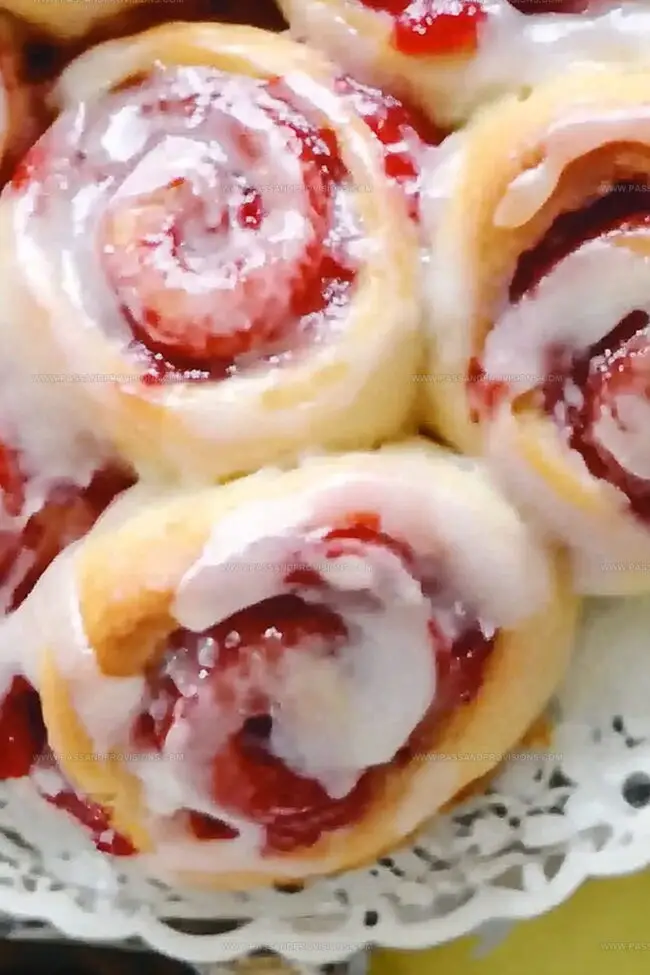
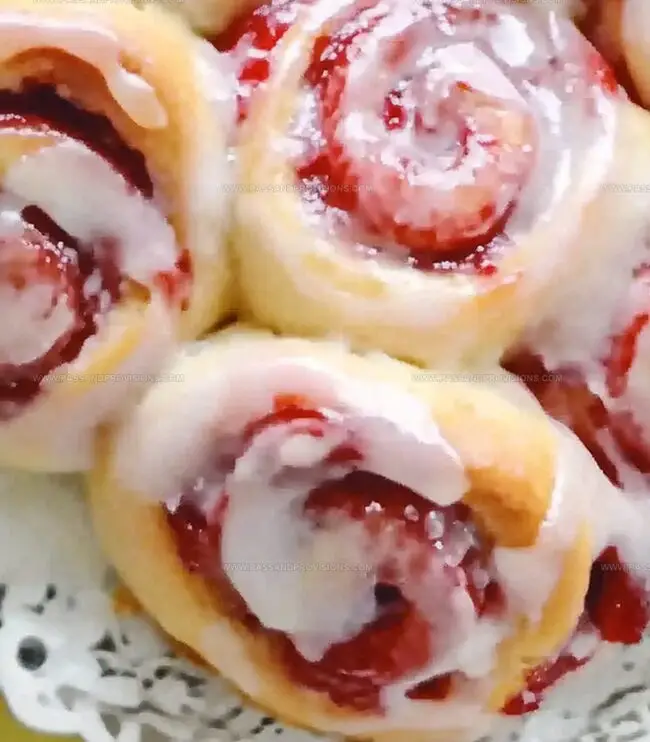
The warm, golden-brown exterior hints at the luscious cherry filling waiting inside.
Drizzle with a light glaze for an extra touch of indulgence.
Bake these rolls and watch them disappear in moments.
Quick Recipe Overview
All the Ingredients in Cherry Sweet Rolls
For Dough Base:For Filling and Flavor:For Finishing Touch:Rolling Tools to Bake Cherry Sweet Rolls
How to Whip Up Cherry Sweet Rolls at Home
Wake up those tiny yeast friends by mixing them with warm milk and sugar. Let them bubble and get happy for about 5 minutes.
Blend in melted butter, a cracked egg, and a pinch of salt. Slowly fold in flour until a pillowy dough emerges. Knead the dough on a flour-dusted surface until it feels silky and smooth.
Tuck the dough into a greased bowl and cover it up. Let it relax and grow for 1-1.5 hours until it looks puffy and doubled.
Roll out the dough into a wide rectangle. Spread a luscious layer of cherry pie filling across the surface, leaving a tiny border. Carefully roll the dough into a tight log, then slice into 12 delectable pieces.
Nestle the rolls into a greased baking dish. Let them puff up for another 30 minutes while the oven warms to 350F.
Slide the rolls into the oven and bake until they turn a gorgeous golden brown. Whip up a quick glaze by mixing powdered sugar, milk, and vanilla. Drizzle the sweet topping over warm rolls and devour immediately.
Different Takes on Classic Cherry Sweet Rolls
Cherry Sweet Rolls: Presentation That Pops
Cherry Sweet Rolls: Save Now, Eat Later
Print
Fluffy Cherry Sweet Rolls Recipe
- Total Time: 50 minutes
- Yield: 13 1x
Description
Indulgent Cherry Sweet Rolls bring a symphony of sweet-tart flavors from classic European baking traditions. Delicate dough swirled with rich cherry filling promises a delightful breakfast or dessert experience you will savor with each delectable bite.
Ingredients
- 1 large egg
- 2 ¼ tsps (1 packet) active dry yeast
- 1 cup (240 ml) warm milk (110°F/43°C)
- 3 ¼ cups (400 g) all-purpose flour
- ¼ cup (50 g) granulated sugar
- ¼ cup (60 g) unsalted butter, softened
- ½ tsp salt
- 1 can (540 g / 21 oz) cherry pie filling
- 1 tsp almond extract (optional, for extra flavor)
- 1 cup (120 g) powdered sugar
- 2 3 tbsps milk
- 1 tsp vanilla extract
Instructions
- Dough Preparation: Activate yeast in warm milk with sugar until frothy. Blend in melted butter, egg, and salt. Gradually incorporate flour to create a silky, elastic dough. Thoroughly knead on a lightly dusted surface until smooth and supple. Transfer to a greased vessel, envelop, and allow to proof until volume doubles, roughly 1-1.5 hours.
- Filling and Shaping: Elongate dough into a rectangular canvas. Lavishly distribute cherry pie filling across surface, maintaining a narrow perimeter. Meticulously roll from the lengthwise edge into a compact cylinder. Slice into uniform portions.
- Secondary Proofing and Baking: Nestle rolls into a prepared baking vessel. Allow secondary rise for 30 minutes. Heat oven to 350F (175C). Bake until golden and aromatic, approximately 25-30 minutes.
- Glaze Crafting: Whisk powdered sugar with milk and vanilla extract, creating a silky, pourable consistency. Adjust liquid as necessary to achieve desired texture.
- Final Touch and Presentation: Generously drizzle glaze over warm rolls. Serve immediately for optimal indulgence.
Notes
- Select active dry yeast that’s recently purchased and not expired to ensure proper rising and soft texture.
- Warm milk should be around 110-115°F (43-46°C) – too hot kills yeast, too cold prevents activation.
- When spreading cherry filling, leave a small border to prevent leakage and ensure clean, neat rolls during baking.
- Cover rising dough with a damp cloth to maintain moisture and prevent skin formation on the surface.
- Prep Time: 20 minutes
- Cook Time: 30 minutes
- Category: Breakfast, Snacks, Desserts
- Method: Baking
- Cuisine: American
Nutrition
- Serving Size: 13
- Calories: 200
- Sugar: 10 g
- Sodium: 150 mg
- Fat: 7 g
- Saturated Fat: 4 g
- Unsaturated Fat: 2 g
- Trans Fat: 0 g
- Carbohydrates: 30 g
- Fiber: 1 g
- Protein: 3 g
- Cholesterol: 25 mg
William Hawkins
Founder & Culinary Director
Expertise
Education
Sullivan University, Louisville, KY
William Hawkins isn’t just a chef, he’s a storyteller through food. From his hometown of Louisville, KY, he’s spent years refining his craft, turning local ingredients into something extraordinary.
With classical training from Sullivan University and a career marked by innovation, mentorship, and Southern soul, William approaches every recipe with purpose. His kitchen is where old techniques meet fresh ideas, and where comfort food gets a thoughtful, modern twist.
When he’s not building dishes from the ground up, he’s out gathering inspiration from nature, markets, and the stories people share around the table.