Easy 2-Ingredient Cookie Cups Recipe for Your Sweet Tooth
Sweet and simple, these 2 ingredient cookie cups pack a delightful punch of flavor and ease.
Baking enthusiasts love this quick cookie cups recipe that requires minimal effort and maximum taste.
The genius combination of just two ingredients creates a mouthwatering dessert that seems almost magical.
Crisp edges and soft centers make these treats irresistible to anyone with a sweet tooth.
Perfectly portioned and incredibly easy to whip up, these cookie cups transform a basic pantry staple into an impressive treat.
Each bite promises pure indulgence without complex techniques or time-consuming steps.
You’ll impress everyone with this ridiculously simple yet delectable dessert that comes together in minutes.
Quick Recipe Overview
What Goes Into 2 Ingredient Cookie Cups
For Base:For Preparation:For Optional Customization:Tools That Make 2 Ingredient Cookie Cups Simple
How to Shape and Bake 2 Ingredient Cookie Cups
Fire up your oven to a toasty 350°F and grab a mini muffin tin. Give it a quick spray or line with cute little paper cups to prevent sticking.
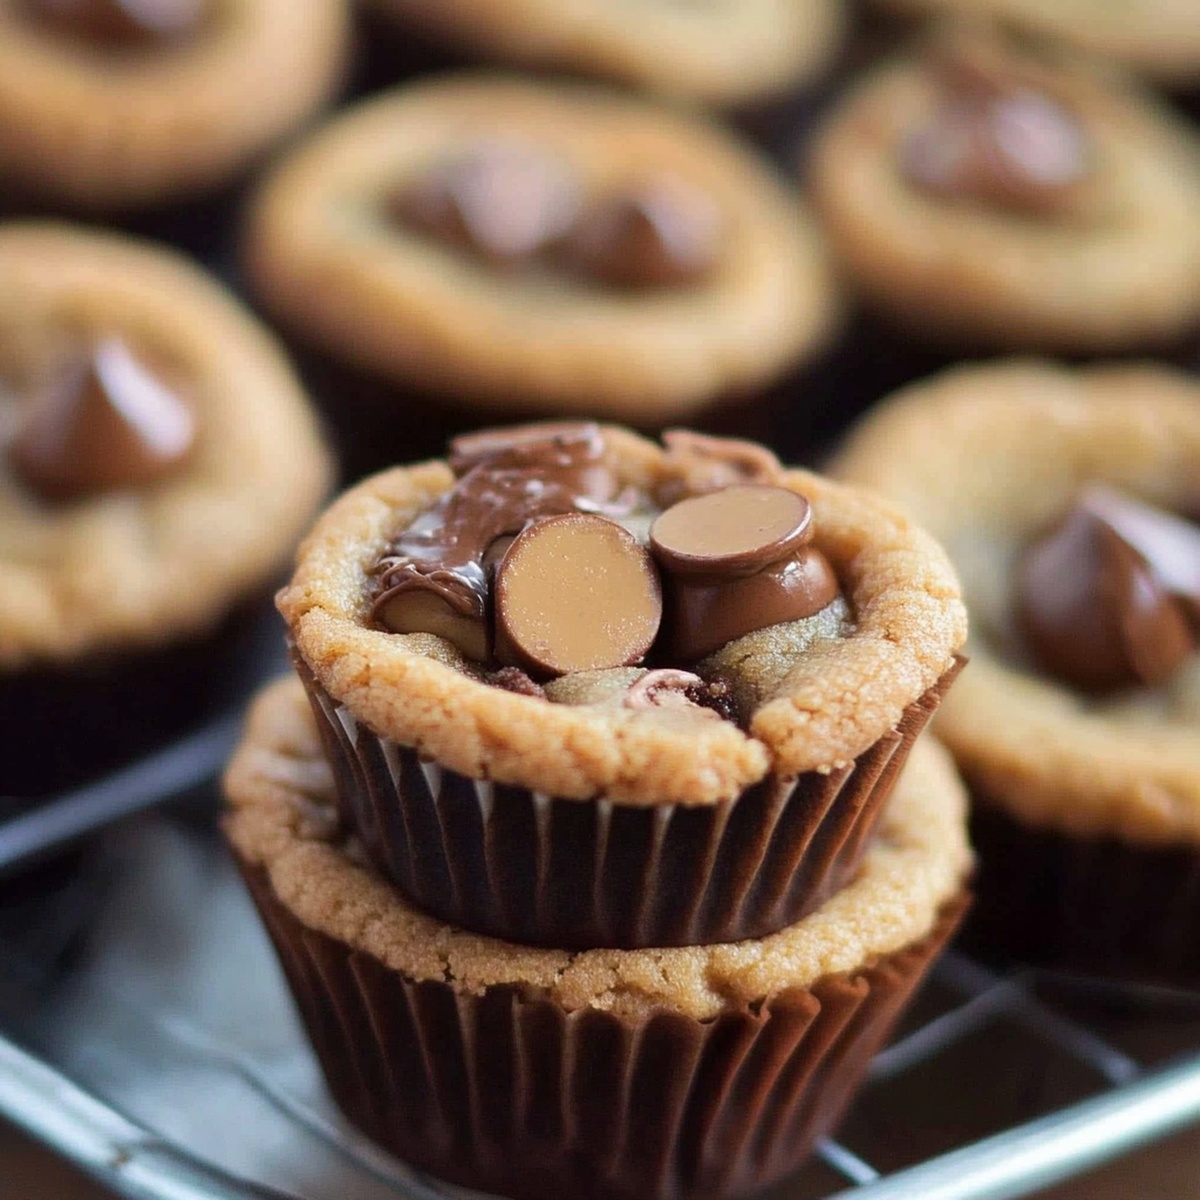
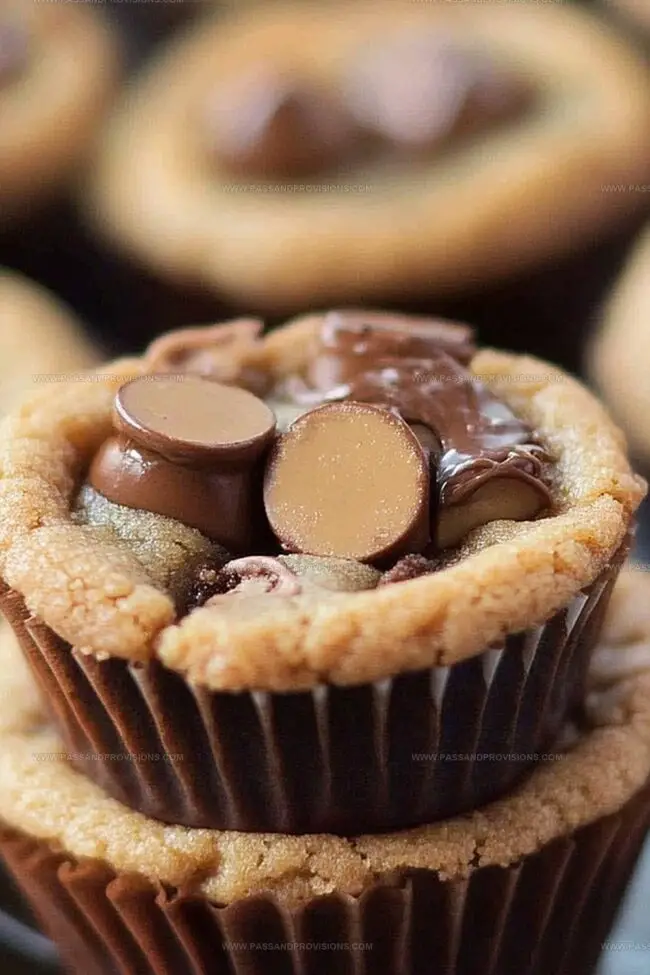
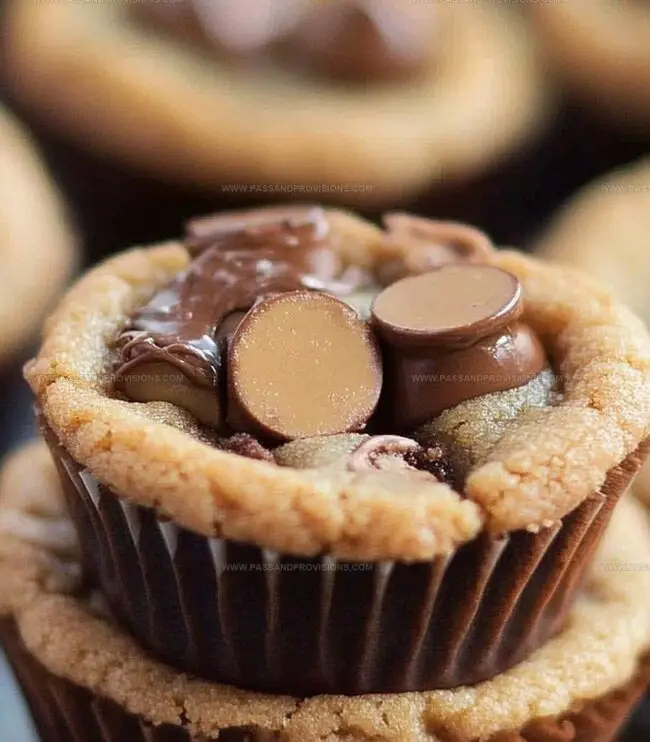
Take your cookie dough and divide it into 12 adorable little balls. Gently nestle each one into the muffin cups, using your fingertips to create a cozy little indent in the center.
Pop the tin into the hot oven and let the magic happen for 10-12 minutes. You’re looking for a beautiful golden-brown color that screams “I’m delicious!” Once they’re perfect, pull them out and immediately press a mini peanut butter cup right into the center of each warm cookie cup.
Give these treats a quick 10-minute rest to firm up, then carefully transfer them to a cooling rack. Watch as they transform into irresistible bite-sized treasures ready to make everyone’s day a little sweeter.
Flavor Ideas for Customizing Cookie Cups
Serve Cookie Cups With Ice Cream or Jam
Tips to Store 2 Ingredient Cookie Cups
Print
Effortless 2 Ingredient Cookie Cups Recipe
- Total Time: 17 minutes
- Yield: 13 1x
Description
Irresistible 2 ingredient cookie cups deliver pure dessert magic with minimal effort. Sweet simplicity meets delightful indulgence, creating a quick treat perfect for snatching moments of blissful satisfaction.
Ingredients
- 1 roll (16 oz / 450 g) refrigerated cookie dough (chocolate chip, sugar, or peanut butter)
- 12 mini peanut butter cups (or chocolate squares, jam, or caramel)
Instructions
- Preparation: Warm the oven to 350°F (175°C) and prepare a mini muffin tin by lightly greasing or lining with cupcake papers.
- Shaping: Divide cookie dough into 12 uniform spheres, carefully positioning each ball into a muffin cavity. Gently compress the center of each dough ball to create a subtle hollow for future filling.
- Baking & Finishing: Roast the cookie cups for 10-12 minutes until they achieve a golden-amber hue. Immediately after removing from the oven, nestle a mini peanut butter cup into the center of each warm cookie cup. Allow the treats to cool for 10 minutes before transferring to a cooling rack, ensuring they set properly and maintain their delicate cup-like structure.
Notes
- Generously grease muffin tin or use non-stick silicone liners to ensure easy cookie removal without breaking.
- Use the back of a rounded measuring spoon or your thumb to gently press center of cookie dough, creating uniform and deep wells for fillings.
- Ovens vary, so check cookies at 9 minutes to avoid burning; golden edges indicate perfect doneness without becoming too crisp.
- Allow cookies to cool slightly before adding chocolate or peanut butter cups, preventing immediate melting while ensuring filling sets smoothly.
- Prep Time: 5 minutes
- Cook Time: 12 minutes
- Category: Desserts, Snacks
- Method: Baking
- Cuisine: American
Nutrition
- Serving Size: 13
- Calories: 150
- Sugar: 10 g
- Sodium: 100 mg
- Fat: 7 g
- Saturated Fat: 3.5 g
- Unsaturated Fat: 2.5 g
- Trans Fat: 0 g
- Carbohydrates: 20 g
- Fiber: 1 g
- Protein: 2 g
- Cholesterol: 15 mg
William Hawkins
Founder & Culinary Director
Expertise
Education
Sullivan University, Louisville, KY
William Hawkins isn’t just a chef, he’s a storyteller through food. From his hometown of Louisville, KY, he’s spent years refining his craft, turning local ingredients into something extraordinary.
With classical training from Sullivan University and a career marked by innovation, mentorship, and Southern soul, William approaches every recipe with purpose. His kitchen is where old techniques meet fresh ideas, and where comfort food gets a thoughtful, modern twist.
When he’s not building dishes from the ground up, he’s out gathering inspiration from nature, markets, and the stories people share around the table.