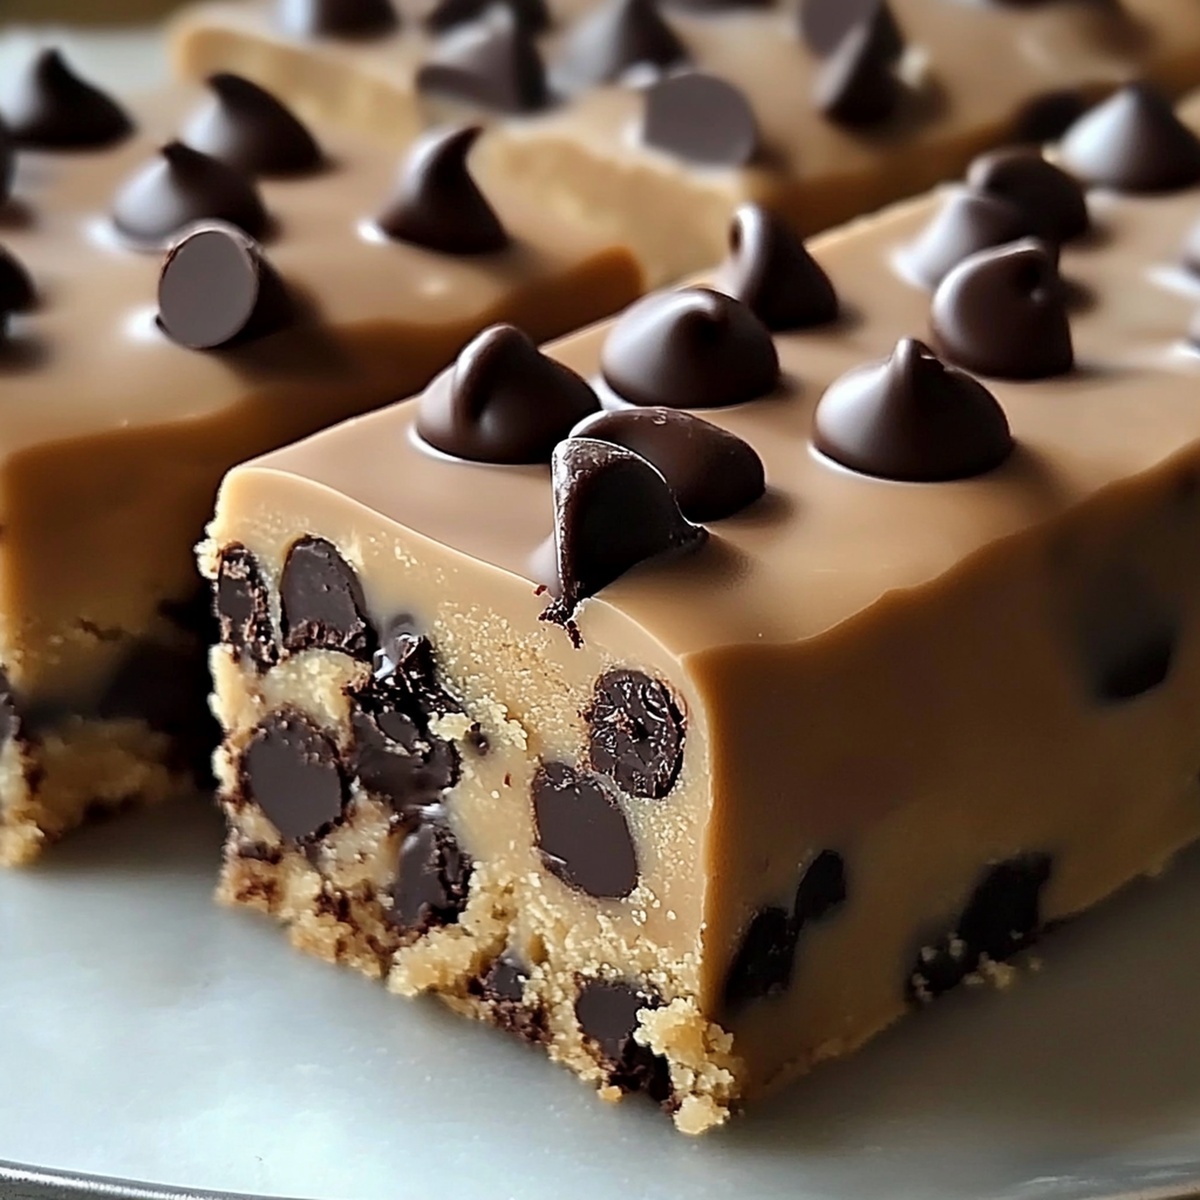
Magical Chocolate-Dipped Cookie Dough Bars Recipe for Dreamers
Decadent chocolate-dipped cookie dough bars have become the ultimate dessert obsession for sweet-toothed adventurers.
Creamy, indulgent, and wickedly delicious, these bars blend nostalgic childhood flavors with sophisticated adult cravings.
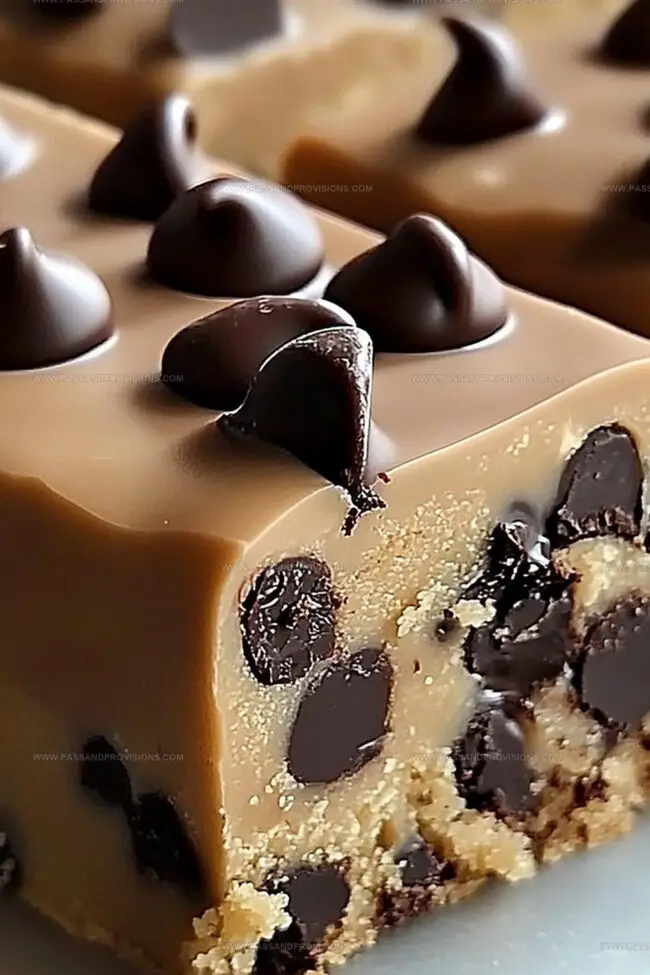
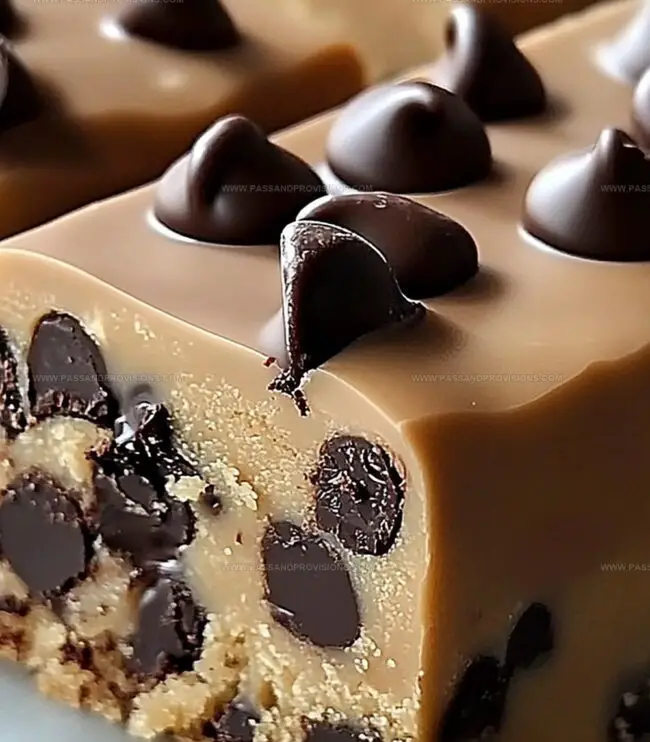
Each bite delivers a perfect balance of rich chocolate and smooth, eggless dough that melts effortlessly on your tongue.
The no-bake recipe promises maximum satisfaction with minimal effort.
Layers of chocolate and cookie dough create a stunning visual and taste experience that will impress even the most discerning dessert lovers.
Chocolate lovers won’t be able to resist these irresistible bars that turn a simple treat into a gourmet sensation.
Prepare to elevate your dessert game with this crowd-pleasing recipe that screams pure culinary joy.
Quick Recipe Overview
Ingredients Inside Chocolate-Dipped Cookie Dough Bars
For Dry Base Ingredients:For Sweetening and Binding:For Creamy Richness:For Chocolate Coating:For Optional Mix-Ins:Kitchen Tools for Cookie Dough Bars with a Chocolate Finish
How to Make Chocolate-Dipped Cookie Dough Bars at Home
Heat flour in the oven or microwave to eliminate any potential bacteria, ensuring safe consumption. Spread evenly on a baking sheet and bake at 350F (175C) for 5 minutes, or microwave in a bowl for 60 seconds, stirring midway through.
Allow the flour to cool down to room temperature before proceeding with the recipe. This step is crucial for preventing clumping and ensuring a smooth texture.
Combine softened butter, brown sugar, and vanilla in a large bowl. Blend until creamy and well incorporated, creating a smooth foundation for your bars.
Gently mix in the sterilized flour and salt, stirring until a soft dough forms. Be careful not to overmix, which can make the dough tough.
Fold chocolate chips into the dough, distributing them evenly throughout the mixture for delightful bursts of chocolate in every bite.
Transfer the dough to a lined baking dish, using a spatula or your hands to create an even, compact layer. Ensure the surface is smooth and consistent.
Refrigerate the dough for about 30 minutes, allowing it to firm up and become easier to handle.
Gently melt chocolate in a double boiler or microwave, stirring frequently to prevent burning and create a smooth, glossy finish.
Carefully dip the chilled dough bars into the melted chocolate, ensuring full coverage. Use a fork to help with dipping and draining excess chocolate.
Place the chocolate-covered bars on a parchment-lined tray and refrigerate until the chocolate hardens. Slice and enjoy your delectable treat!
Tips to Perfect Your Chocolate-Covered Cookie Dough Bars
Ways to Serve Chocolate-Dipped Cookie Dough Bars
Keeping Cookie Dough Bars Fresh & Ready
Print
Dreamy Chocolate-Dipped Cookie Dough Bars Recipe
- Total Time: 45 minutes
- Yield: 17 1x
Description
Homemade chocolate-dipped cookie dough bars blend creamy comfort with indulgent chocolate coating. Nostalgic sweet treats satisfy dessert cravings with simple ingredients and minimal preparation.
Ingredients
- 1 ½ cups (190 g) all-purpose flour
- ½ cup (115 g) unsalted butter, softened
- ¾ cup (150 g) brown sugar
- ¼ cup (50 g) granulated sugar
- ½ cup (90 g) mini chocolate chips
- 1 ½ cups (270 g) semi-sweet or dark chocolate chips
- 2 tbsps milk (or heavy cream)
- 1 tsp vanilla extract
- ½ tsp salt
- 1 tbsp coconut oil (or vegetable oil)
Instructions
- Flour Preparation: Sterilize flour by spreading on a baking sheet and roast at 350F (175C) for 5 minutes, stirring midway to ensure uniform heat distribution and eliminate potential bacteria.
- Dough Base: Cream butter and sugars in a mixing bowl until light and fluffy, then blend in vanilla extract and milk until the mixture achieves a smooth, uniform consistency.
- Dough Formation: Fold in cooled, sterilized flour and salt, mixing gently to create a soft dough, then incorporate chocolate chips for even distribution of flavor.
- Chilling and Shaping: Press the prepared dough into a lined baking pan, creating an even layer, and refrigerate for 30 minutes to firm and stabilize the mixture.
- Chocolate Coating: Melt chocolate using a double boiler or microwave until completely smooth and glossy, then remove chilled dough and drizzle or fully coat with melted chocolate.
- Final Setting: Return chocolate-covered bars to the refrigerator to set completely, then slice into uniform squares and serve chilled for optimal texture and enjoyment.
Notes
- Sterilize Flour Safely: Toast flour thoroughly to eliminate harmful bacteria, preventing potential foodborne illnesses in raw cookie dough.
- Achieve Creamy Consistency: Cream butter and sugars until light and fluffy, ensuring a smooth texture that blends perfectly with other ingredients.
- Prevent Overmixing: Fold ingredients gently to maintain a soft, tender dough texture without developing tough gluten strands.
- Chocolate Coating Pro Tip: Melt chocolate slowly and carefully to create a glossy, smooth finish that evenly covers the cookie dough bars.
- Prep Time: 15 minutes
- Cook Time: 30 minutes
- Category: Desserts, Snacks
- Method: Baking
- Cuisine: American
Nutrition
- Serving Size: 17
- Calories: 287
- Sugar: 20 g
- Sodium: 66 mg
- Fat: 16 g
- Saturated Fat: 10 g
- Unsaturated Fat: 6 g
- Trans Fat: 0 g
- Carbohydrates: 33 g
- Fiber: 1 g
- Protein: 3 g
- Cholesterol: 31 mg
William Hawkins
Founder & Culinary Director
Expertise
Education
Sullivan University, Louisville, KY
William Hawkins isn’t just a chef, he’s a storyteller through food. From his hometown of Louisville, KY, he’s spent years refining his craft, turning local ingredients into something extraordinary.
With classical training from Sullivan University and a career marked by innovation, mentorship, and Southern soul, William approaches every recipe with purpose. His kitchen is where old techniques meet fresh ideas, and where comfort food gets a thoughtful, modern twist.
When he’s not building dishes from the ground up, he’s out gathering inspiration from nature, markets, and the stories people share around the table.