
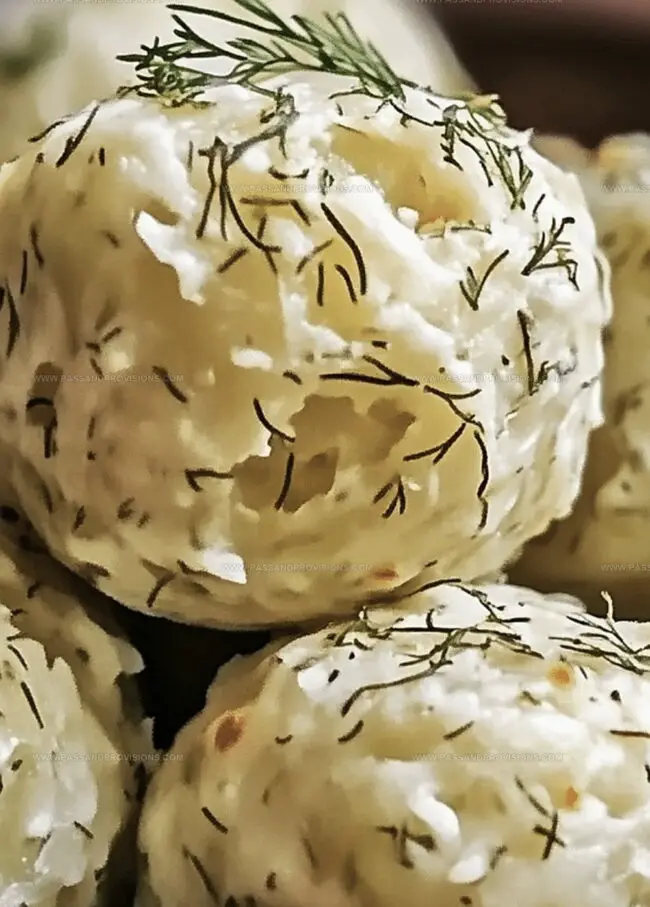
Irresistibly Tangy Dill Pickle Cheese Balls Recipe
Crispy and tangy dill pickle cheese balls have become my latest obsession in party appetizers.
Creamy cheese mingles with zesty pickle chunks for an unexpected flavor explosion.
Snack enthusiasts will adore how simple ingredients create such a memorable bite.
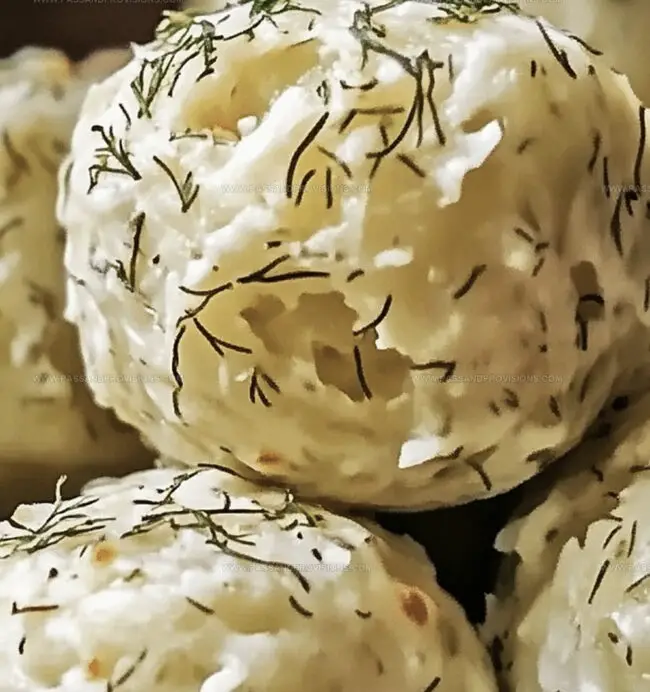
Gathering around a platter of these golden-brown spheres sparks instant conversation and delight.
Each morsel delivers a perfect balance between sharp cheese and briny pickle notes.
Weekend game days or casual get-togethers demand these irresistible little flavor bombs.
Take a chance and surprise everyone with this unconventional crowd-pleaser that guarantees smiles all around.
Why Dill Pickle Cheese Balls Are a Bold Appetizer
Everything That Goes Into These Zesty Cheese Balls
Cheese Base:Flavor Enhancers:Seasoning and Coating:How to Shape and Chill the Cheese Mixture
Step 1: Blend Creamy Goodness
In a spacious mixing bowl, toss together:Whisk everything until smooth and well-combined. Sprinkle salt and pepper to enhance the flavors.
Step 2: Chill and Firm
Wrap the bowl with plastic wrap and slide it into the refrigerator. Let the mixture cool and set for about half an hour. This helps the cheese become more manageable and easier to shape.
Step 3: Sculpt Savory Spheres
Grab a spoon or small cookie scoop. Scoop out portions of the chilled cheese mixture and roll them between your palms to create bite-sized, uniform balls.
Step 4: Add Crunchy Exterior
Roll each cheese ball in:This adds a delightful textural crunch and extra flavor.
Step 5: Serve and Delight
Arrange the cheese spheres on a beautiful serving platter. Accompany with crispy crackers, fresh vegetable slices, or crunchy pretzel sticks for dipping.
Tips for a Tangy Flavor Without Overdoing It
How to Store and Reheat Without Drying Out
Best Pairings for Pickle Cheese Snacks
Add-Ins and Coating Swaps to Try
Dill Pickle Cheese Ball FAQs
Yes, you can substitute with low-fat cream cheese, but the texture and richness might be slightly different from the original recipe.
These cheese balls can be refrigerated for up to 3-4 days in an airtight container, maintaining their fresh flavor and texture.
Absolutely! They’re perfect as appetizers, game day snacks, or casual gatherings. They’re easy to make and always a crowd-pleaser.
Yes, you can freeze them before coating. Place them on a baking sheet, freeze until solid, then transfer to a freezer bag. Thaw in the refrigerator before coating and serving.
Print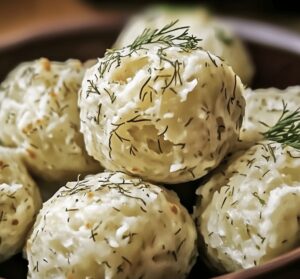
Dill Pickle Cheese Balls Recipe
- Total Time: 1 hour 15 minutes
- Yield: 20 1x
Description
Creamy dill pickle cheese balls bring zesty Polish-inspired appetizer magic to party spreads. Crunchy exterior and tangy center create irresistible flavor combinations you’ll savor at gatherings or quick snack moments.
Ingredients
Main Cheese Ingredients:
- 1 cup (100 g) shredded sharp cheddar cheese
- 8 ounces (225 g) cream cheese, softened
Pickle and Seasoning Ingredients:
- ½ cup (75 g) finely chopped dill pickles
- 12 tablespoons pickle juice (adjust to taste)
- 1 teaspoon garlic powder
- 1 teaspoon onion powder
- 1 tablespoon fresh dill, finely chopped (or 1 teaspoon dried dill)
- ¼ teaspoon black pepper
Coating Ingredients:
- ½ cup (75 g) chopped dill pickles
- ¼ cup (15 g) chopped fresh dill or parsley
Instructions
- Prepare the flavor base by blending softened cream cheese with sharp cheddar, incorporating finely diced dill pickles and a splash of tangy pickle juice for an intense, zesty profile.
- Enhance the mixture with aromatic garlic and onion powder, then season meticulously with salt and pepper to balance the sharp pickle notes.
- Refrigerate the cheese mixture for approximately half an hour, allowing the ingredients to meld and firm up for easier handling.
- Utilize a small scoop or spoon to portion out uniform cheese spheres, gently rolling each between palms to create smooth, compact balls.
- Create a textural coating by generously rolling each cheese sphere in freshly chopped dill, crushed pretzels, or finely chopped nuts for an irresistible crunch.
- Transfer the prepared cheese balls to a decorative serving platter, presenting them alongside crisp crackers, raw vegetable sticks, or crunchy pretzel sticks for an appetizing presentation.
Notes
- Enhance flavor by using high-quality aged cheddar cheese for deeper, richer taste profiles.
- Drain pickles thoroughly to prevent excess moisture that could make cheese balls too soft or runny.
- Experiment with different coatings like everything bagel seasoning or finely chopped bacon for unique texture variations.
- Make cheese balls ahead of time and store refrigerated for up to 3 days, allowing flavors to meld and intensify.
- Prep Time: 15 minutes
- Cook Time: 1 hour
- Category: Appetizer, Snacks
- Method: None
- Cuisine: American
Nutrition
- Serving Size: 20
- Calories: 90
- Sugar: 1 g
- Sodium: 250 mg
- Fat: 7 g
- Saturated Fat: 4 g
- Unsaturated Fat: 2 g
- Trans Fat: 0 g
- Carbohydrates: 3 g
- Fiber: 0 g
- Protein: 3 g
- Cholesterol: 20 mg
Jamie Granger
Recipe Developer & Food Writer
Expertise
Education
Culinary Institute of America
Jamie Granger turns ingredients into memories. With her recipes, she brings a fusion-forward flair to every creation.
Her dishes reflect the places she’s explored, the chefs she’s learned from, and the deep connection she has to food as a form of expression.
At Pass and Provision, Jamie develops recipes that balance flavor, health, and beauty, meals that don’t just satisfy your appetite but speak to your curiosity.