Chocolate Peanut Butter Poke Cake Recipe for Decadent Dessert
Prepare to embark on a delightful chocolate peanut butter poke cake adventure that promises pure indulgence.
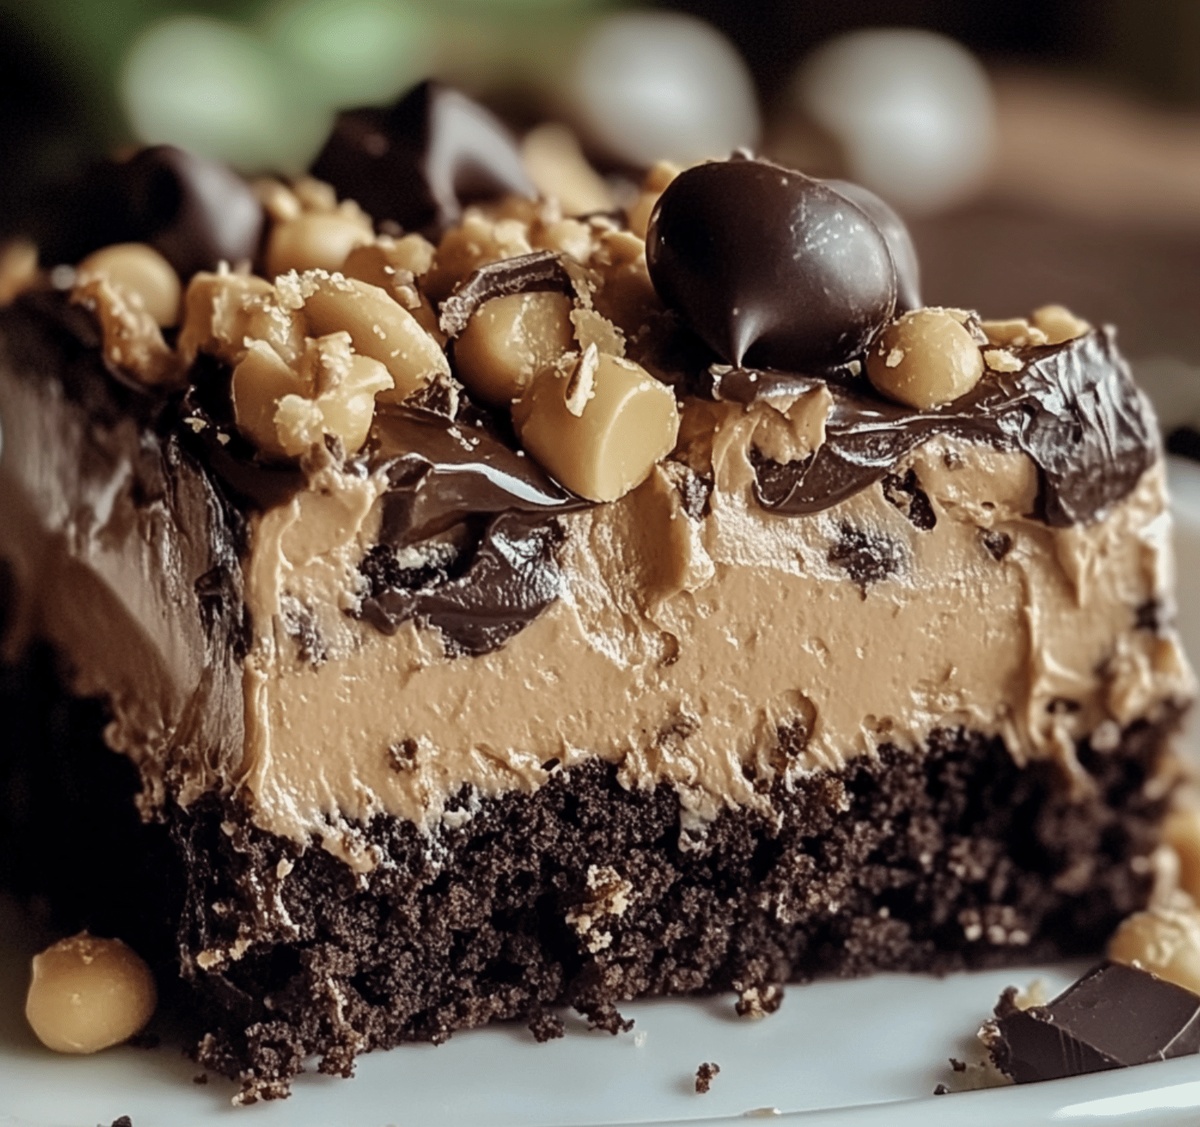
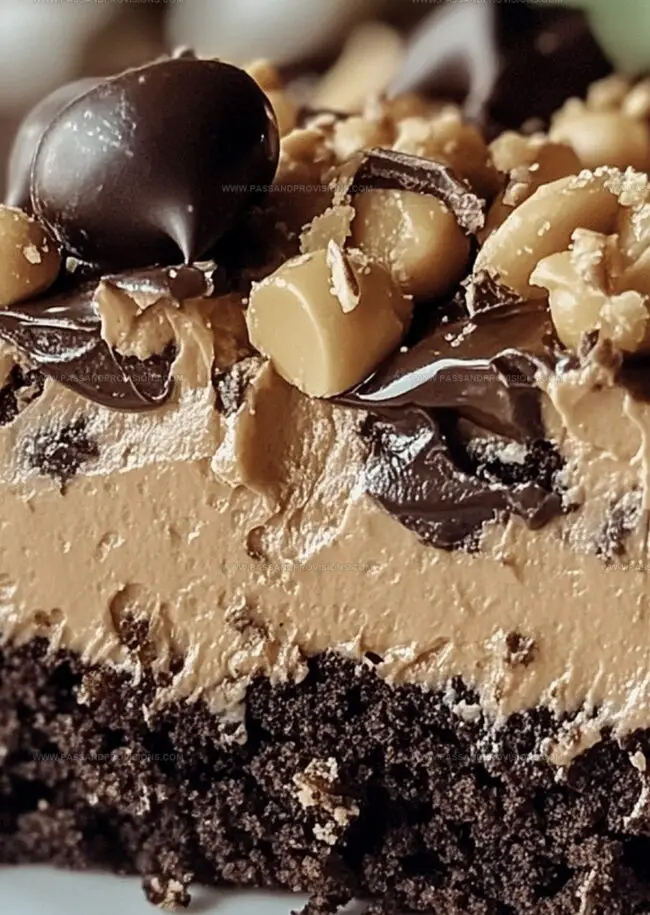
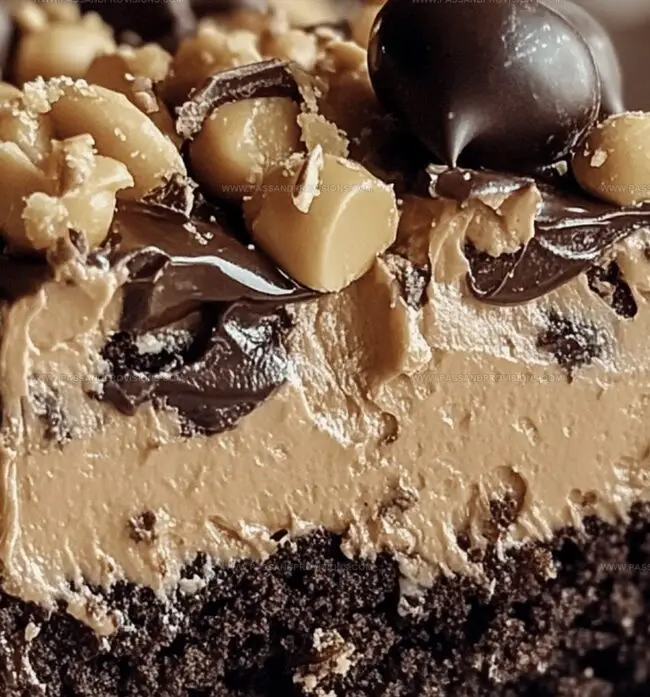
Creamy layers of rich chocolate meld perfectly with smooth peanut butter in this irresistible dessert.
Sweet surprises await you in every decadent bite.
Unexpected pockets of flavor will dance across your palate with each forkful.
Nostalgic memories of childhood treats come flooding back through this delectable creation.
Crafting this cake requires minimal effort but delivers maximum satisfaction.
You’ll want to savor every single crumb of this mouthwatering masterpiece.
Why Chocolate Peanut Butter Poke Cake Is Worth Making
What You’ll Need for This Rich Layered Cake
Main Cake Components:Filling and Moisture Ingredients:Topping and Garnish Ingredients:How to Bake and Fill Your Poke Cake Just Right
Step 1: Bake Delicious Chocolate Base
Mix cake mix following package directions in a 9×13-inch pan. Bake completely and let rest for 10 minutes after removing from oven.
Step 2: Create Cake Holes
Use wooden spoon handle or straw to poke multiple holes across cake surface. Create holes approximately one inch apart for perfect filling distribution.
Step 3: Craft Creamy Peanut Butter Filling
Ingredients:Whisk both ingredients in mixing bowl until smooth and uniform. Pour mixture evenly over warm cake, ensuring every hole gets filled. Allow cake to cool completely at room temperature or refrigerate.
Step 4: Spread Fluffy Topping
Cover entire cake surface with smooth layer of whipped topping. Spread gently to create even layer.
Step 5: Decorate With Chocolate Goodness
Sprinkle cake with:Add toppings generously across entire cake surface.
Step 6: Chill And Serve Decadent Dessert
Refrigerate cake for minimum one hour. This allows flavors to blend beautifully. Slice and serve chilled for maximum enjoyment.
Tips That Help You Achieve a Perfect Slice
Store Poke Cake Without Losing Moisture
Great Flavors and Drinks to Serve With It
Different Fillings and Frostings to Try
Questions About Poke Cake? Look Here
The holes allow the peanut butter and sweetened condensed milk mixture to seep into the cake, creating a moist and flavorful dessert with pockets of creamy filling throughout.
Yes, you can substitute whipped topping with homemade whipped cream. Just ensure it’s stabilized so it holds its shape and doesn’t separate when spread on the cake.
No special equipment is needed. Just a 9×13-inch baking pan, a wooden spoon or straw for poking holes, and standard mixing bowls are sufficient for making this cake.
No, this cake contains peanut butter and Reeses peanut butter cups, which are not safe for individuals with nut allergies. Those with nut allergies should avoid this dessert.
Print
Chocolate Peanut Butter Poke Cake Recipe
- Total Time: 45 minutes
- Yield: 12 1x
Description
Irresistible chocolate peanut butter poke cake brings rich layers of indulgence to dessert lovers. Creamy peanut butter filling and smooth chocolate ganache create a heavenly combination that melts in your mouth with pure bliss.
Ingredients
Main Ingredients:
- 1 box (425 g) chocolate cake mix
- 1 cup (250 ml) creamy peanut butter
- 1 can (14 oz / 397 g) sweetened condensed milk
Cake Mix Preparation Ingredients:
- Eggs (as specified on cake mix box)
- Oil (as specified on cake mix box)
- Water (as specified on cake mix box)
Topping and Garnish Ingredients:
- 1 container (8 oz / 225 g) whipped topping, thawed
- ½ cup (50 g) mini chocolate chips
- ½ cup (75 g) chopped Reeses peanut butter cups
Instructions
- Prepare a chocolate cake in a 9×13-inch baking pan following package instructions, creating a rich chocolate base that will serve as the foundation for this decadent dessert.
- While the cake is still warm, puncture the surface systematically with a wooden spoon handle or straw, creating numerous channels for the upcoming flavor infusion.
- Create a luscious filling by whisking sweetened condensed milk and molten peanut butter until the mixture transforms into a silky, homogeneous liquid that will seep deeply into the cake’s interior.
- Gently cascade the peanut butter-condensed milk mixture across the cake’s surface, ensuring each carefully crafted hole receives a generous dose of creamy goodness.
- Allow the cake to rest and cool completely, permitting the filling to set and permeate every crevice of the chocolate landscape.
- Blanket the cooled cake with a smooth layer of whipped topping, creating an airy, cloud-like canvas for the final embellishments.
- Artfully garnish the cake’s surface with a scattering of miniature chocolate chips, delicate chocolate shavings, and chopped Reeses peanut butter cups, adding textural intrigue and visual appeal.
- Refrigerate the assembled masterpiece for a minimum of one hour, allowing the flavors to harmonize and intensify before serving chilled slices of pure indulgence.
Notes
- Swap cake mix for gluten-free version to accommodate dietary restrictions, ensuring everyone can enjoy this decadent dessert.
- Create a lighter version by using sugar-free pudding mix and low-fat whipped topping without compromising the rich flavor profile.
- Prevent soggy texture by letting cake cool slightly before poking holes, allowing condensed milk mixture to absorb evenly into warm cake.
- Elevate presentation by using a piping bag to create decorative whipped topping swirls and carefully arranging chocolate garnishes for a professional touch.
- Prep Time: 15 minutes
- Cook Time: 25-30 minutes
- Category: Desserts
- Method: Baking
- Cuisine: American
Nutrition
- Serving Size: 12
- Calories: 480
- Sugar: 35 g
- Sodium: 360 mg
- Fat: 22 g
- Saturated Fat: 8 g
- Unsaturated Fat: 10 g
- Trans Fat: 0 g
- Carbohydrates: 62 g
- Fiber: 2 g
- Protein: 9 g
- Cholesterol: 35 mg
Jamie Granger
Recipe Developer & Food Writer
Expertise
Education
Culinary Institute of America
Jamie Granger turns ingredients into memories. With her recipes, she brings a fusion-forward flair to every creation.
Her dishes reflect the places she’s explored, the chefs she’s learned from, and the deep connection she has to food as a form of expression.
At Pass and Provision, Jamie develops recipes that balance flavor, health, and beauty, meals that don’t just satisfy your appetite but speak to your curiosity.