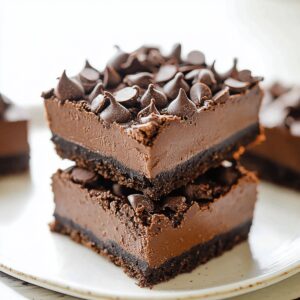
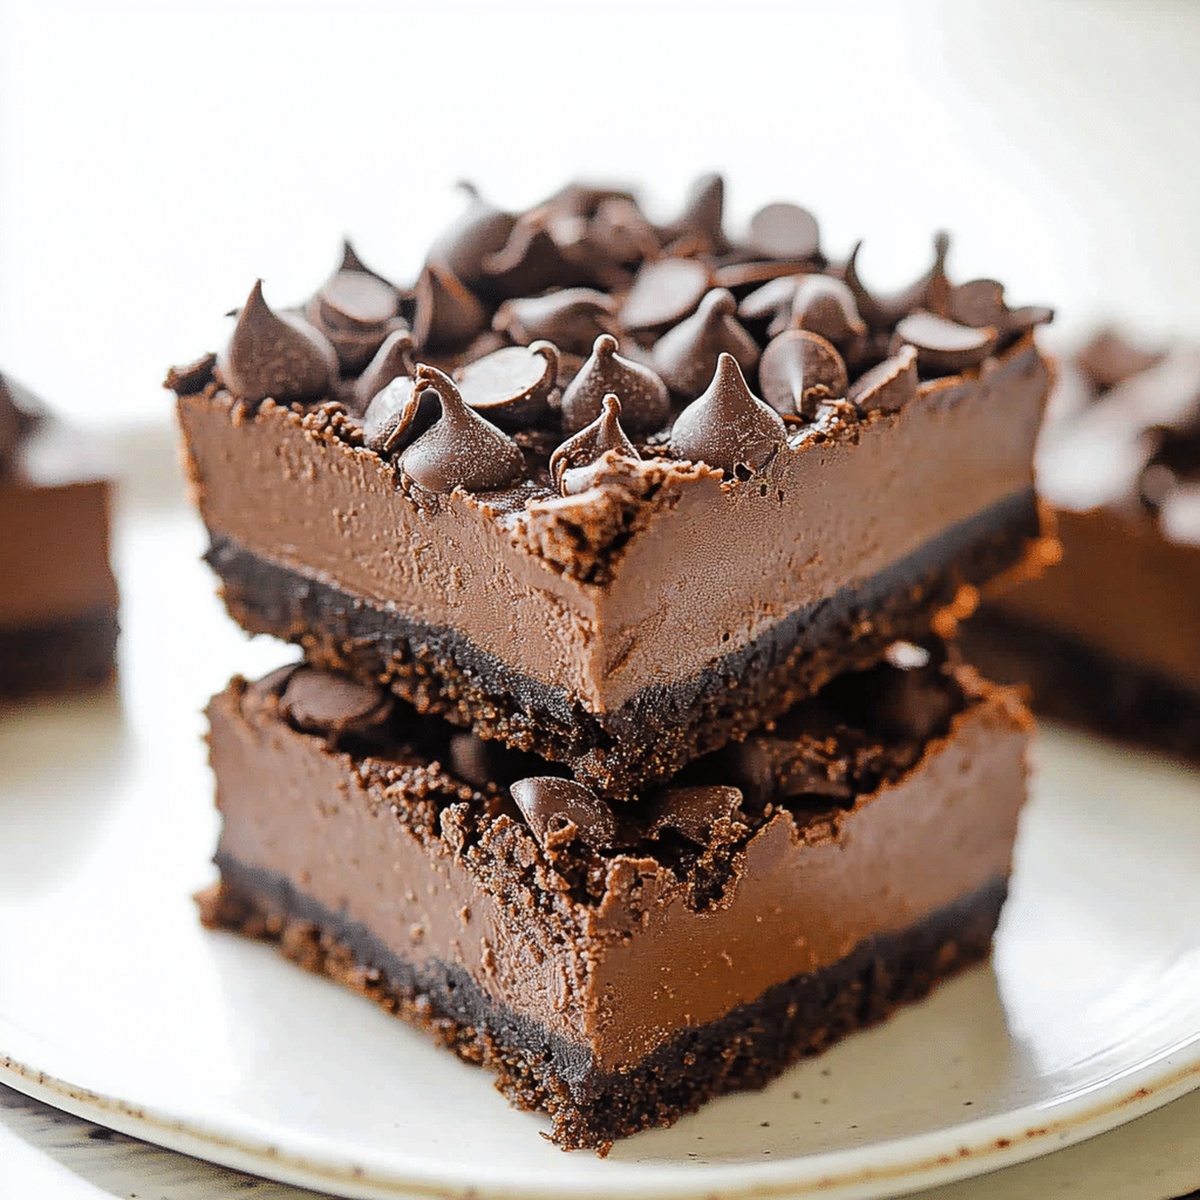
Chocolate No-Bake Cheesecake Bars Recipe for Sweet Bliss
Creamy chocolate no-bake cheesecake bars have stolen my heart with their irresistible richness.
Silky layers promise pure indulgence without turning on the oven.
Cool kitchen counters become magical spaces where dessert dreams come alive.
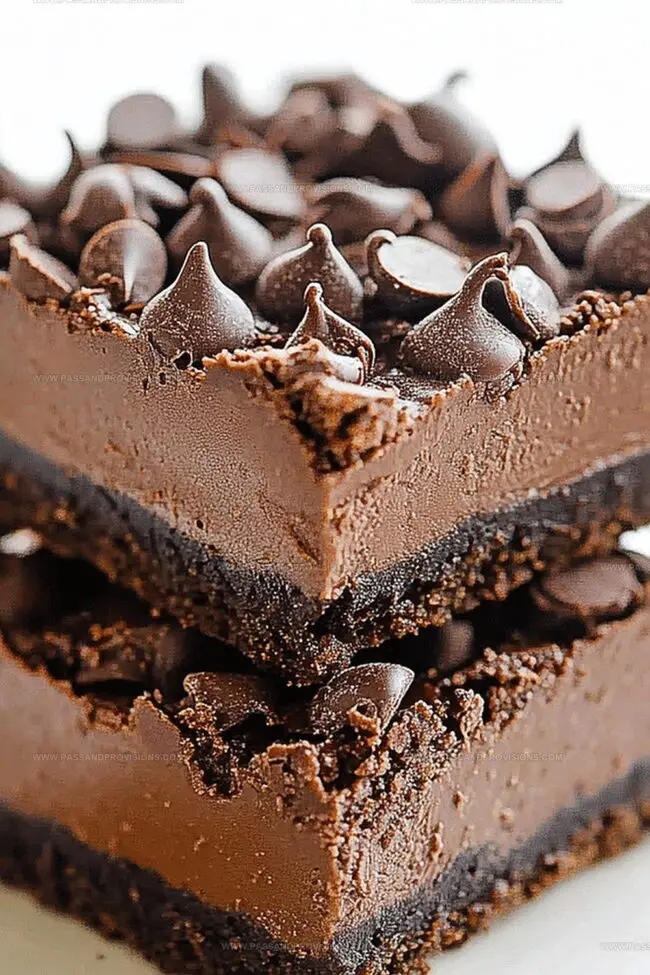
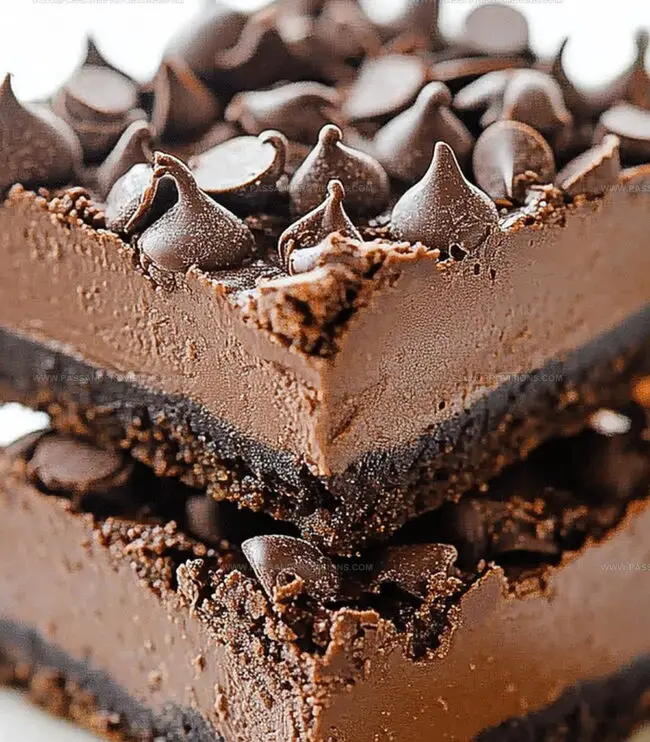
Each bite whispers decadent secrets of smooth chocolate and velvety cream cheese.
Minimal effort delivers maximum satisfaction in this delightful treat.
Chilled perfection awaits you with just a few simple ingredients.
Prepare to experience a dessert that will make your taste buds dance with joy.
Why No-Bake Cheesecake Bars Are Convenient
Everything That Goes Into These Bars
Crust Ingredients:Cheesecake Filling Ingredients:Ganache Topping Ingredients:Optional Garnish Ingredients:How to Chill and Slice Without Cracking
Step 1: Create Crumbly Base
Grab a square baking pan and line it with parchment paper, making sure some paper hangs over the edges for easy lifting. In a mixing bowl, crush graham crackers or chocolate cookies into fine crumbs. Pour melted butter over the crumbs and:Mix until the mixture looks like wet sand. Press this mixture firmly into the pan’s bottom, creating a solid foundation. Pop the pan into the refrigerator while you prepare the filling.
Step 2: Whip Up Creamy Chocolate Filling
Grab a large mixing bowl and combine:Beat these ingredients until they become smooth and glossy. Gently fold in whipped cream, stirring until the mixture looks light and fluffy.
Step 3: Layer the Deliciousness
Take the chilled crust from the refrigerator and spread the chocolate cheesecake filling evenly across the surface. Use a spatula to create a smooth, even layer.
Step 4: Drizzle Decadent Chocolate Ganache
In a small saucepan, warm heavy cream until it’s hot but not boiling. Pour the cream over chocolate chips and let sit for a few minutes. Stir until the mixture becomes silky and glossy. Pour this luxurious ganache over the cheesecake layer, making sure it covers every inch.
Step 5: Chill and Solidify
Cover the pan and place it in the refrigerator. Let it rest for at least 4 hours or overnight until the bars become firm and set.
Step 6: Slice and Serve
Using the parchment paper overhang, lift the entire dessert out of the pan. Slice into neat squares. For an extra touch of elegance, garnish with:Enjoy your indulgent chocolate no-bake cheesecake bars!
Tips That Help Set the Cheesecake Just Right
Store Bars for Later Enjoyment
Pairings That Match This Chocolate Cheesecake
Flavor Ideas You’ll Want to Try
Cheesecake Bar FAQ Session
Yes, you can substitute graham crackers or chocolate cookies for the base. Just ensure the cookies are finely ground for a compact crust.
No, a hand mixer or even a whisk works well. The key is to achieve a smooth, lump-free cream cheese mixture.
Let the ganache cool slightly before pouring and ensure the cheesecake layer is completely chilled. This helps create a smooth, glossy finish.
Absolutely! They can be prepared up to 3 days ahead and stored in the refrigerator, making them perfect for make-ahead desserts.
Print
Chocolate No-Bake Cheesecake Bars Recipe
- Total Time: 4 hours 20 minutes
- Yield: 12 1x
Description
Rich chocolate no-bake cheesecake bars blend creamy indulgence with effortless preparation. Chilled layers of silky chocolate and smooth cream cheese create a delightful dessert that satisfies chocolate lovers and cheesecake enthusiasts alike.
Ingredients
Main Ingredients:
- 8 ounces (226 grams) cream cheese, softened
- 1 ½ cups (180 grams) chocolate cookie crumbs (e.g., Oreo crumbs)
- 1 cup (240 milliliters) heavy whipping cream
Sweeteners and Chocolate Components:
- ½ cup (60 grams) powdered sugar
- ¼ cup (25 grams) unsweetened cocoa powder
- ½ cup (85 grams) semi-sweet chocolate chips
Binding and Flavoring Ingredients:
- ¼ cup (60 milliliters) unsalted butter, melted
- 1 teaspoon vanilla extract
- ¼ cup (60 milliliters) heavy cream
Optional Garnishes:
- Whipped cream
- Shaved chocolate
- Fresh berries
Instructions
- Construct the foundational layer by meticulously lining an 8-inch baking vessel with parchment paper, ensuring extended edges for effortless extraction.
- Pulverize cookie fragments and amalgamate with melted butter, creating a cohesive, moistened mixture that will serve as the structural base.
- Compress the crumb foundation uniformly across the pan’s bottom, applying firm, consistent pressure to establish a solid platform.
- Refrigerate the preliminary layer while transitioning to the decadent filling preparation.
- Whip cream cheese until silky, incorporating powdered sugar, cocoa powder, and vanilla extract to develop a luxurious, velvety texture.
- Gently integrate whipped cream into the chocolate cream cheese blend, folding with delicate motions to maintain airy consistency.
- Extract the chilled crust and distribute the chocolate filling evenly, utilizing a spatula to create a pristine, smooth surface.
- For the optional ganache embellishment, heat cream until steaming, then cascade over chocolate chips, allowing brief resting before stirring to glossy perfection.
- Cascade the molten ganache across the cheesecake layer, ensuring comprehensive and uniform coverage.
- Seal the pan and transfer to the refrigerator, permitting a minimum of four hours for complete solidification.
- Leverage parchment paper edges to extract the consolidated dessert, then slice into precise, symmetrical segments.
- Optionally adorn with whipped cream, delicate chocolate shavings, or vibrant fresh berries to elevate visual appeal.
Notes
- Choose chocolate graham crackers or Oreo cookies for a richer, more decadent crust that complements the chocolate cheesecake filling.
- Ensure cream cheese is completely softened at room temperature to prevent lumps and create a silky-smooth filling texture.
- Use high-quality cocoa powder for intense chocolate flavor, preferring Dutch-processed cocoa for deeper, more robust taste.
- For a gluten-free version, swap regular cookie crumbs with gluten-free chocolate cookie crumbs or almond flour-based alternatives.
- Prep Time: 20 minutes
- Cook Time: 4 hours
- Category: Desserts, Snacks
- Method: None
- Cuisine: American
Nutrition
- Serving Size: 12
- Calories: 300
- Sugar: 20 g
- Sodium: 150 mg
- Fat: 22 g
- Saturated Fat: 13 g
- Unsaturated Fat: 9 g
- Trans Fat: 0 g
- Carbohydrates: 26 g
- Fiber: 1 g
- Protein: 4 g
- Cholesterol: 50 mg


Jamie Granger
Recipe Developer & Food Writer
Expertise
Education
Culinary Institute of America
Jamie Granger turns ingredients into memories. With her recipes, she brings a fusion-forward flair to every creation.
Her dishes reflect the places she’s explored, the chefs she’s learned from, and the deep connection she has to food as a form of expression.
At Pass and Provision, Jamie develops recipes that balance flavor, health, and beauty, meals that don’t just satisfy your appetite but speak to your curiosity.