Dreamy Chocolate Dessert Board Recipe for Sweet Gatherings
Crafting a delightful chocolate dessert board sparks pure culinary magic for anyone seeking indulgence.
Sweet clusters of confections beckon with irresistible charm.
Chocolate lovers understand the allure of carefully arranged delicacies that sing with decadent flavors.
Texture and color play essential roles in creating visual excitement across this tempting spread.
Perfectly balanced pieces invite exploration and spontaneous sampling.
Each carefully selected morsel promises a journey through rich, nuanced tastes.
You’ll want to gather premium ingredients and unleash your inner dessert artist right now.
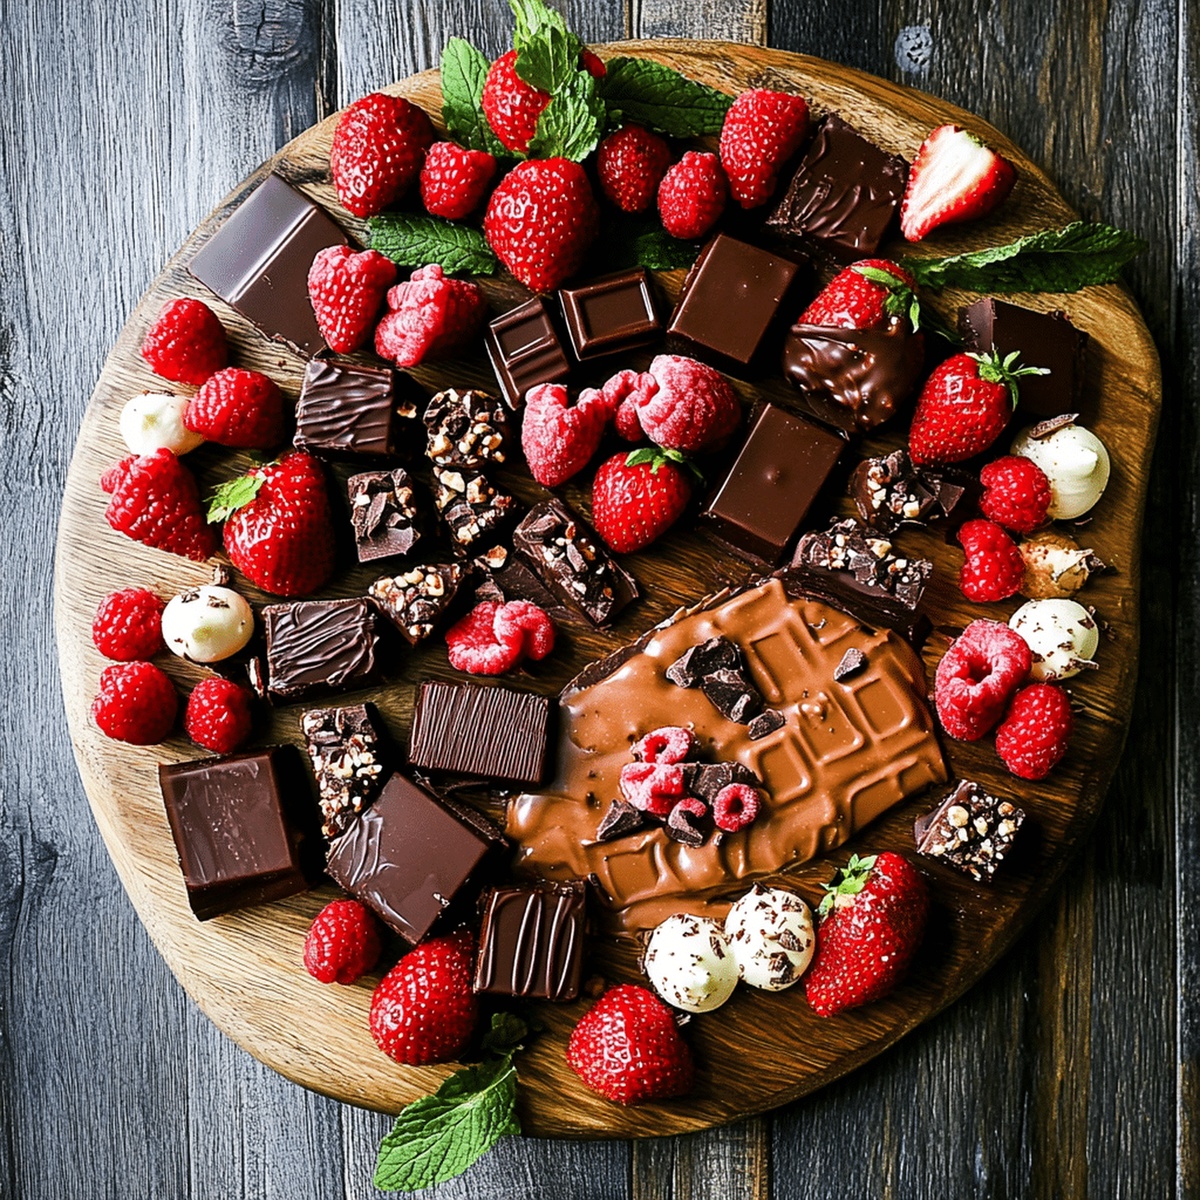
Chocolate Dessert Board That’s a Feast for the Eyes
What You’ll Need for a Chocolate Dessert Board
Serving Surface:Chocolate Varieties:Chocolate Accompaniments:Texture and Flavor Enhancers:Fresh Elements:Dipping and Drizzling:How to Arrange the Ultimate Chocolate Dessert Board
Step 1: Prepare Your Canvas
Select a spacious wooden board, elegant marble slab, or decorative serving platter that provides ample room for your chocolate creation. Ensure the surface is clean and dry.
Step 2: Create Chocolate Variety
Gather an exciting mix of chocolate treats:Step 3: Add Complementary Sweets
Enhance your board with delightful accompaniments:Step 4: Arrange With Artistic Flair
Position larger chocolate items first, creating visual anchors. Scatter smaller treats around them. Cluster similar items together for an organized yet playful look.
Step 5: Incorporate Decorative Elements
Add edible flowers, mint leaves, or dusted cocoa powder for elegant touches. Use small ramekins or bowls for sauces and dips.
Step 6: Final Styling
Fill empty spaces with scattered nuts or berries. Ensure colors and textures contrast beautifully. Step back and adjust items for maximum visual appeal.
Step 7: Serve And Enjoy
Present your chocolate dessert board at room temperature. Provide small plates, dessert forks, and napkins for easy sharing.
Tips for Styling a Show-Stopping Chocolate Dessert Board
Best Way to Store Leftovers From Your Chocolate Dessert Board
Pairings to Add to Your Chocolate Dessert Board
Unique Ways to Customize Your Chocolate Dessert Board
Chocolate Dessert Board Questions — Answered
You’ll need a large wooden board, marble slab, or serving platter to arrange your chocolate treats. Have small bowls, serving utensils, and tongs ready for easy handling of different items.
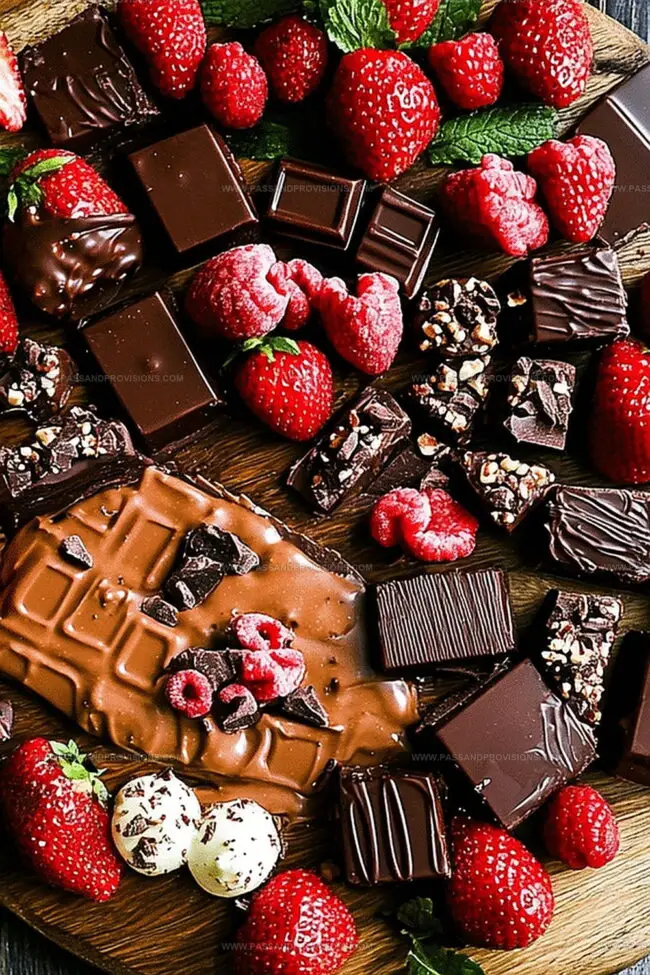
Mix different chocolate types like dark, milk, and white chocolate. Include various forms such as chocolate bark, truffles, chocolate-covered fruits, chocolate cookies, and chocolate chunks to create visual and taste variety.
Include fresh fruits like strawberries and raspberries, nuts like almonds and hazelnuts, and sweet additions like marshmallows, caramels, and chocolate-dipped pretzels. These enhance the overall flavor and texture experience.
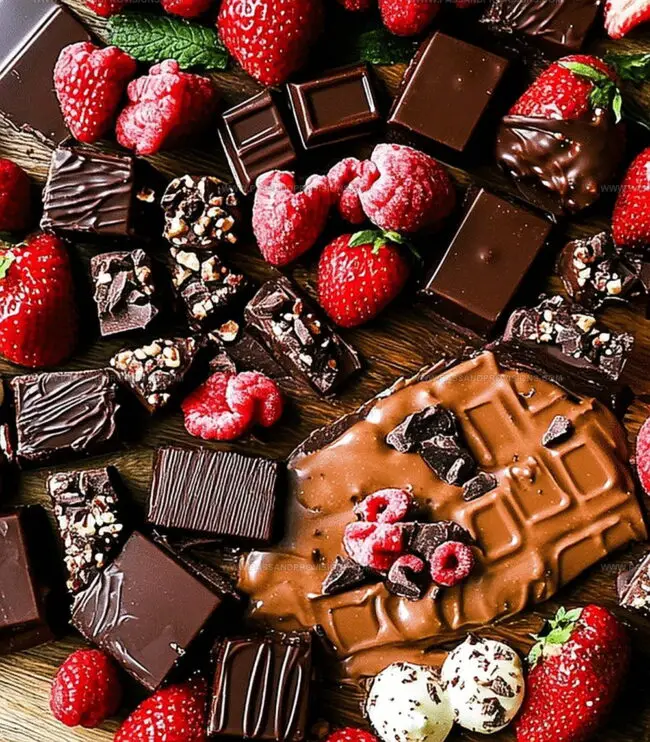
Start by placing larger items first, like chocolate bark or big cookies. Fill gaps with smaller items like truffles and nuts. Create visual interest by varying heights and colors, and leave some negative space for an elegant look.
Print
Chocolate Dessert Board Recipe
- Total Time: 20 minutes
- Yield: 8 1x
Description
Chocolate lovers rejoice with this delightful chocolate dessert board that brings together an irresistible collection of cocoa-rich treats. Sweet and indulgent chocolate delicacies create a stunning spread perfect for sharing with friends and family during special moments.
Ingredients
Chocolate Varieties:
- 1 cup dark chocolate squares or bars (broken into pieces)
- 1 cup milk chocolate squares or bars
- 1 cup white chocolate squares or bars
- ½ cup chocolate truffles
- ½ cup chocolate caramels or toffee
- ½ cup chocolate ganache or hot fudge sauce
- ½ cup Nutella or hazelnut spread
Chocolate-Coated and Baked Items:
- ½ cup chocolate-covered almonds (or peanuts)
- ½ cup chocolate-covered pretzels
- ½ cup chocolate chip cookies (mini or regular)
- ½ cup brownie bites (cut into small squares)
- ½ cup chocolate wafers or biscotti
Fruits, Toppings, and Extras:
- ½ cup fresh strawberries
- ½ cup fresh raspberries
- ½ cup fresh blackberries
- ½ cup fresh apple slices
- ½ cup dried apricots (or dried bananas)
- ¼ cup marshmallows (mini or large)
- Crushed nuts (almonds, hazelnuts, or pecans)
- Shredded coconut
- Powdered sugar for dusting
- ½ cup caramel sauce
Instructions
- Select a spacious wooden board, marble slab, or elegant serving platter that provides ample room for arranging multiple chocolate treats and decorative elements.
- Carefully melt chocolate using a double boiler or microwave, stirring frequently to ensure smooth, glossy consistency without burning.
- Prepare various chocolate pieces by chopping dark, milk, and white chocolate into attractive geometric shapes and sizes.
- Create chocolate bark by spreading melted chocolate onto parchment paper, then sprinkle with nuts, dried fruits, and sea salt before allowing to cool and harden completely.
- Slice fresh fruits like strawberries, raspberries, and banana into visually appealing segments for added color and texture.
- Arrange chocolate truffles, chocolate-covered nuts, and handmade chocolate clusters across different sections of the board.
- Drizzle additional melted chocolate in artistic zigzag or swirl patterns over selected items to enhance visual appeal.
- Incorporate complementary elements such as marshmallows, pretzels, and graham crackers to provide textural contrast.
- Garnish the board with fresh mint leaves, edible flowers, or cocoa powder dusting for sophisticated presentation.
- Chill the completed chocolate board for 10-15 minutes before serving to ensure optimal texture and temperature of chocolate elements.
- Provide small dessert forks, toothpicks, or decorative serving utensils to encourage interactive and elegant tasting experience.
Notes
- Pick a sturdy board that can comfortably hold multiple chocolate treats without overcrowding.
- Opt for smooth surfaces like marble or wood to enhance the aesthetic appeal of your chocolate display.
- Consider food-safe materials that won’t transfer unwanted flavors or chemicals to your delicate desserts.
- Ensure the board is clean and completely dry before arranging chocolates to prevent moisture damage.
- Prep Time: 20 minutes
- Cook Time: 0 minutes
- Category: Desserts, Snacks
- Method: None
- Cuisine: American
Nutrition
- Serving Size: 8
- Calories: 460
- Sugar: 52 g
- Sodium: 70 mg
- Fat: 22 g
- Saturated Fat: 10 g
- Unsaturated Fat: 12 g
- Trans Fat: 0 g
- Carbohydrates: 60 g
- Fiber: 4 g
- Protein: 6 g
- Cholesterol: 15 mg
Jamie Granger
Recipe Developer & Food Writer
Expertise
Education
Culinary Institute of America
Jamie Granger turns ingredients into memories. With her recipes, she brings a fusion-forward flair to every creation.
Her dishes reflect the places she’s explored, the chefs she’s learned from, and the deep connection she has to food as a form of expression.
At Pass and Provision, Jamie develops recipes that balance flavor, health, and beauty, meals that don’t just satisfy your appetite but speak to your curiosity.