Quick Baked Sweet and Sour Chicken Recipe for Weeknight Magic
Crafting an irresistible baked sweet and sour chicken recipe can transport you straight to flavor paradise.
Aromatic spices and tender meat create a delightful culinary experience that breaks free from traditional takeout expectations.
Home cooks adore this healthier version that captures classic restaurant-style flavors without excessive oil.
Crispy edges and a glossy sauce promise an exciting meal that impresses everyone at the table.
Marinating the chicken ensures each bite bursts with incredible depth and complexity.
Weeknight dinners become extraordinary when you master this simple yet spectacular dish.
Get ready to become the household chef champion with this mouthwatering masterpiece.
Baked Sweet and Sour Chicken That Rivals Takeout
Ingredients for Baked Sweet and Sour Chicken Perfection
Main Protein:Coating Ingredients:Sauce Ingredients:Cooking Ingredients:Thickening Agent:Garnish:Serving Suggestion:How to Make Baked Sweet and Sour Chicken at Home
Step 1: Warm Up the Oven
Crank the oven to 200C (400F). Grab a large baking dish and give it a quick spray of cooking oil or line it with parchment paper for easy cleanup.
Step 2: Dress the Chicken
Sprinkle salt and pepper over the chicken pieces.
Grab two shallow bowls:Dunk each chicken piece first in cornstarch, then give it a luxurious egg bath, making sure it’s completely covered.
Step 3: Create a Golden Exterior
Fire up a large skillet with vegetable oil over medium-high heat. Sizzle the chicken pieces in batches until they develop a gorgeous golden-brown color. No need to cook them completely through.
Move the golden chicken nuggets to the prepared baking dish.
Step 4: Whip Up the Tangy Sauce
In a saucepan, mix together:Bring the mixture to a gentle bubble, stirring until the sugar melts away.
Create a quick cornstarch slurry by mixing cornstarch with water. Pour this into the sauce and stir until it thickens up like magic, about 1-2 minutes.
Step 5: Bake to Perfection
Pour the sauce all over the chicken, making sure every piece gets a delicious coating.
Slide the dish into the oven and bake uncovered for 25-30 minutes. Give everything a gentle stir halfway through to ensure even flavor distribution.
Step 6: Plate and Enjoy
Serve piping hot over fluffy steamed rice. Sprinkle some chopped green onions or sesame seeds on top for an extra flavor explosion.
Cooking Tips for Baked Sweet and Sour Chicken That Pops
Keep Your Baked Sweet and Sour Chicken Delicious Later
What to Serve with Baked Sweet and Sour Chicken
Recipe Remixes for Baked Sweet and Sour Chicken Fans
Sweet and Sour Chicken Questions
The cornstarch creates a crispy protective coating that helps the egg wash stick better to the chicken, resulting in a crunchier exterior when baked or fried.
White rice vinegar works best, but you can substitute with apple cider vinegar or white wine vinegar for similar tangy results. Avoid balsamic or red wine vinegar as they have stronger flavors.
Use a meat thermometer to check that the internal temperature of the chicken reaches 75C (165F). The chicken should be white throughout with no pink areas and have clear juices when cut.
Searing helps lock in moisture and creates a golden-brown exterior that adds flavor and texture. While not mandatory, it significantly improves the overall taste and appearance of the dish.
Print
Baked Sweet And Sour Chicken Recipe
- Total Time: 45 minutes
- Yield: 4 1x
Description
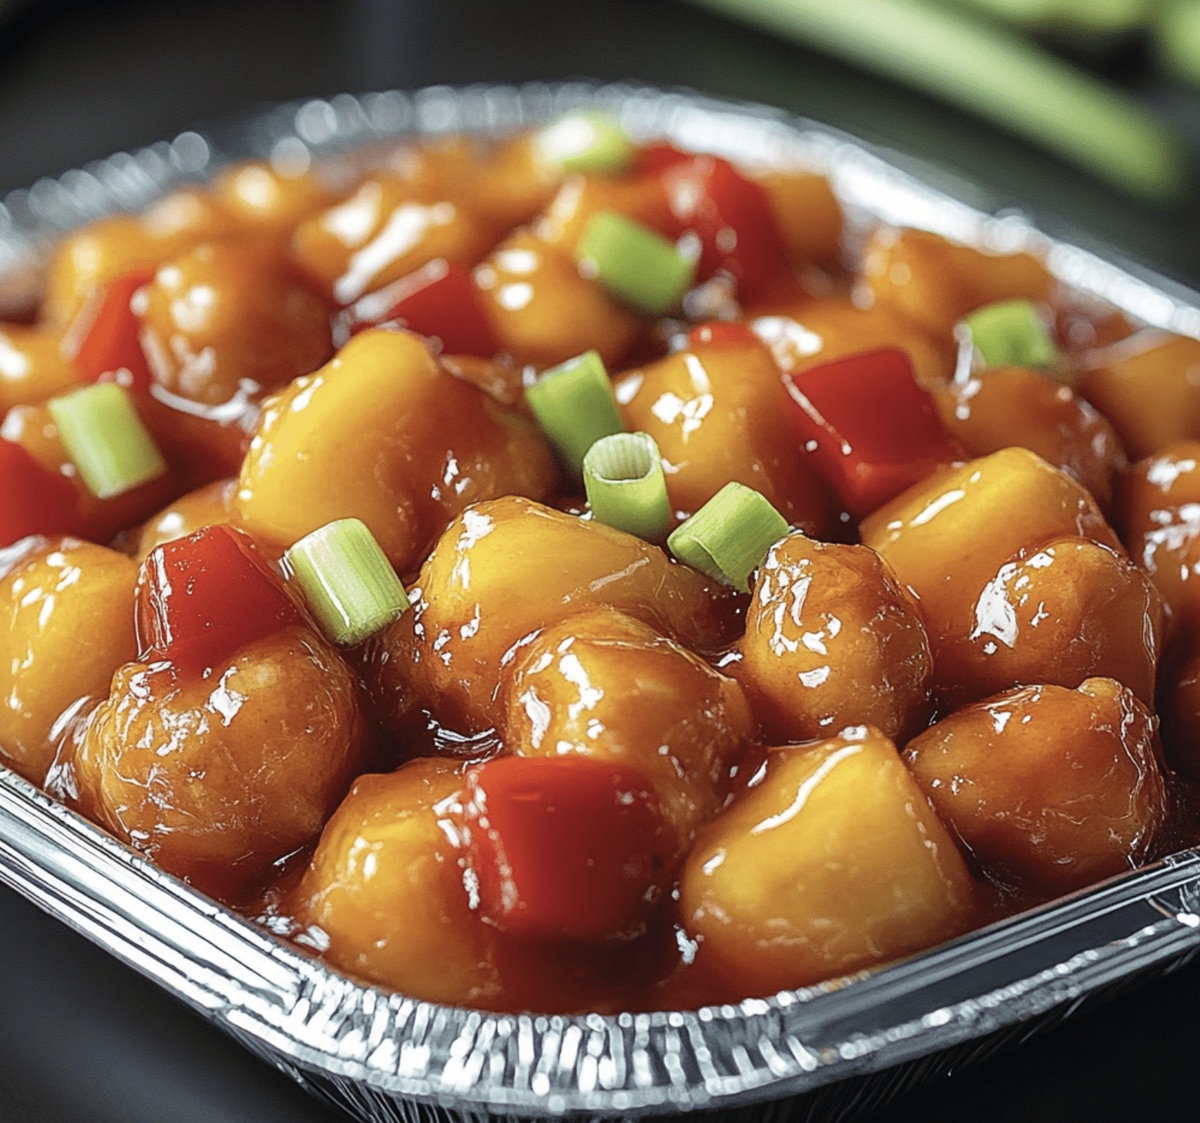
Savory sweet and sour chicken brings Chinese-American comfort to dinner tables with crispy, golden-brown perfection. Delightful layers of tangy sauce and juicy chicken create a restaurant-quality meal that will surprise your taste buds with each delicious bite.
Ingredients
Main Protein:
- 1 pound (500 g) chicken breast, cut into bite-sized cubes
Coating Ingredients:
- ½ cup (65 g) cornstarch
- 2 large eggs, beaten
- 2 tablespoons vegetable oil
- Salt, to taste
- Pepper, to taste
Sweet and Sour Sauce Ingredients:
- ½ cup (120 ml) white vinegar
- ⅓ cup (80 ml) ketchup
- ½ cup (100 g) granulated sugar
- 1 tablespoon soy sauce
- 1 teaspoon garlic powder
- 1 teaspoon cornstarch
- 1 tablespoon water
Instructions
- Meticulously prepare the kitchen workspace by heating the oven to a precise temperature of 200C (400F) and arranging a generously sized baking dish with a protective parchment paper lining.
- Season chicken pieces with a delicate balance of salt and pepper, creating a flavor foundation for the dish.
- Create a two-stage coating station: one shallow bowl filled with cornstarch and another containing whisked eggs, preparing for a crispy exterior.
- Carefully dredge each chicken piece through the cornstarch, ensuring a complete and even powdery coating, then delicately immerse in beaten eggs.
- Ignite a large skillet with vegetable oil over medium-high heat, strategically searing chicken pieces in rotating batches until they develop a golden, appetizing exterior.
- Transfer the partially cooked chicken to the prepared baking dish, arranging pieces with intentional spacing.
- Craft the sweet and sour sauce by combining vinegar, ketchup, sugar, soy sauce, and garlic powder in a saucepan, gently bringing the mixture to a simmer while continuously stirring.
- Enhance the sauce’s consistency by introducing a cornstarch slurry, whisking until the mixture transforms into a luxuriously thick glaze.
- Lavishly coat the chicken pieces with the vibrant sweet and sour sauce, ensuring each morsel is thoroughly embraced by the flavorful mixture.
- Slide the baking dish into the preheated oven, allowing the chicken to bake uncovered for 25-30 minutes, pausing midway to redistribute the sauce and guarantee uniform cooking.
- Present the finished dish atop a bed of steamed rice, garnishing with freshly chopped green onions or a sprinkle of sesame seeds for an elegant touch.
Notes
- Cornstarch Coating Trick: Shake off excess cornstarch before dipping chicken in eggs to create a lighter, crispier exterior that prevents soggy breading.
- Oil Temperature Control: Use a high-heat oil and ensure skillet is hot before searing chicken to achieve a perfect golden-brown crust without overcooking.
- Sauce Consistency Hack: Adjust cornstarch slurry amount for desired sauce thickness – less for a thinner sauce, more for a thicker glaze that clings to chicken.
- Dietary Modification: Swap regular soy sauce for gluten-free alternative and use coconut sugar instead of white sugar to make recipe suitable for gluten-sensitive and refined sugar-conscious diners.
- Prep Time: 15 minutes
- Cook Time: 30 minutes
- Category: Dinner, Lunch
- Method: Baking
- Cuisine: Chinese
Nutrition
- Serving Size: 4
- Calories: 435
- Sugar: 23 g
- Sodium: 400 mg
- Fat: 12 g
- Saturated Fat: 2 g
- Unsaturated Fat: 8 g
- Trans Fat: 0 g
- Carbohydrates: 61 g
- Fiber: 1 g
- Protein: 22 g
- Cholesterol: 180 mg
Jamie Granger
Recipe Developer & Food Writer
Expertise
Education
Culinary Institute of America
Jamie Granger turns ingredients into memories. With her recipes, she brings a fusion-forward flair to every creation.
Her dishes reflect the places she’s explored, the chefs she’s learned from, and the deep connection she has to food as a form of expression.
At Pass and Provision, Jamie develops recipes that balance flavor, health, and beauty, meals that don’t just satisfy your appetite but speak to your curiosity.