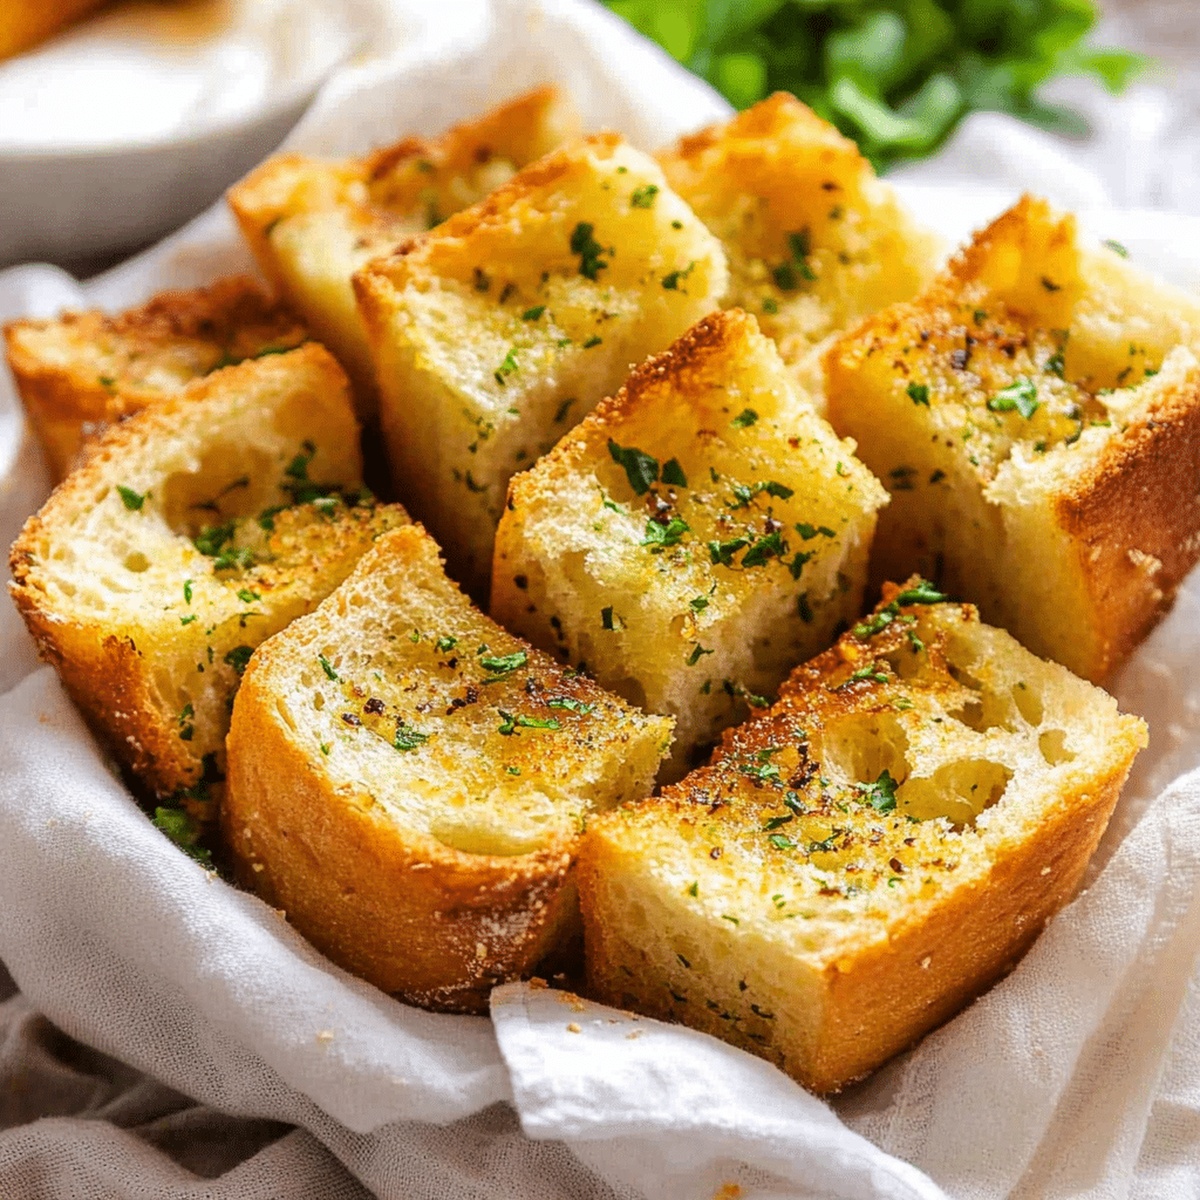
Irresistibly Crispy Air Fryer Garlic Bread Recipe
Crispy and golden garlic bread transforms simple ingredients into a mouthwatering side that sings with flavor.
Fragrant herbs dance alongside minced garlic, creating an irresistible aroma in your kitchen.
Olive oil brushed delicately across soft bread elevates each slice to crunchy perfection.
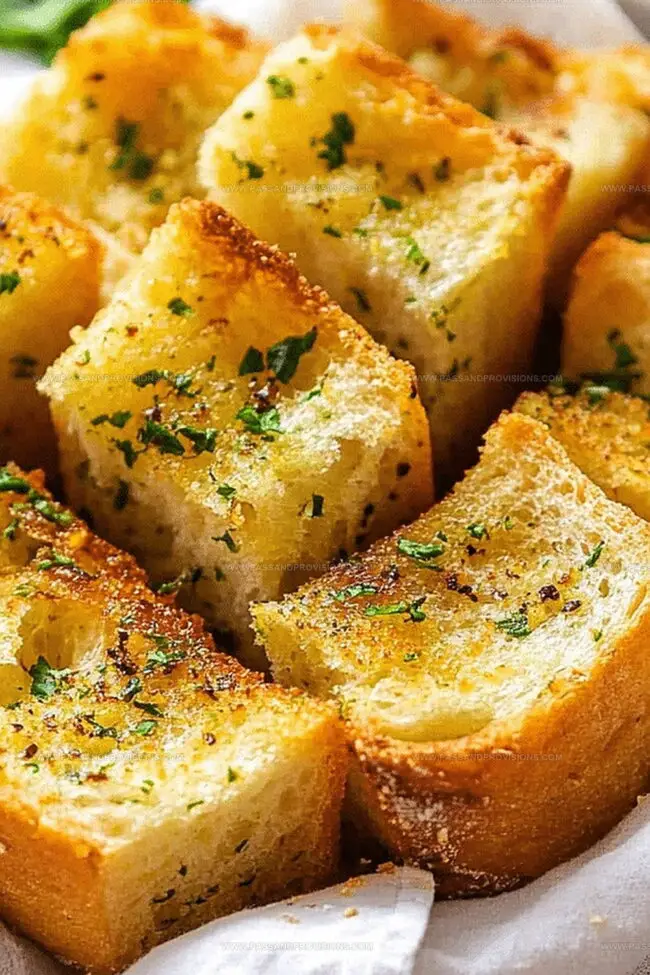
Magic happens when hot air circulates around bread, generating that coveted crisp exterior.
Quick preparation means you can whip up this delectable treat in minutes.
Minimal effort yields maximum deliciousness, making this recipe a guaranteed crowd-pleaser.
Friends and hungry guests will beg you to share your culinary secret.
Why Air Fryer Garlic Bread Is a Weeknight Win
Ingredients for Garlic Bread in the Air Fryer
Bread Base:Garlic Butter Components:Optional Topping:How to Toast Garlic Bread with Crispy Results
Step 1: Whip Up Garlic Butter
Mash ingredients together in a bowl until smooth and fragrant. Blend thoroughly to distribute flavors evenly.
Step 2: Generously Coat Bread
Spread thick layer of butter mixture completely across one side of each bread slice. Ensure total coverage for maximum flavor.
Step 3: Prepare Air Fryer
Switch on air fryer and set temperature to 350 degrees Fahrenheit. Allow device to warm up for approximately 2-3 minutes before cooking.
Step 4: Arrange Bread Slices
Place buttered bread pieces inside air fryer basket. Ensure no overlapping occurs and each slice has adequate space for crispy edges.
Step 5: Crisp To Perfection
Cook bread for 5-6 minutes. Watch carefully to prevent burning. Golden brown edges indicate ideal doneness.
Step 6: Optional Cheese Boost
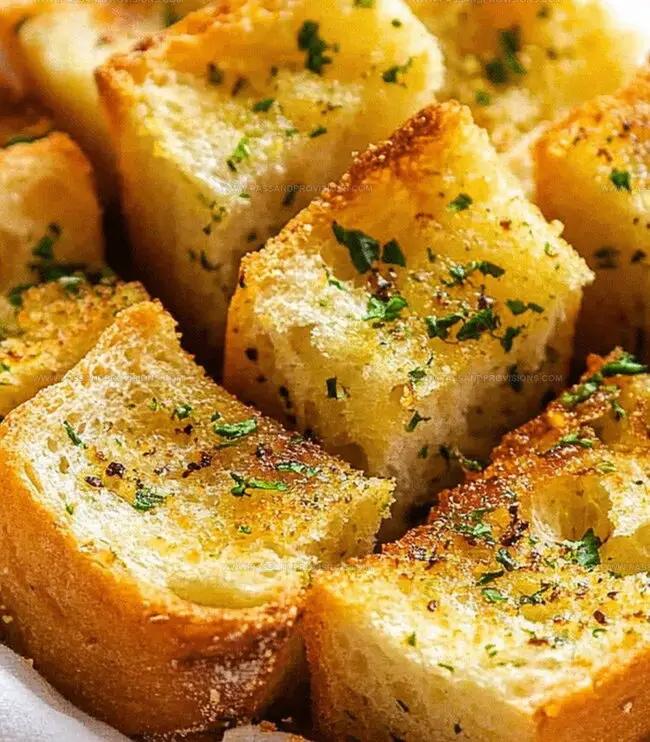
Sprinkle Parmesan cheese during final two cooking minutes for extra richness and flavor complexity.
Step 7: Serve Immediately
Transfer hot garlic bread directly from air fryer to serving plate. Enjoy while warm and incredibly crispy.
Tips That Add Flavor and Prevent Burning
Reheating Garlic Bread in Seconds
What to Pair with Air Fryer Garlic Bread
Garlic Bread Add-Ons to Try
FAQs on Air Fryer Bread Success
Yes, you can use various bread types like French baguette, sourdough, or Italian bread. Just ensure the slices are similar in thickness for even cooking.
Watch the bread closely during the last 2 minutes of cooking. Air fryers can heat quickly, so check frequently to avoid over-browning. Adjust cooking time based on your specific air fryer model.
It’s best served fresh, but you can prepare the garlic butter mixture in advance and store it in the refrigerator for up to 3 days. Spread and cook the bread just before serving for maximum crispiness.
Preheating helps ensure even cooking, but it’s not mandatory. If you’re short on time, you can skip preheating and just add 1-2 minutes to the cooking time.
Print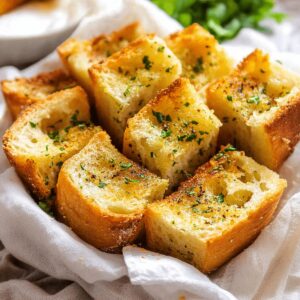
Air Fryer Garlic Bread Recipe
- Total Time: 11 minutes
- Yield: 4 1x
Description
Crispy, golden air fryer garlic bread delivers mouthwatering Italian-inspired comfort straight to your plate. Fragrant herbs and melted butter create an irresistible side dish you’ll crave with every meal.
Ingredients
Main Ingredients:
- 4 slices French bread or Italian bread (about 1-inch thick)
- 4 tablespoons (60 grams) unsalted butter, softened
Seasoning Ingredients:
- 2 garlic cloves, minced
- 1 teaspoon garlic powder
- 2 tablespoons fresh parsley, finely chopped
- 1 teaspoon dried parsley
- ¼ teaspoon salt
Topping Ingredient:
- 2 tablespoons grated Parmesan cheese (optional)
Instructions
- Blend softened butter with finely chopped garlic, fresh parsley, and a pinch of salt in a mixing bowl until the ingredients form a smooth, fragrant spread.
- Generously coat one side of each bread slice with the prepared garlic butter mixture, ensuring complete and even coverage.
- Activate the air fryer and set the temperature to 350F (175C), allowing it to warm up for a brief 2-3 minutes to create an optimal cooking environment.
- Carefully arrange the buttered bread slices in a single layer within the air fryer basket, positioning them with the buttered side facing upward to maximize flavor absorption.
- Cook the bread for 5-6 minutes, monitoring the edges as they transform into a crisp, golden-brown texture that signals perfect doneness.
- For additional richness, sprinkle grated Parmesan cheese over the bread during the final two minutes of cooking, allowing it to melt and create a delectable crusty layer.
- Once perfectly crisp and aromatic, extract the garlic bread from the air fryer and serve immediately, presenting a warm, flavorful accompaniment that complements various main dishes.
Notes
- Select high-quality, crusty bread like French baguette or sourdough for maximum crispiness and flavor absorption.
- Ensure butter is completely softened at room temperature for seamless mixing and even spreading across bread slices.
- Experiment with herbs by adding dried oregano, basil, or red pepper flakes to the garlic butter for personalized taste variations.
- Use fresh garlic instead of pre-minced for more robust, authentic flavor that elevates the entire garlic bread experience.
- Watch bread closely during air frying to prevent burning, as different bread types and air fryer models can brown differently.
- Transform this recipe into a gluten-free version by using gluten-free bread or a low-carb alternative like cauliflower bread.
- Create a lighter version by using olive oil instead of butter and reducing the amount of spread for a healthier option.
- Make ahead by preparing garlic butter in advance and storing in the refrigerator for quick, convenient preparation.
- Prep Time: 5 minutes
- Cook Time: 6 minutes
- Category: Snacks, Appetizer
- Method: Frying
- Cuisine: Italian
Nutrition
- Serving Size: 4
- Calories: 220
- Sugar: 1g
- Sodium: 200mg
- Fat: 18g
- Saturated Fat: 11g
- Unsaturated Fat: 7g
- Trans Fat: 0g
- Carbohydrates: 19g
- Fiber: 1g
- Protein: 4g
- Cholesterol: 30mg
Jamie Granger
Recipe Developer & Food Writer
Expertise
Education
Culinary Institute of America
Jamie Granger turns ingredients into memories. With her recipes, she brings a fusion-forward flair to every creation.
Her dishes reflect the places she’s explored, the chefs she’s learned from, and the deep connection she has to food as a form of expression.
At Pass and Provision, Jamie develops recipes that balance flavor, health, and beauty, meals that don’t just satisfy your appetite but speak to your curiosity.