
Dreamy Sweet Peppermint Candy Spoons Recipe for Holiday Magic
Stirring up holiday cheer with delightful sweet peppermint candy spoons that sparkle with festive magic, this recipe offers a whimsical twist on traditional treats.
Homemade confections never looked so charming and delicious.
Craft these elegant utensils using simple ingredients and basic kitchen tools.
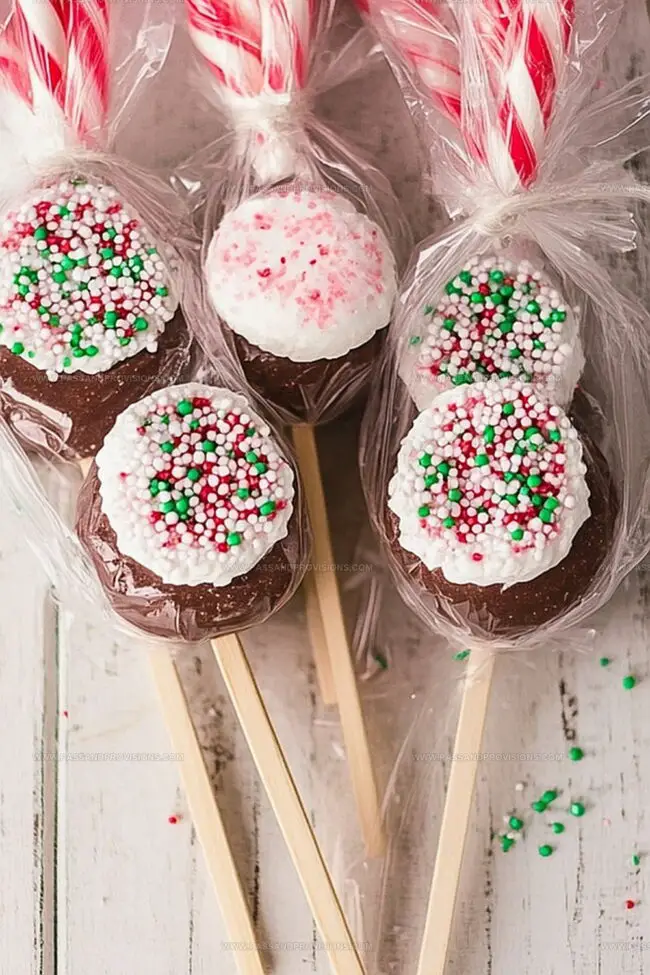
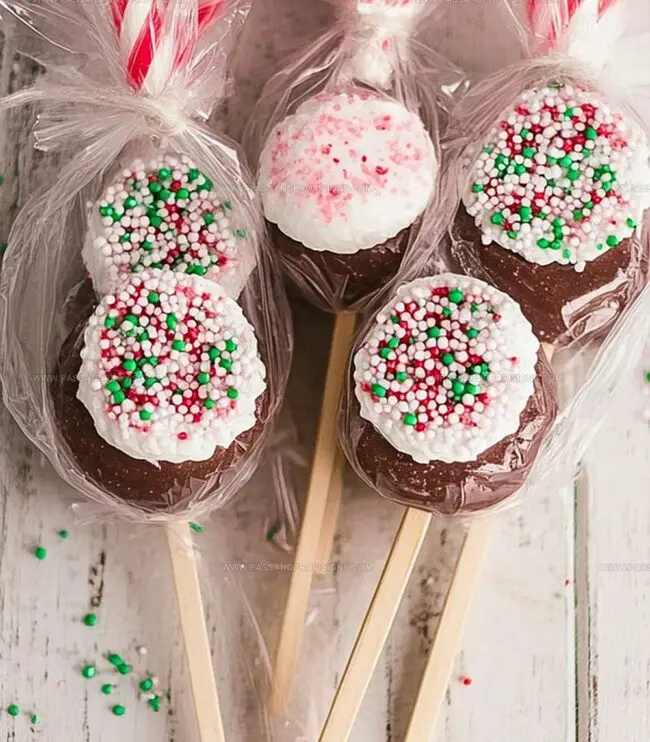
Melted candy transforms plain spoons into edible works of art perfect for hot cocoa or coffee.
The vibrant red and white swirls create a delectable decoration that guests will adore.
Children and adults alike will marvel at these playful, mouthwatering creations.
Embrace the joy of holiday baking and surprise everyone with these delightful sweet peppermint candy spoons.
Quick Recipe Overview
What Goes into DIY Peppermint Candy Spoons
For Sweeteners and Flavoring:For Preparation and Molding:For Optional Decoration:Tools for Making Peppermint Candy Spoons
Melt and Mold Peppermint Candy Spoons Easily
Gather a silicone spoon mold, rolling pin, and peppermint candies. Clear a clean, flat surface for your candy crafting adventure.
Place peppermint candies in a sealed bag and gently crush them with a rolling pin. Aim for small, uneven chunks that will create a beautiful, textured spoon.
Lightly spray the silicone mold with cooking spray. Carefully sprinkle the crushed candy pieces into each spoon cavity, ensuring complete coverage and an even distribution.
Slide the filled mold onto a baking sheet and slide into a preheated 300F oven. Watch closely as the candies transform into a glossy, liquid masterpiece, melting for about 5-8 minutes.
Allow the candy spoons to cool completely in the mold. This waiting period helps them solidify into a sturdy, glossy treat. Gently nudge them out of the mold once they’ve set.
Optional: Drizzle melted chocolate over your creation and sprinkle with extra crushed candy for a show-stopping dessert accessory that’s sure to impress.
Creative Tips for Peppermint Candy Spoons
Serving Peppermint Candy Spoons with Treats
Storing Your DIY Peppermint Candy Spoons Safely
Print
Sweet Peppermint Candy Spoons Recipe
- Total Time: 18 minutes
- Yield: 13 1x
Description
Homemade peppermint candy spoons combine festive holiday cheer with delightful culinary creativity. Guests will adore these edible utensils that add whimsy and sweet peppermint flavor to warm winter beverages.
Ingredients
- 1 bag (12 oz/340 g) peppermint hard candies (crushed)
- Cooking spray (for greasing the molds)
- White chocolate (melted)
- Dark chocolate (melted)
- Candy canes (crushed)
- Holiday sprinkles
Instructions
- Mold Preparation: Preheat oven to 300F (150C) and lightly spray silicone spoon mold with cooking spray for effortless candy extraction.
- Candy Crushing: Encase peppermint candies in a sealed plastic bag and gently fracture using a rolling pin, creating small, irregular fragments without pulverizing into powder.
- Mold Filling: Meticulously distribute crushed candy pieces into each mold cavity, pressing fragments thoroughly to ensure comprehensive spoon coverage and uniform shape.
- Melting Process: Transfer filled mold onto a baking sheet and place in preheated oven, observing candy transformation for 5-8 minutes until completely liquefied and seamlessly blended.
- Cooling and Solidification: Remove baking sheet from oven and allow peppermint spoons to cool entirely within the mold, ensuring complete hardening and structural integrity.
- Finishing Touches: Delicately extract hardened spoons from silicone mold, inspecting for smooth edges, then embellish with melted chocolate drizzle and additional crushed peppermint or decorative sprinkles, permitting final decorations to set completely before serving.
Notes
- Choose Quality Candies: Select fresh, uniform peppermint hard candies for consistent melting and smooth texture.
- Control Crushing Technique: Use gentle rolling pin pressure to create small, even candy chunks without reducing them to powder.
- Monitor Melting Time: Watch carefully during 5-8 minute baking window; slight over-browning can create bitter taste and unpleasant color.
- Prevent Sticking: Always use non-stick silicone mold and light cooking spray to ensure easy candy spoon removal without breaking.
- Prep Time: 10 minutes
- Cook Time: 8 minutes
- Category: Desserts, Snacks
- Method: Baking
- Cuisine: American
Nutrition
- Serving Size: 13
- Calories: 70
- Sugar: 13 g
- Sodium: 0 mg
- Fat: 3 g
- Saturated Fat: 2 g
- Unsaturated Fat: 1 g
- Trans Fat: 0 g
- Carbohydrates: 16 g
- Fiber: 0 g
- Protein: 0 g
- Cholesterol: 0 mg
William Hawkins
Founder & Culinary Director
Expertise
Education
Sullivan University, Louisville, KY
William Hawkins isn’t just a chef, he’s a storyteller through food. From his hometown of Louisville, KY, he’s spent years refining his craft, turning local ingredients into something extraordinary.
With classical training from Sullivan University and a career marked by innovation, mentorship, and Southern soul, William approaches every recipe with purpose. His kitchen is where old techniques meet fresh ideas, and where comfort food gets a thoughtful, modern twist.
When he’s not building dishes from the ground up, he’s out gathering inspiration from nature, markets, and the stories people share around the table.