Springtime Bliss: Sweet Easter Candy Recipe for Happy Treats
Chocolate eggs have a magical way of delighting kids and adults during the springtime Easter candy celebration.
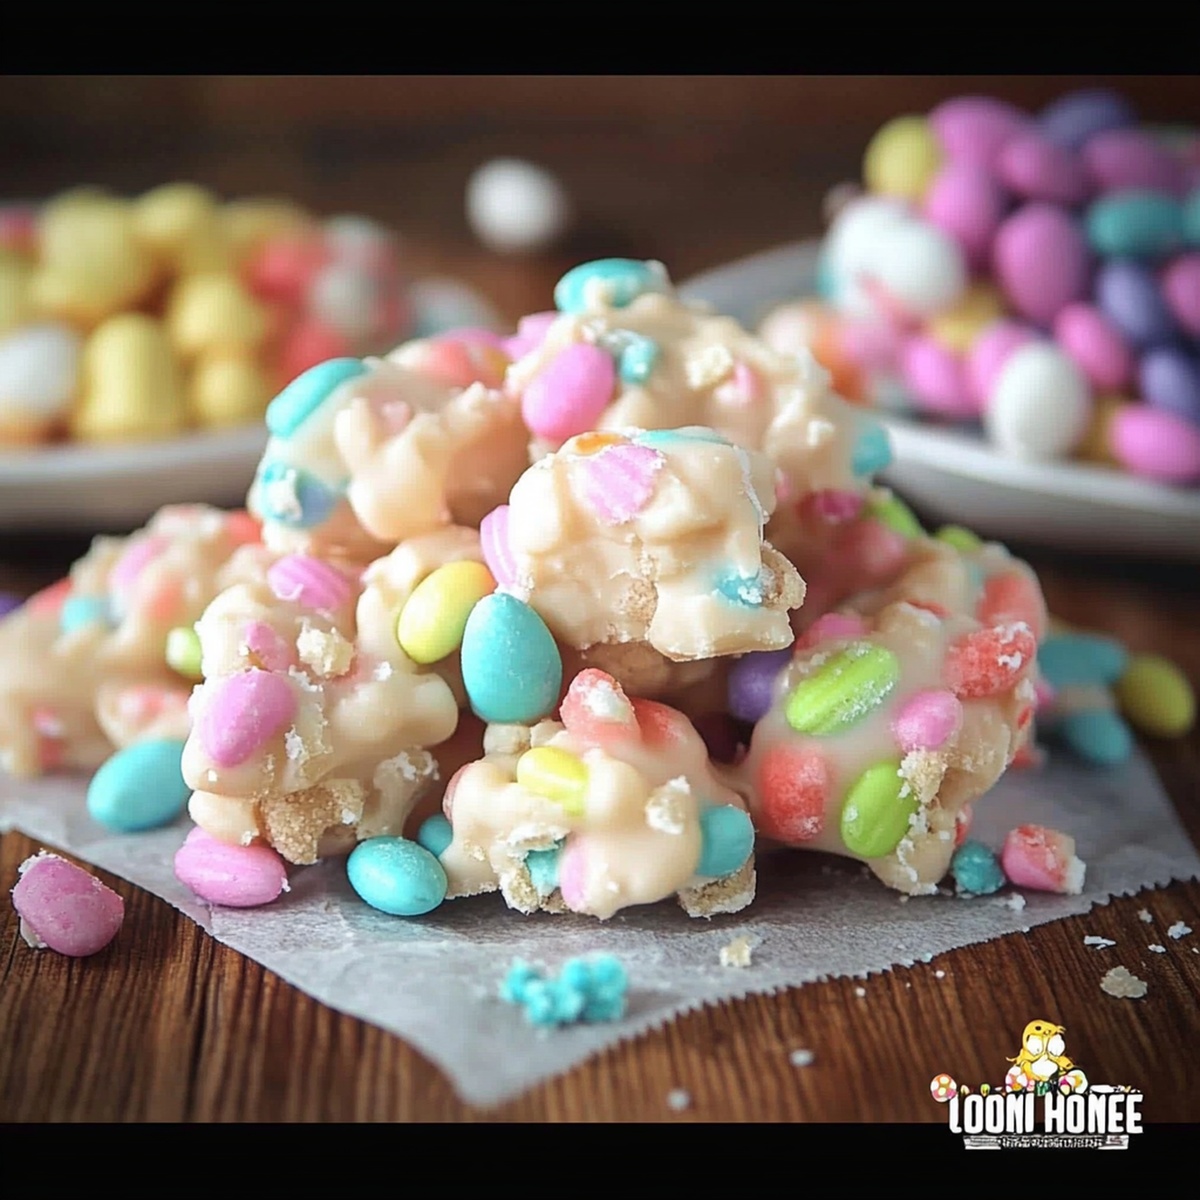
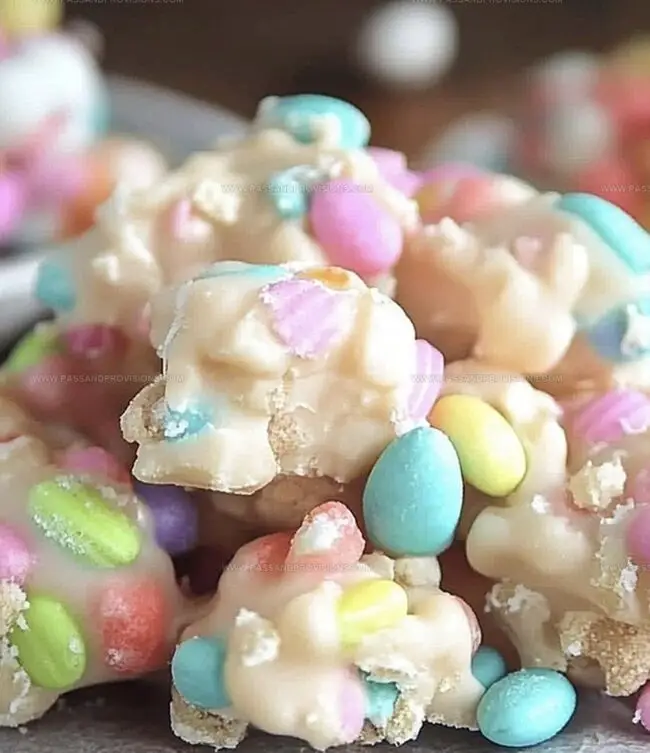
This homemade sweet Easter candy recipe brings classic confectionery magic right into your kitchen.
Crafting delectable treats becomes effortless with simple ingredients and a dash of creativity.
Each bite promises rich, creamy goodness that sparks joyful memories of holiday gatherings.
The process is straightforward, requiring minimal culinary skills and basic kitchen tools.
Chocolate lovers will adore these delightful candies that capture the essence of festive traditions.
Recreate these irresistible sweets and watch smiles spread across everyone’s faces.
Quick Recipe Overview
Ingredients to Make Homemade Easter Candy
For Creamy Filling Base:For Chocolate Coating:For Optional Decorative Touches:Tools You’ll Need for Crafting Homemade Easter Candy
How to Make Homemade Easter Candy With Ease

Grab your mixing bowl and combine peanut butter, butter, powdered sugar, and vanilla. Blend until silky smooth. Shape the mixture into delightful egg-like forms and place them on a parchment-lined tray. Pop the tray into the freezer for half an hour to firm up.
Toss chocolate chips and coconut oil into a microwave-safe bowl. Zap in short bursts, stirring between each interval until the chocolate transforms into a glossy, liquid dream.
Rescue your chilled peanut butter eggs from the freezer. Use a fork to carefully dunk each egg into the molten chocolate, letting the excess drip away. Gently place the chocolate-coated treats back on the parchment paper. Feel free to get creative with sprinkles, white chocolate drizzles, or a pinch of sea salt.
Slide the decorated eggs into the refrigerator for a final 30-minute cool-down. Once set, these homemade Easter delights are ready to delight taste buds and spread joy.
Decoration and Flavor Ideas for Homemade Easter Candy
Serving Homemade Easter Candy at Spring Gatherings
Tips to Store Homemade Easter Candy for Gifting
Print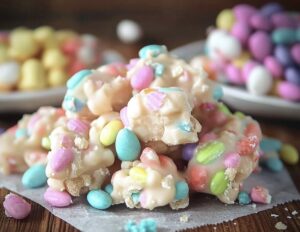
Sweet Easter Candy Recipe
- Total Time: 30 minutes
- Yield: 13 1x
Description
Sweet memories of childhood spring to life with this magical Homemade Easter Candy recipe, blending nostalgia and delightful flavors. Family gatherings become more special when you create these charming treats that connect generations through delicious shared moments.
Ingredients
Chocolate Peanut Butter Eggs
- 2 cups milk or dark chocolate chips
- 1 cup creamy peanut butter
- 1 ½ cups powdered sugar
- ¼ cup unsalted butter (softened)
- 1 tbsp coconut oil or shortening (for smooth melting)
- ½ tsp vanilla extract
Coconut Macaroon Nests
- 2 cups sweetened shredded coconut
- ½ cup sweetened condensed milk
- 1 cup chocolate chips (for drizzle, optional)
- 24 mini chocolate eggs (like M&Ms or Cadbury Mini Eggs)
- ½ tsp vanilla extract
Pastel White Chocolate Truffles
- 8 oz white chocolate (finely chopped)
- ½ cup powdered sugar or sprinkles (for rolling)
- ¼ cup heavy cream
- 3 drops food coloring (pastel pink, yellow, green, or blue)
- 1 tsp vanilla extract
Instructions
- Crafting the Filling: Whip peanut butter, butter, powdered sugar, and vanilla into a silky, uniform mixture. Mold the blend into delicate egg-shaped forms and arrange them on a parchment-lined tray. Dispatch the tray into the freezer, allowing the eggs to solidify for half an hour.
- Chocolate Transformation: Merge chocolate chips and coconut oil in a microwave-safe vessel. Conduct gentle heating in brief intervals, stirring consistently until the mixture achieves a glossy, molten consistency.
- Enrobing and Embellishing: Employ a fork to delicately submerge each frozen peanut butter egg into the liquefied chocolate, permitting excess coating to cascade away. Restore the chocolate-draped eggs to the parchment landscape. Enhance with an artistic flourish of sprinkles, white chocolate cascades, or a delicate sea salt dusting.
- Chilling and Presenting: Transfer the decorated confections to the refrigerator, allowing them to set completely for approximately 30 minutes. Once firm, your homemade Easter treats are primed for indulgence.
Notes
- Roll peanut butter mixture between parchment paper or lightly greased hands to keep eggs uniform and prevent sticking.
- Use a fork with thin tines for smooth, even chocolate coating and easy drainage, ensuring clean, professional-looking candy surfaces.
- Work quickly when dipping eggs into chocolate, keeping filling slightly frozen to maintain shape and prevent melting during coating process.
- Store homemade Easter eggs in an airtight container between parchment layers in the refrigerator for up to two weeks, maintaining optimal texture and freshness.
- Prep Time: 15 minutes
- Cook Time: 15 minutes
- Category: Desserts, Snacks
- Method: Blending
- Cuisine: American
Nutrition
- Serving Size: 13
- Calories: 150
- Sugar: 12 g
- Sodium: 50 mg
- Fat: 8 g
- Saturated Fat: 4 g
- Unsaturated Fat: 3 g
- Trans Fat: 0 g
- Carbohydrates: 18 g
- Fiber: 1 g
- Protein: 3 g
- Cholesterol: 10 mg
William Hawkins
Founder & Culinary Director
Expertise
Education
Sullivan University, Louisville, KY
William Hawkins isn’t just a chef, he’s a storyteller through food. From his hometown of Louisville, KY, he’s spent years refining his craft, turning local ingredients into something extraordinary.
With classical training from Sullivan University and a career marked by innovation, mentorship, and Southern soul, William approaches every recipe with purpose. His kitchen is where old techniques meet fresh ideas, and where comfort food gets a thoughtful, modern twist.
When he’s not building dishes from the ground up, he’s out gathering inspiration from nature, markets, and the stories people share around the table.