Eerie Candy Corn Rice Krispie Treats Recipe: Fun Halloween Magic!
As the autumn breeze whispers secrets of halloween, these spooky candy corn rice krispie treats promise a delightful twist on a classic sweet.
Marshmallow-laden and bursting with festive colors, they capture the essence of seasonal celebration.
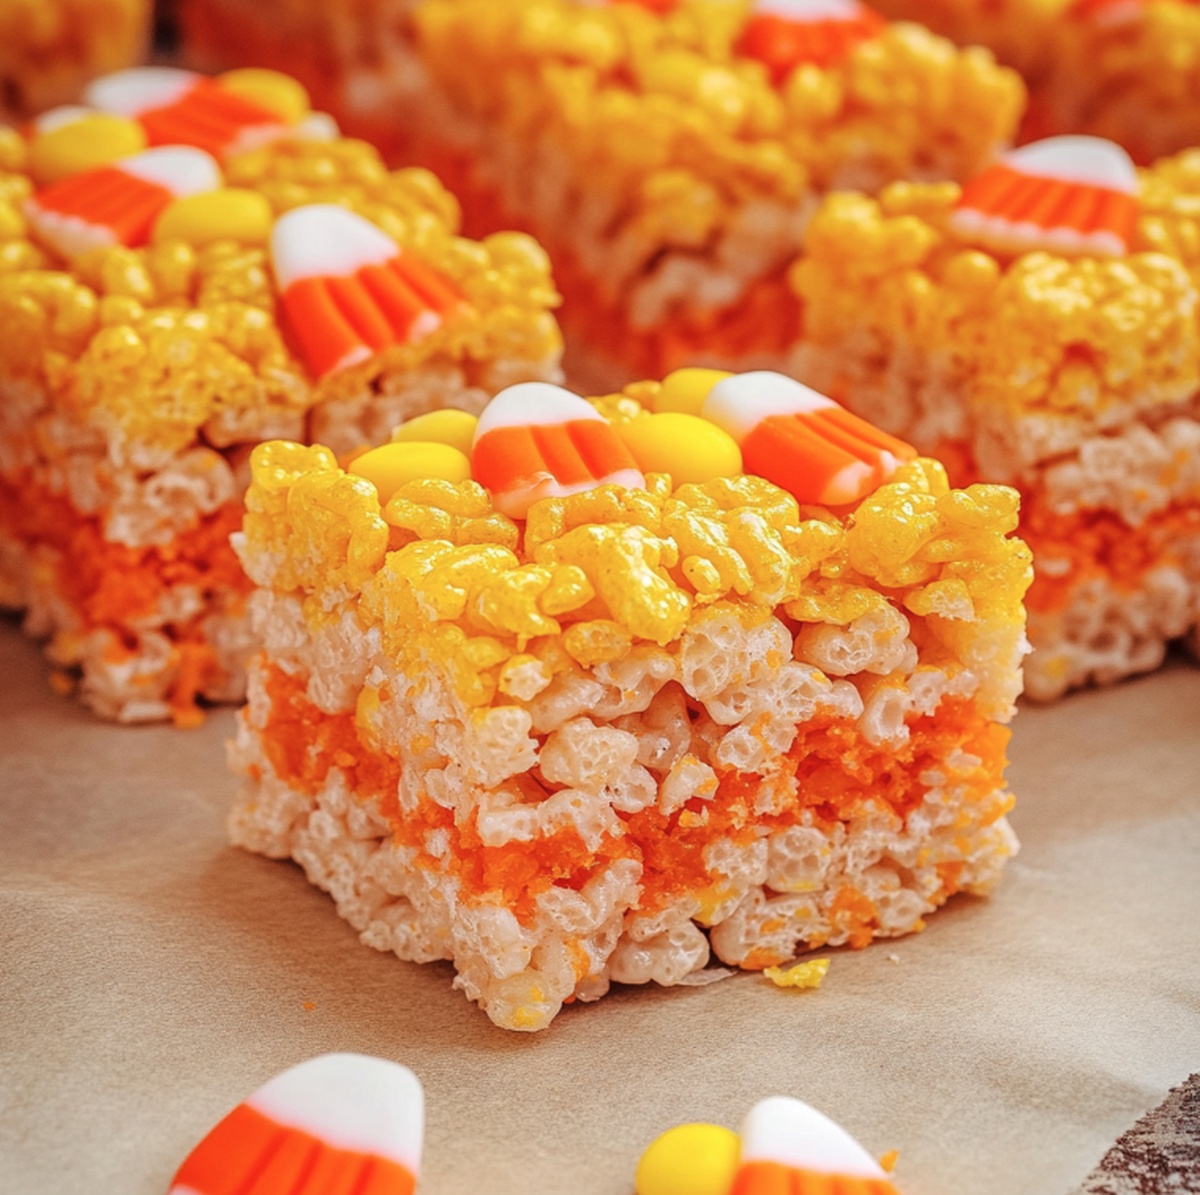
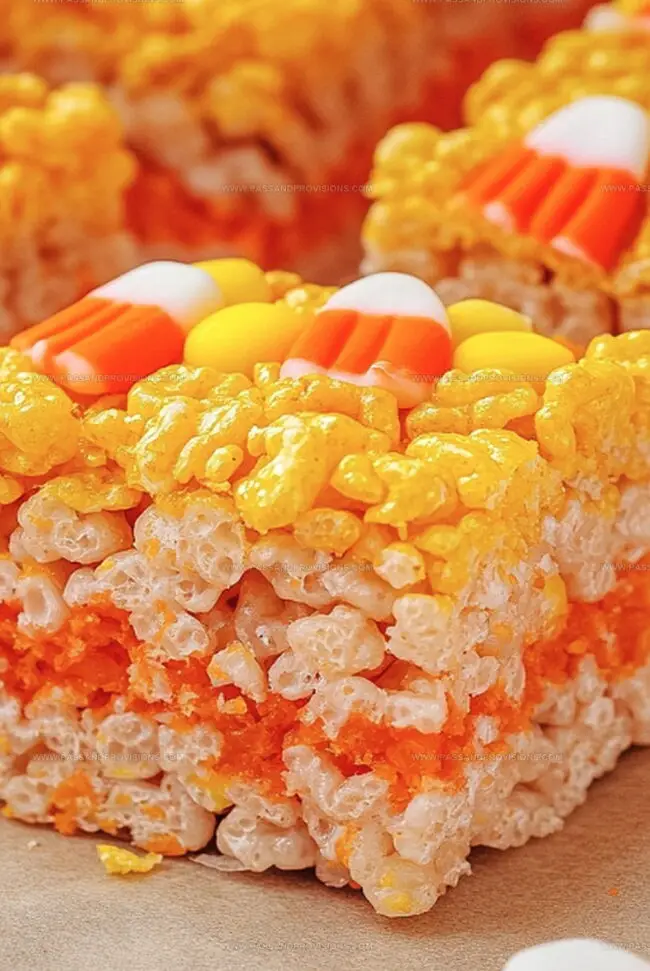
Vibrant orange and yellow hues dance across each sticky square, beckoning both children and adults.
The treat blends nostalgia with playful creativity, making it a perfect addition to any halloween gathering.
Crisp rice cereal provides a satisfying crunch that contrasts beautifully with soft, gooey marshmallows.
Candy corn studded throughout adds a whimsical touch that transforms these treats from ordinary to extraordinary.
Quick Recipe Overview
What Goes Into Candy Corn Rice Krispie Treats
For Pan Preparation:For Base Ingredients:For Color and Decoration:For Optional Garnish:Candy Corn Treats: Tools You’ll Want
Making Candy Corn Krispie Squares the Fun Way

Grease a baking pan with butter or cooking spray to prevent sticking and make removal easy.
Melt butter in a large saucepan over low heat. Add marshmallows and stir until smooth. Mix in yellow food coloring to get a bright sunshine shade. Fold Rice Krispies into the melted mixture until completely coated. Press this layer firmly into the bottom of the pan using a greased spatula.
Repeat the melting process with butter and marshmallows. Add orange food coloring for a vibrant tangerine tone. Gently spread this layer over the yellow base, ensuring an even surface.
Melt remaining butter and marshmallows. Leave this layer white to mimic the candy corn’s tip. Carefully spread over the orange layer, creating a smooth finish.
Let the treats cool and set for about 30 minutes. Slice into triangular shapes that resemble classic candy corn. Optional: Garnish with actual candy corn pieces for extra flair.
Display on a festive platter and watch guests delight in these colorful, sweet snacks perfect for autumn celebrations.
Variations to Try With These Fall-Themed Treats
Serving Candy Corn Rice Krispies at Parties
Saving Candy Corn Rice Krispies Without Losing Crunch
Print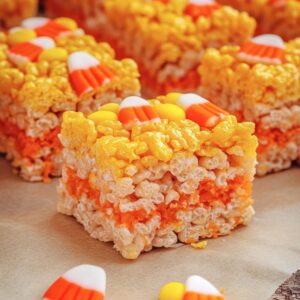
Spooky Candy Corn Rice Krispie Treats
- Total Time: 45 minutes
- Yield: 13 1x
Description
Sweet Halloween magic fills homemade Candy Corn Rice Krispie Treats with festive seasonal charm. Marshmallow, butter, and crispy rice combine into playful orange and yellow squares that celebrate autumn’s spooky spirit.
Ingredients
- 10 oz (280 g) mini marshmallows (divided)
- 6 tbsps (85 g) unsalted butter (divided)
- 6 cups (160 g) Rice Krispies cereal
- 1 tsp vanilla extract (optional)
- Yellow and orange gel food coloring
- 1 cup candy corn (optional, for decoration)
- Non-stick spray or butter (for greasing the pan)
Instructions
- Prepare Foundation: Thoroughly coat a 9×9-inch or 9×13-inch baking dish with cooking spray, ensuring complete coverage for effortless removal.
- Craft Layered Spectacle: Create a vibrant yellow base by gently melting butter in a large saucepan over low heat. Incorporate mini marshmallows, stirring until silk-smooth. Add yellow food coloring for intense golden hue. Fold in Rice Krispies cereal, ensuring complete coating. Press mixture firmly into pan, creating a uniform foundation using a greased spatula or fingertips.
- Build Intermediate Layer: Repeat melting process with butter and marshmallows, introducing orange food coloring for a rich tangerine shade. Carefully distribute orange-tinted mixture over yellow layer, maintaining consistent thickness and smooth surface.
- Finalize Confection: Melt remaining butter and marshmallows, leaving final layer pristine white. Delicately position white layer atop orange, creating a harmonious three-tiered composition.
- Set and Transform: Allow treats to stabilize at room temperature for approximately 30 minutes. Slice into triangular shapes mimicking classic candy corn silhouette. Optional: Embellish with authentic candy corn pieces for enhanced visual appeal.
- Present and Enjoy: Arrange artfully on serving platter, ready to delight Halloween enthusiasts or autumn celebration guests with this festive, nostalgic treat.
Notes
- Use gel food coloring for more vibrant, concentrated colors without altering the mixture’s consistency.
- Grease spatula or hands with cooking spray before pressing layers to create smooth, even surfaces without messy residue.
- Work quickly when mixing marshmallows and cereal, as the mixture hardens rapidly and becomes difficult to spread evenly.
- Use a sharp, clean knife and wipe blade between cuts for crisp, clean candy corn triangle shapes without ragged edges.
- Prep Time: 15 minutes
- Cook Time: 30 minutes
- Category: Desserts, Snacks
- Method: Baking
- Cuisine: American
Nutrition
- Serving Size: 13
- Calories: 120
- Sugar: 10 g
- Sodium: 60 mg
- Fat: 4 g
- Saturated Fat: 2 g
- Unsaturated Fat: 2 g
- Trans Fat: 0 g
- Carbohydrates: 20 g
- Fiber: 0 g
- Protein: 1 g
- Cholesterol: 10 mg
William Hawkins
Founder & Culinary Director
Expertise
Education
Sullivan University, Louisville, KY
William Hawkins isn’t just a chef, he’s a storyteller through food. From his hometown of Louisville, KY, he’s spent years refining his craft, turning local ingredients into something extraordinary.
With classical training from Sullivan University and a career marked by innovation, mentorship, and Southern soul, William approaches every recipe with purpose. His kitchen is where old techniques meet fresh ideas, and where comfort food gets a thoughtful, modern twist.
When he’s not building dishes from the ground up, he’s out gathering inspiration from nature, markets, and the stories people share around the table.