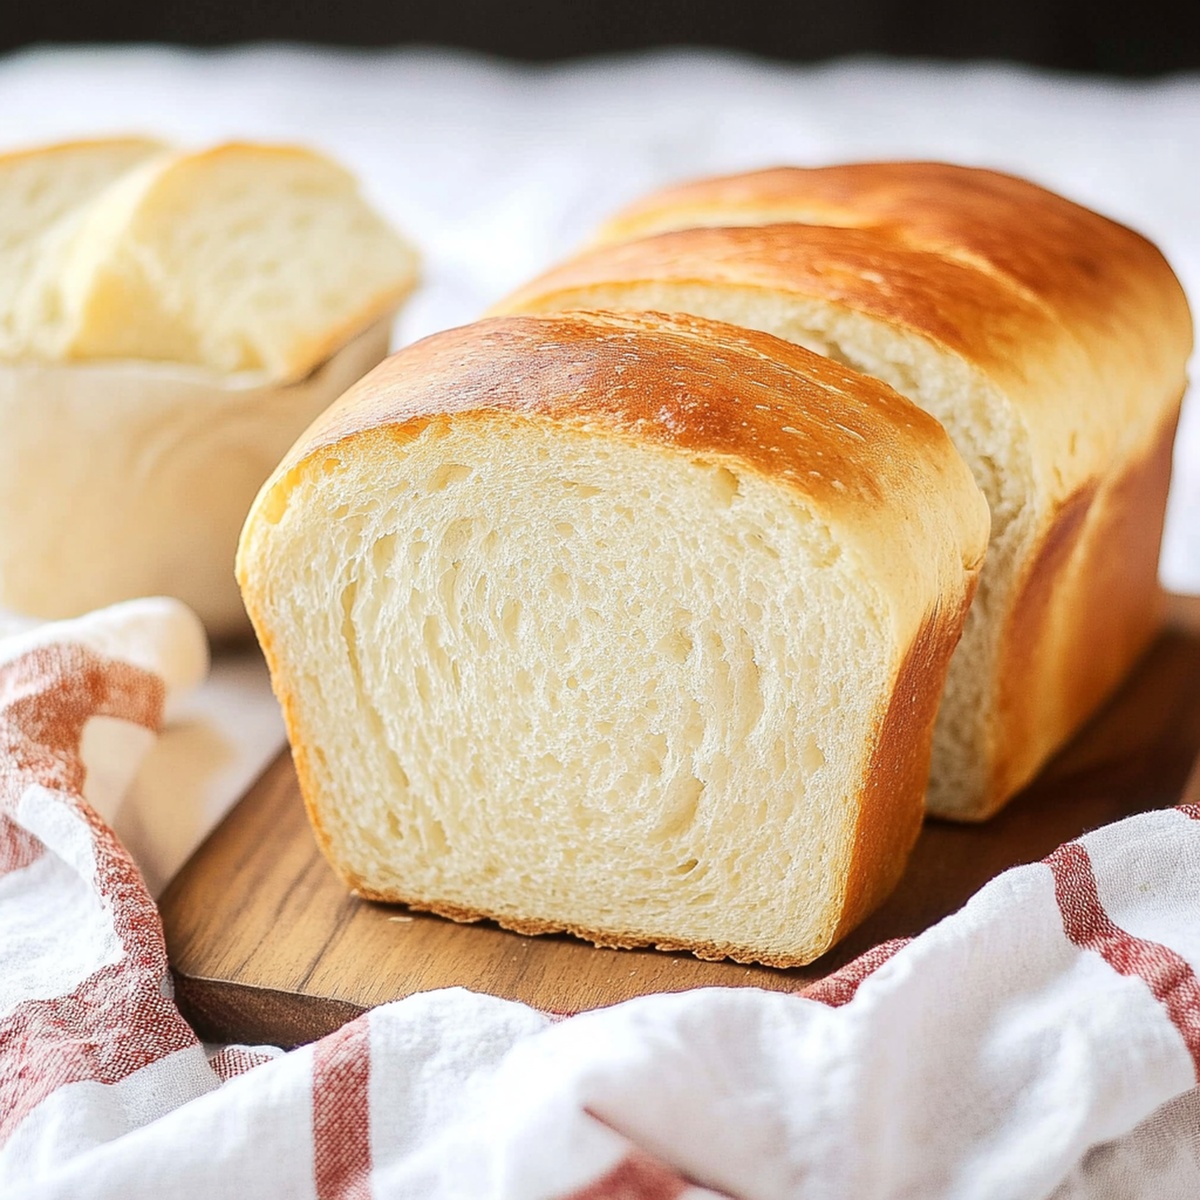
Golden Rustic Homemade Bread Recipe: Foolproof Country Loaf
Baking a perfect homemade rustic bread requires patience and skill.
Crafting this rustic bread recipe becomes a delightful journey of culinary creativity.
The warm, golden crust promises a sensory experience that connects you to traditional baking methods.
Each ingredient transforms simple flour, water, and yeast into a masterpiece of texture and flavor.
The aroma will fill your kitchen with comfort and nostalgia.
Simple techniques make this bread accessible to bakers of all levels.
Let the magic of homemade bread inspire your next kitchen adventure.
Quick Recipe Overview
What You’ll Need for the Homemade Bread Recipe
For Yeast Activation:For Dry Ingredients:For Liquid and Fat Components:Tools That Make Bread Baking Easy
Homemade Bread Recipe, Step by Step
Grab some warm water and a pinch of sugar. Sprinkle yeast into the liquid and wait for it to bubble and dance with life. Watch magic happen as tiny organisms come alive.
Mix flour and salt in a spacious bowl. Pour in your activated yeast, melted butter, and warm water. Knead the mixture with passion, transforming it from messy clusters to a smooth, silky partner that’s ready to rise.
Nestle your dough into a cozy, greased bowl. Cover it gently and let it rest in a warm spot. Watch it grow and expand, doubling in size like a bread superhero.
Gently deflate the puffy dough. With loving hands, mold it into a perfect loaf shape. Tuck it into a greased pan, giving it room to breathe and dream.
Allow your dough one more moment of glory. Let it puff up and become magnificent, promising deliciousness ahead.
Heat the oven to a toasty 375F. Brush the loaf with milk for a gorgeous golden finish. Bake until it turns a rich, warm brown and sounds hollow when tapped.
Let your bread rest briefly in the pan. Transfer to a cooling rack and resist cutting immediately. Patience rewards you with perfect slices of homemade heaven.
Tips & Tricks for Better Homemade Bread
Serve Homemade Bread Like a Bakery Pro
Storing Homemade Bread Without Drying Out
Print
Rustic Homemade Bread Recipe
- Total Time: 45 minutes
- Yield: 13 1x
Description
Hearty homemade bread emerges as a comforting culinary companion for home cooks seeking simple satisfaction. Warm slices invite sharing and create memorable moments around kitchen tables.
Ingredients
- 3.5 cups (440 g) all-purpose flour (plus extra for kneading)
- 1 cup (240 ml) warm water
- 1 packet (2.25 tsp/7 g) instant yeast
- 2 tbsps (28 g) unsalted butter
- 2 tbsps (25 g) granulated sugar
- 1 tsp salt
- 1 tbsp (15 ml) milk (for brushing, optional)
Instructions
- Yeast Activation: Dissolve sugar in warm water, sprinkle yeast, and let foam develop for 5-10 minutes (skip if using instant yeast).
- Dry Ingredient Preparation: Combine flour and salt in a large mixing bowl, creating a foundational base for the bread.
- Dough Formation: Merge activated yeast, melted butter, and warm liquid, mixing until a cohesive, rough-textured dough forms.
- Kneading Process: Work the dough on a floured surface or use a stand mixer with a dough hook, developing a smooth, elastic texture for 8-10 minutes.
- First Rise: Transfer dough to a greased bowl, cover with a cloth, and let rest in a warm spot until volume doubles (1-2 hours).
- Shaping and Second Rise: Deflate dough, shape into a loaf, place in a greased 9×5-inch pan, and allow to rise for 30-45 minutes.
- Oven Preparation: Preheat oven to 375°F (190°C), then brush loaf surface with milk for a golden finish.
- Baking: Bake for 25-30 minutes until the bread achieves a rich amber color and produces a hollow sound when tapped.
- Cooling: Rest bread in the pan for 10 minutes, then transfer to a wire rack to cool completely before slicing.
Notes
- Master Yeast Activation: Ensure water temperature is between 100-110°F to activate yeast perfectly without killing it, creating optimal rising conditions.
- Knead with Confidence: Develop gluten structure by stretching and folding dough thoroughly, which creates better bread texture and prevents dense results.
- Control Rising Environment: Place dough in warm, draft-free spot around 80-85°F for ideal proofing, using a slightly heated oven or sunny window as perfect rising location.
- Customize Bread Variations: Experiment with adding herbs, seeds, or whole wheat flour to transform basic recipe while maintaining core bread-making techniques.
- Prep Time: 15 minutes
- Cook Time: 30 minutes
- Category: Breakfast, Snacks, Dinner
- Method: Baking
- Cuisine: American
Nutrition
- Serving Size: 13
- Calories: 140
- Sugar: 1 g
- Sodium: 100 mg
- Fat: 3 g
- Saturated Fat: 2 g
- Unsaturated Fat: 1 g
- Trans Fat: 0 g
- Carbohydrates: 24 g
- Fiber: 1 g
- Protein: 4 g
- Cholesterol: 5 mg
William Hawkins
Founder & Culinary Director
Expertise
Education
Sullivan University, Louisville, KY
William Hawkins isn’t just a chef, he’s a storyteller through food. From his hometown of Louisville, KY, he’s spent years refining his craft, turning local ingredients into something extraordinary.
With classical training from Sullivan University and a career marked by innovation, mentorship, and Southern soul, William approaches every recipe with purpose. His kitchen is where old techniques meet fresh ideas, and where comfort food gets a thoughtful, modern twist.
When he’s not building dishes from the ground up, he’s out gathering inspiration from nature, markets, and the stories people share around the table.