
Cozy Rustic Grandma’s Homemade Bread Recipe – Baked with Love
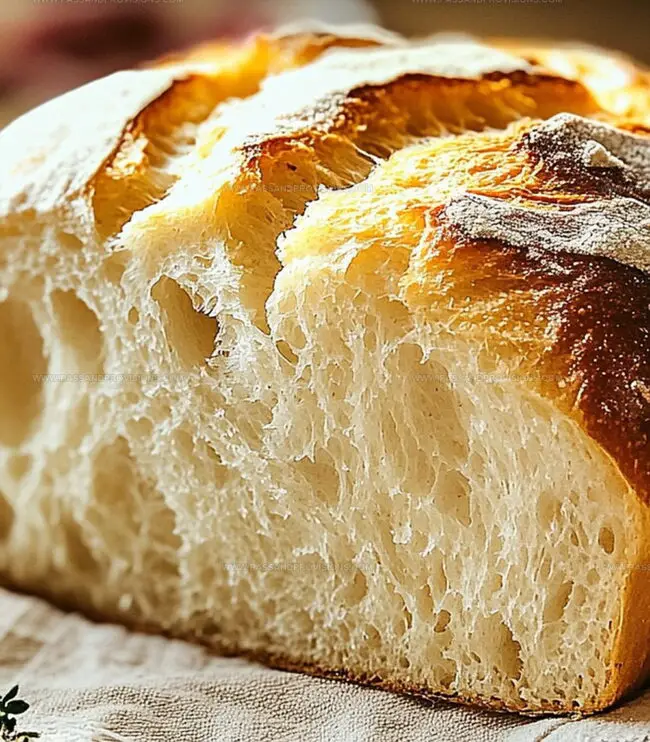
Warm, golden loaves of rustic grandmas homemade bread fill kitchens with an irresistible aroma that whispers comfort and tradition.
Generations have passed down this cherished recipe, capturing the essence of simple, hearty baking.
Kneading soft dough becomes a rhythmic dance of love and connection to culinary roots.
Each slice tells a story of patience and care, connecting us to memories of cozy family gatherings.
The modest ingredients transform into a magical creation that speaks directly to the soul.
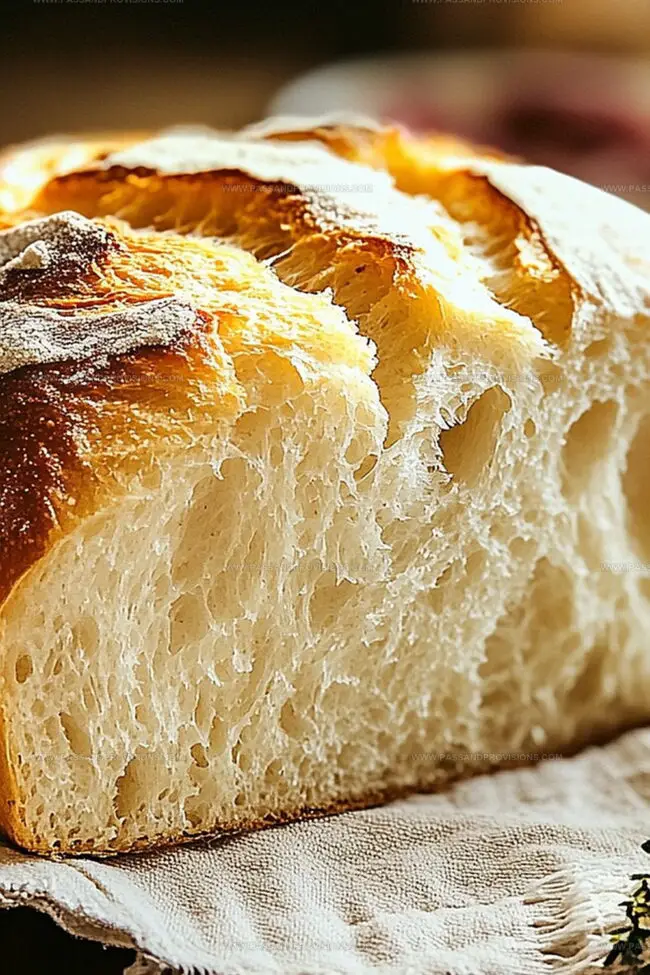
Crusty on the outside and pillowy soft within, this bread promises to transport you to a world of pure, uncomplicated deliciousness.
Bake a loaf and let its warmth embrace your kitchen with timeless charm.
Quick Recipe Overview
Ingredients for Grandma’s Perfect Homemade Bread
For Activating Yeast:For Binding and Texture:For Enriching Flavor and Moisture:Tools That Help With Baking Grandma’s Bread Recipe
Steps to Bake Grandma’s Perfect Homemade Bread
Mix warm water, yeast, and sugar in a small container. Wait 5-10 minutes until the mixture becomes foamy, showing the yeast is alive and ready.
Combine melted butter, salt, and activated yeast mixture in a large mixing bowl. Gradually add flour and blend until a soft dough develops.
Transfer dough to a floured surface. Massage and stretch the dough for 8-10 minutes until it becomes smooth and stretchy.
Place dough in a greased bowl, cover with a towel, and let it rest in a warm spot for about an hour. The dough should double in size.
Gently deflate the risen dough and mold it into a classic bread shape. Position in a greased loaf pan and allow it to rise again for 30-45 minutes.
Heat oven to 375F (190C). Bake the bread for 25-30 minutes until it turns golden and produces a hollow sound when tapped.
Remove bread from pan after 5 minutes. Transfer to a cooling rack, slice, and enjoy with your favorite spread.
Tips for Better Crust on Grandma’s Homemade Bread
How to Slice and Serve Homemade Bread Like Grandma
Bread Storage Advice That Matches Grandma’s Ways
Print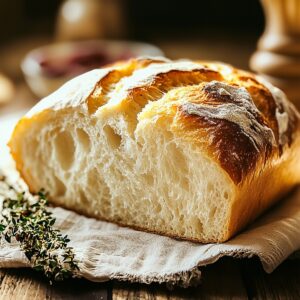
Rustic Grandmas Homemade Bread Recipe
- Total Time: 45 minutes
- Yield: 13 1x
Description
Grandma’s perfect homemade bread brings warmth and comfort straight from her cherished kitchen. Pillowy slices embrace memories of love, promising rich flavors that connect generations with each lovingly kneaded bite.
Ingredients
- 3 cups all-purpose or bread flour (plus extra for kneading)
- 2 ¼ tsps (1 packet) active dry yeast
- 1 cup warm water (110°F or 45°C)
- 2 tbsps granulated sugar
- 2 tbsps unsalted butter, melted
- 1 tsp salt
Instructions
- Yeast Activation: Merge warm water, yeast, and sugar in a small bowl, allowing the mixture to bloom for 5-10 minutes until a frothy texture develops, indicating active yeast.
- Dough Preparation: Combine melted butter, salt, and activated yeast mixture in a large mixing bowl, then incrementally incorporate flour until a cohesive dough forms.
- Kneading Process: Transfer dough to a lightly dusted surface and vigorously work the mixture for 8-10 minutes, developing a smooth, resilient texture that springs back when touched.
- First Fermentation: Nestle the dough in a greased bowl, drape with a clean cloth, and position in a warm environment to rise until volume doubles, approximately one hour.
- Shaping and Second Rise: Deflate the dough, mold into a symmetrical loaf, position in a greased 9×5-inch pan, then allow a secondary rise of 30-45 minutes until puffy.
- Baking: Preheat oven to 375F (190C), then bake the bread for 25-30 minutes, achieving a golden-brown crust and confirming doneness by tapping the loaf, which should sound hollow.
- Cooling and Serving: Rest the bread in the pan for 5 minutes, transfer to a wire rack, then slice and savor with accompaniments like butter, honey, or jam.
Notes
- Ensure water is warm (110-115°F) to activate yeast without killing it – too hot or cold will prevent proper rising.
- Use heel of hand to stretch and fold dough, creating strong gluten network for light, airy texture – consistent kneading develops bread’s structure.
- Place dough in draft-free, warm spot around 80-85°F – near a preheating oven or wrapped in warm towel helps yeast grow effectively.
- Cover dough with damp cloth during rising to prevent surface from drying out – keeps dough soft and prevents hard crust formation before baking.
- Prep Time: 15 minutes
- Cook Time: 30 minutes
- Category: Breakfast, Snacks, Dinner
- Method: Baking
- Cuisine: American
Nutrition
- Serving Size: 13
- Calories: 120
- Sugar: 2 g
- Sodium: 150 mg
- Fat: 3 g
- Saturated Fat: 1.5 g
- Unsaturated Fat: 1.5 g
- Trans Fat: 0 g
- Carbohydrates: 20 g
- Fiber: 0.5 g
- Protein: 3 g
- Cholesterol: 10 mg
William Hawkins
Founder & Culinary Director
Expertise
Education
Sullivan University, Louisville, KY
William Hawkins isn’t just a chef, he’s a storyteller through food. From his hometown of Louisville, KY, he’s spent years refining his craft, turning local ingredients into something extraordinary.
With classical training from Sullivan University and a career marked by innovation, mentorship, and Southern soul, William approaches every recipe with purpose. His kitchen is where old techniques meet fresh ideas, and where comfort food gets a thoughtful, modern twist.
When he’s not building dishes from the ground up, he’s out gathering inspiration from nature, markets, and the stories people share around the table.