Indulgent Rich Brown Butter Brownies Recipe for Chocolate Lovers
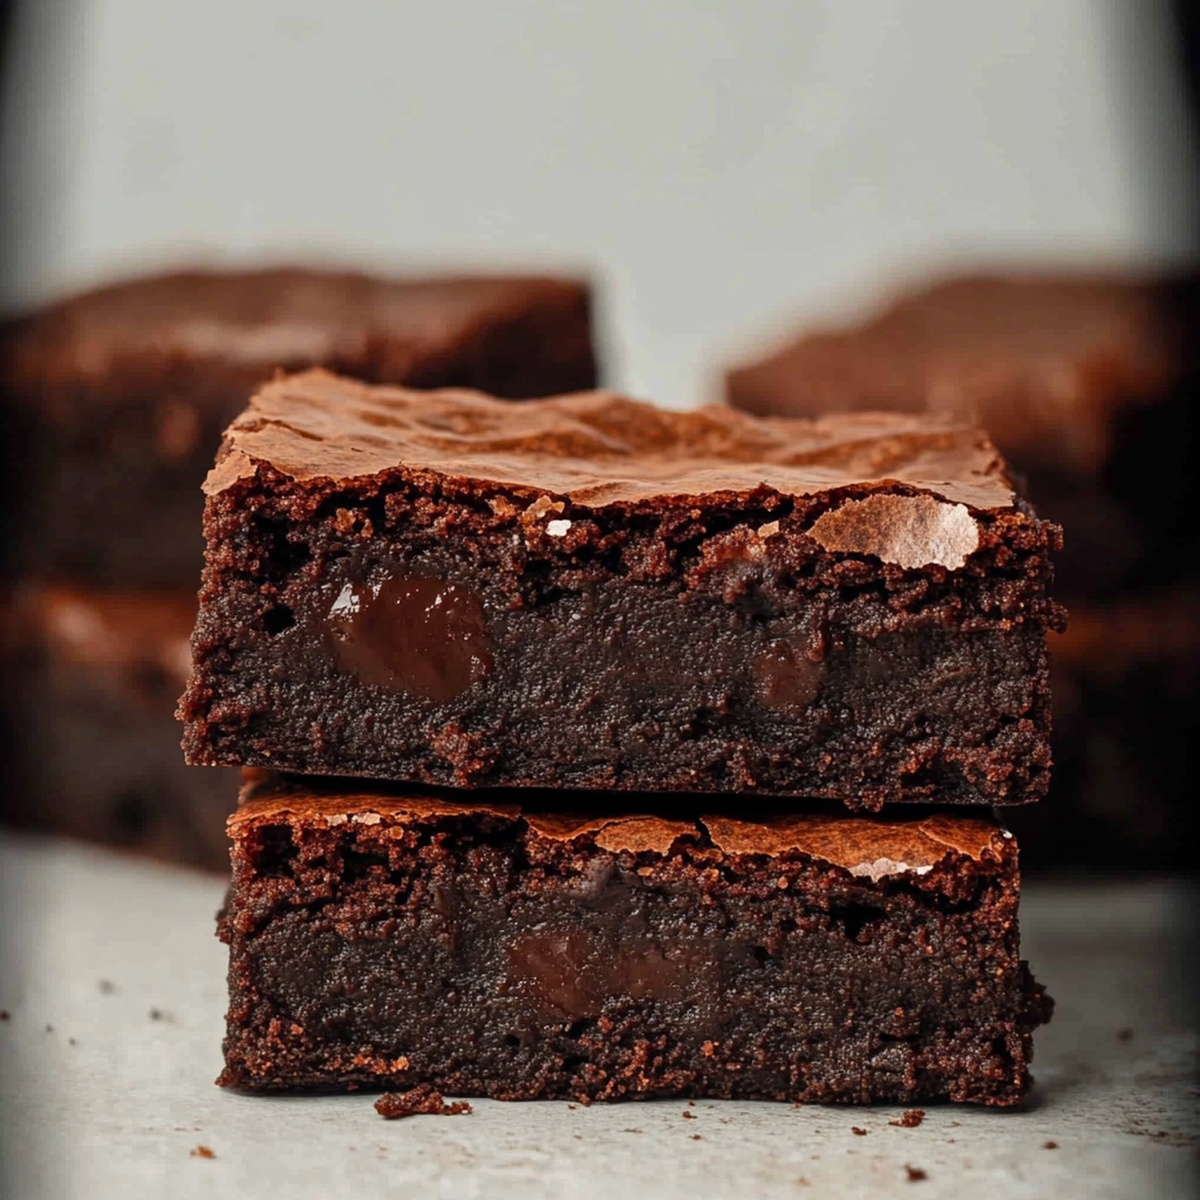
Decadent chocolate dreams take a delightful turn with these rich brown butter brownies that promise pure indulgence.
Melting butter to a golden brown creates an intense nutty backdrop for deep chocolate flavors.
Professional bakers know this simple technique can elevate a classic dessert from ordinary to extraordinary.
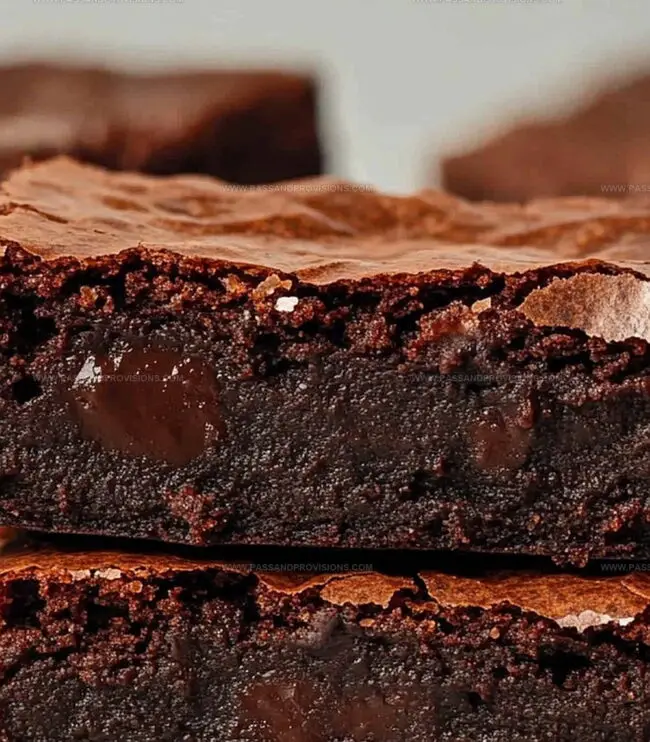
Each bite delivers a complex, caramelized richness that lingers on your palate.
The recipe combines straightforward ingredients with a clever technique that transforms standard brownies into something truly spectacular.
Dark chocolate and brown butter meld together, creating a dessert that feels both familiar and surprisingly gourmet.
Prepare to savor a brownie experience that redefines chocolate perfection.
Quick Recipe Overview

Brown Butter Brownie Ingredient Checklist
For Fats:For Dry Ingredients:For Wet and Sweet Ingredients:Tools That Help You Bake Brown Butter Brownies Right
How to Make Brown Butter Brownies With Extra Depth
Melt butter in a small pan over medium heat, twirling occasionally until it transforms into a golden, fragrant elixir with a rich nutty aroma. Watch carefully to avoid burning – this magical moment turns ordinary butter into a flavor powerhouse. Remove from heat and let it cool slightly.
Heat your oven to a toasty 350°F. Prepare a square baking pan with a light grease or parchment paper coating. Combine the browned butter with sugars, whisking until silky smooth. Add eggs and vanilla, blending until the mixture becomes light and airy. Gently fold in dry ingredients, being careful not to overmix. Optional: sprinkle in chocolate morsels for extra indulgence.
Pour the luxurious batter into the prepared pan, spreading it evenly. Slide into the preheated oven and bake for 25-30 minutes. The brownies are ready when a toothpick reveals moist, fudgy crumbs. Allow the brownies to cool completely, letting the flavors settle and intensify before slicing into rich, decadent squares.
Flavor Boosts for Brown Butter Brownie Lovers
Serve These Brownies With Coffee or Ice Cream
Keep Brown Butter Brownies Soft and Fudgy
Print
Rich Brown Butter Brownies Recipe
- Total Time: 40 minutes
- Yield: 17 1x
Description
Brown butter brownies elevate classic chocolate desserts with rich, nutty caramel notes. Silky chocolate and deep butterscotch undertones create an irresistible experience you cannot resist savoring until the very last crumb.
Ingredients
- 2 large eggs
- 1 cup (200 g) granulated sugar
- ½ cup (100 g) brown sugar
- ½ cup (115 g) unsalted butter
- ½ cup (60 g) unsweetened cocoa powder
- ½ cup (65 g) all-purpose flour
- ½ cup (90 g) chocolate chips or chunks (optional)
- 1 tsp vanilla extract
- ¼ tsp salt
- ½ tsp baking powder
Instructions
- Butter Transformation: Melt butter in a saucepan over medium heat, swirling periodically until it develops a golden-brown hue and releases a rich, nutty aroma (approximately 3-5 minutes). Exercise caution to prevent burning. Remove from heat and allow gentle cooling.
- Batter Preparation: Heat oven to 350°F (175°C). Prepare an 8×8-inch baking vessel with parchment lining or greasing. Vigorously combine brown butter, sugars, creating a smooth mixture. Incorporate eggs and vanilla, whisking until the texture becomes light and aerated. Sift dry ingredients (cocoa powder, flour, salt, baking powder) into the wet mixture, folding delicately to maintain a uniform consistency. Gently fold in chocolate chips if desired.
- Baking Process: Transfer batter into prepared pan, ensuring an even distribution. Bake for 25-30 minutes until a toothpick inserted reveals moist crumbs rather than wet batter. Allow complete cooling before slicing to achieve optimal texture and structure.
Notes
- Watch the butter carefully during browning; color changes quickly from golden to burnt. Remove from heat the moment it turns amber-brown with a nutty aroma.
- Whisk batter gently and avoid overmixing to maintain dense, fudgy brownie texture. Fold dry ingredients just until combined to prevent tough brownies.
- Use high-quality dark or semi-sweet chocolate chips for richer flavor. Consider toasting nuts like pecans or walnuts before adding for enhanced depth.
- Allow brownies to cool completely at room temperature before cutting. Cutting too early can cause crumbly, messy edges and compromise the dense, moist interior.
- Prep Time: 15 minutes
- Cook Time: 25 minutes
- Category: Desserts
- Method: Baking
- Cuisine: American
Nutrition
- Serving Size: 17
- Calories: 190
- Sugar: 15 g
- Sodium: 100 mg
- Fat: 10 g
- Saturated Fat: 5 g
- Unsaturated Fat: 4 g
- Trans Fat: 0 g
- Carbohydrates: 24 g
- Fiber: 1 g
- Protein: 2 g
- Cholesterol: 30 mg
William Hawkins
Founder & Culinary Director
Expertise
Education
Sullivan University, Louisville, KY
William Hawkins isn’t just a chef, he’s a storyteller through food. From his hometown of Louisville, KY, he’s spent years refining his craft, turning local ingredients into something extraordinary.
With classical training from Sullivan University and a career marked by innovation, mentorship, and Southern soul, William approaches every recipe with purpose. His kitchen is where old techniques meet fresh ideas, and where comfort food gets a thoughtful, modern twist.
When he’s not building dishes from the ground up, he’s out gathering inspiration from nature, markets, and the stories people share around the table.