Dreamy Peppermint Gooey Bars Recipe: Sweet Holiday Magic!
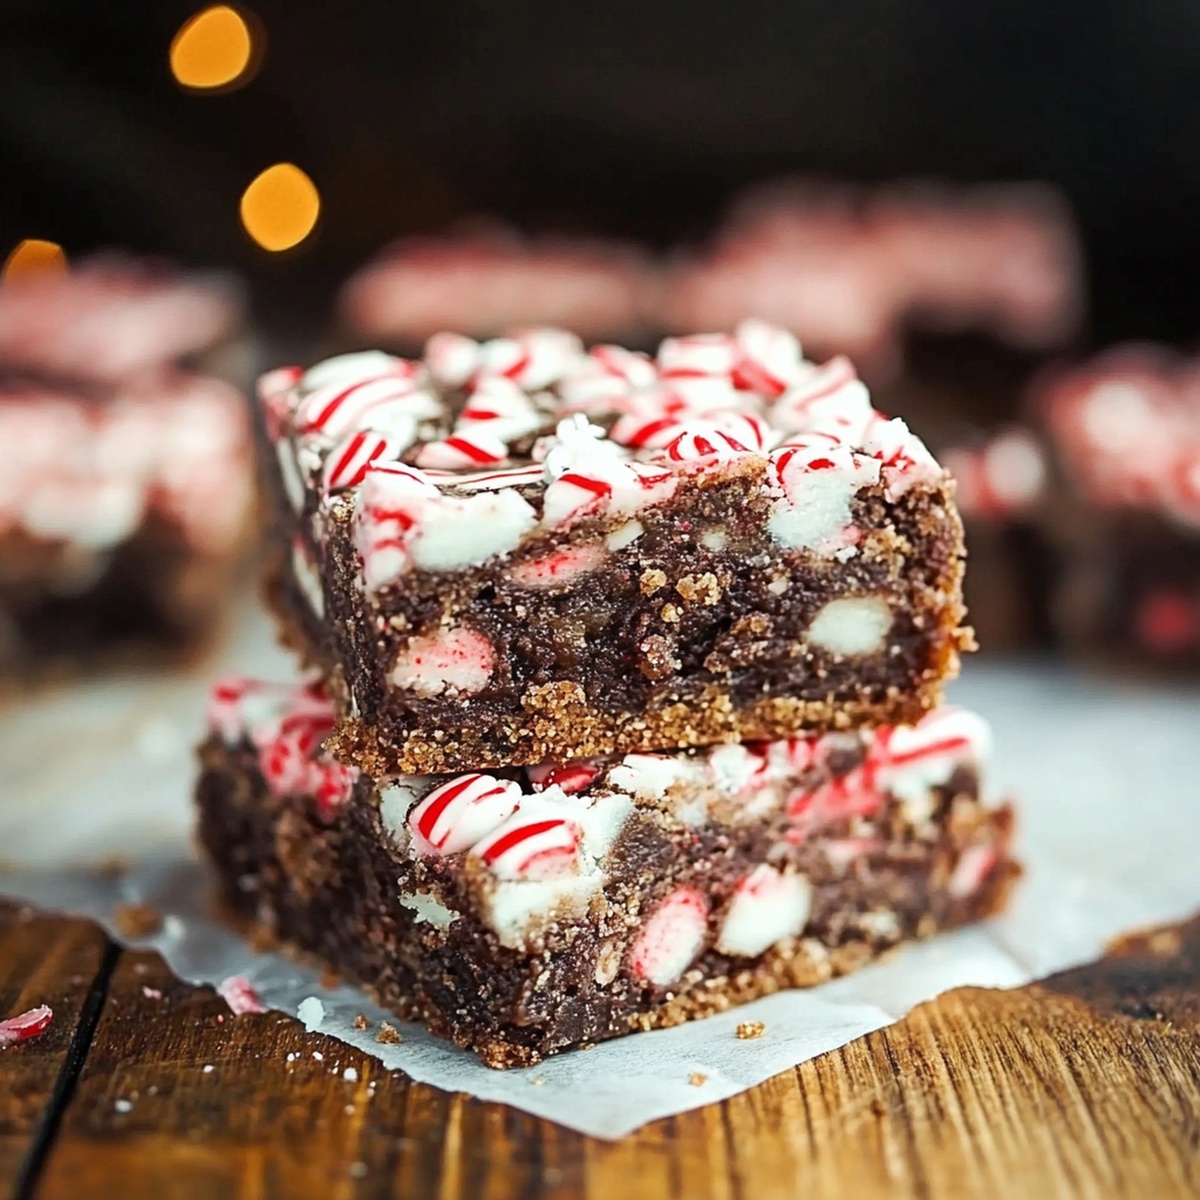
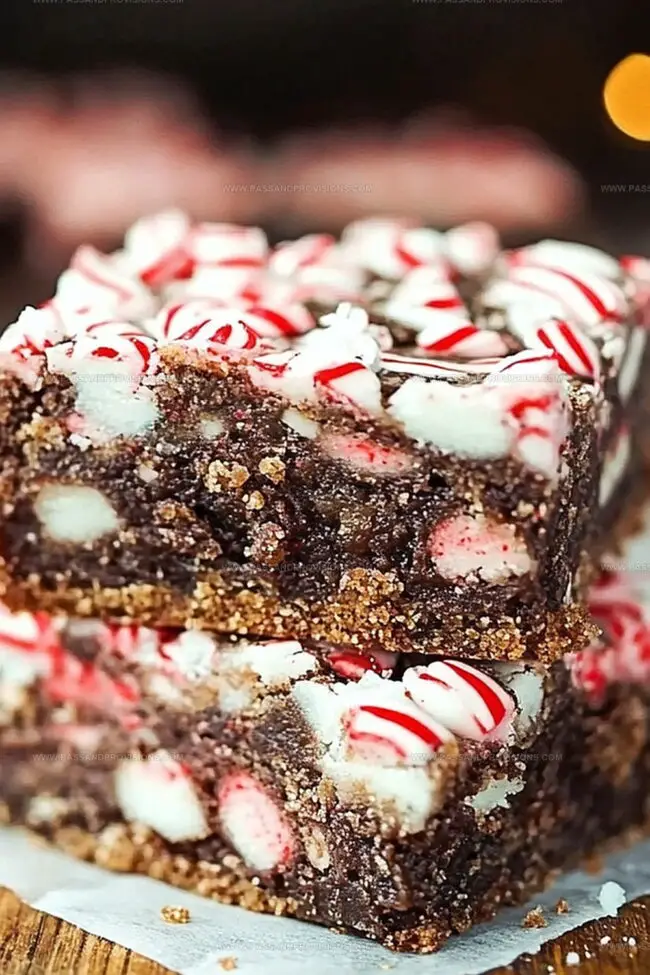
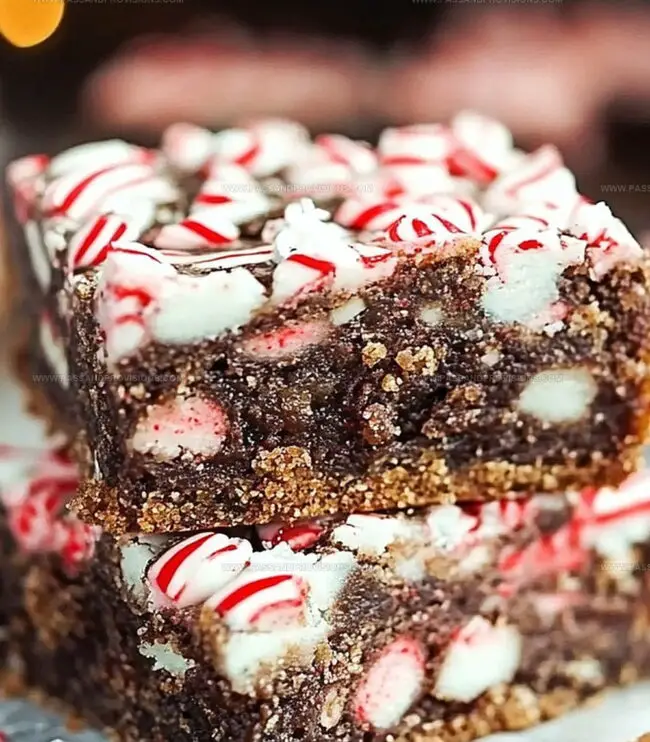
Chocolate and peppermint create pure magic in these heavenly peppermint gooey bars that promise an irresistible dessert experience.
Layers of rich chocolate meld perfectly with cool, crisp peppermint notes.
Every bite delivers a decadent blend of sweet and refreshing flavors.
The soft, gooey texture melts in your mouth, leaving behind a delightful minty essence.
Crumbly chocolate base supports a creamy peppermint filling that makes this treat utterly unforgettable.
These bars are the ultimate holiday indulgence or year-round comfort dessert.
Whip up this easy recipe and watch everyone’s eyes light up with pure delight.
Quick Recipe Overview
What You Need for Peppermint Gooey Bars
For Base:For Filling:For Topping:Tools to Bake and Layer Peppermint Gooey Bars
How to Make Gooey Bars With a Peppermint Twist
Get your oven ready by heating it to 350°F and prep a 9×9-inch pan with parchment paper or a quick spray of cooking oil.
Blend cake mix, melted butter, egg, vanilla, and peppermint extract in a big bowl until everything comes together smoothly. Press about two-thirds of this mixture into the prepared pan, creating a solid foundation.
Scatter white chocolate chips and crushed candy canes across the base layer. Drizzle sweetened condensed milk evenly over the top, letting it seep into all the delicious nooks and crannies.
Crumble the remaining dough over the surface, allowing some spaces to peek through. Pop the pan into the oven and bake for 25-30 minutes until the edges turn a beautiful golden brown and the center looks set but still wonderfully gooey.
Allow the bars to cool completely for about an hour. This waiting time helps them set perfectly. For an extra festive touch, sprinkle some additional crushed candy canes on top before serving.
Toppings That Pair Well With Peppermint Gooey Bars
Serve Peppermint Gooey Bars for Winter Treats
Tips to Store Peppermint Bars and Keep Them Soft
Print
Heavenly Peppermint Gooey Bars Recipe
- Total Time: 40 minutes
- Yield: 13 1x
Description
Sweet and sinful Peppermint Gooey Bars melt chocolate and mint into holiday heaven. Winter desserts rarely compete with this rich, creamy indulgence that delights holiday gatherings with irresistible charm.
Ingredients
- 1 can (14 oz / 397 g) sweetened condensed milk
- 1 cup (180 g / 6.35 oz) white chocolate chips
- 1 box (15.25 oz / 432 g) white or vanilla cake mix
- ½ cup (115 g / 4 oz) unsalted butter, melted
- ½ cup (60 g / 2.12 oz) crushed candy canes
- 1 egg
- 1 tsp vanilla extract
- ½ tsp peppermint extract
Instructions
- Preparation: Calibrate oven to 350°F (175°C) and ready a 9×9-inch baking pan with parchment paper or light grease.
- Base Formation: Amalgamate cake mix, melted butter, egg, vanilla, and peppermint extract into a cohesive mixture. Compress ⅔ of the dough uniformly across the pan’s bottom, creating a solid foundation.
- Layering & Coverage: Distribute white chocolate chips and pulverized candy canes across the dough base. Cascade sweetened condensed milk evenly, ensuring comprehensive coverage.
- Finishing & Baking: Delicately scatter remaining dough fragments atop the layer, allowing some pan surface to peek through. Transfer to preheated oven and roast for 25-30 minutes until edges transform to golden brown and center achieves a delicate, soft-set consistency.
- Cooling & Presentation: Allow dessert to rest and stabilize for minimum one hour before sectioning into elegant bars. For enhanced visual appeal, garnish with additional crushed candy cane fragments, delivering a festive flourish.
Notes
- Line the pan with parchment paper for easy removal and clean cutting of bars.
- Don’t overbake to maintain the signature gooey texture; remove when edges are golden but center remains slightly soft.
- Use high-quality peppermint extract for a more intense and authentic mint flavor profile.
- Substitute gluten-free cake mix and dairy-free alternatives for those with dietary restrictions, ensuring the same delicious result.
- Prep Time: 10 minutes
- Cook Time: 30 minutes
- Category: Desserts, Snacks
- Method: Baking
- Cuisine: American
Nutrition
- Serving Size: 13
- Calories: 200
- Sugar: 18g
- Sodium: 150mg
- Fat: 8g
- Saturated Fat: 5g
- Unsaturated Fat: 3g
- Trans Fat: 0g
- Carbohydrates: 30g
- Fiber: 1g
- Protein: 2g
- Cholesterol: 30mg
William Hawkins
Founder & Culinary Director
Expertise
Education
Sullivan University, Louisville, KY
William Hawkins isn’t just a chef, he’s a storyteller through food. From his hometown of Louisville, KY, he’s spent years refining his craft, turning local ingredients into something extraordinary.
With classical training from Sullivan University and a career marked by innovation, mentorship, and Southern soul, William approaches every recipe with purpose. His kitchen is where old techniques meet fresh ideas, and where comfort food gets a thoughtful, modern twist.
When he’s not building dishes from the ground up, he’s out gathering inspiration from nature, markets, and the stories people share around the table.