Mozzarella Cheese: Melty, stretchy cheese creating golden, irresistible top layer with classic gooey appeal.
For Optional Finishing Touch:
Fresh Herbs: Optional garnish adding fresh, bright note and visual elegance to completed dish.
Tools for Baked Ziti Night
9×13-inch baking dish: Essential for layering and baking the ziti.
Large skillet: Perfect for browning ground beef and cooking sauce.
Mixing bowl: Used for combining ricotta cheese and other ingredients.
Colander: Necessary for draining cooked pasta.
Wooden spoon or spatula: Great for stirring ingredients in skillet and mixing bowl.
Measuring cups and spoons: Helps accurately measure ingredients.
Aluminum foil: Covers dish during initial baking to prevent over-browning.
How to Layer and Bake Ziti Like a Pro
Fire Up the Oven Create a cozy cooking environment by preheating the oven to 350F and preparing a baking dish with a light grease coating.
Pasta Preparation Boil ziti pasta until perfectly tender, then drain and set aside, ready for its cheesy adventure.
Meat Magic Brown ground beef with onions in a skillet, letting the flavors mingle and develop. Toss in garlic for an extra flavor punch and drain any excess fat.
Sauce Symphony Stir marinara sauce with Italian seasonings into the meat mixture, letting it simmer and develop rich, deep flavors.
Cheese Blend Whip together ricotta, egg, Parmesan, and mozzarella in a creamy mixture that will add luxurious texture to the dish.
Layer Like a Pro Create delicious layers in the baking dish, alternating pasta, meat sauce, and cheese mixture to build incredible flavor depth.
Cheese Crown Sprinkle additional mozzarella on top for a golden, melty finish.
Bake to Perfection Cover with foil and bake, then uncover to let the cheese turn beautifully golden and bubbling.
Serve and Savor Let the ziti rest briefly, then serve with a sprinkle of fresh herbs for a final touch of freshness.
Ziti Tweaks and Cheese Tips
Undercook ziti slightly before baking to prevent mushy texture during final cooking.
Mix different Italian cheeses like provolone or fontina for deeper, richer flavor profile.
Assemble entire dish up to 24 hours in advance, refrigerate, and bake when ready to serve for convenient meal prep.
Swap ground beef for ground turkey or plant-based crumbles to create lighter, leaner version. Use gluten-free pasta for celiac-friendly option. Replace ricotta with dairy-free alternative for vegan adaptation.
Add roasted vegetables like zucchini, bell peppers, or spinach between layers to increase nutritional value and create more complex taste experience.
How to Serve Baked Ziti Hot and Bubbly
Family Feast Centerpiece: Make this ziti the star of your family dinner, perfect for gathering everyone around the table with its hearty and comforting flavors.
Fresh Green Companion: Serve alongside a crisp green salad with a light vinaigrette to balance the rich and cheesy pasta dish, adding a refreshing contrast.
Garlic Bread Sidekick: Pair with warm, toasted garlic bread to soak up the delicious marinara sauce and provide an extra layer of flavor and texture to the meal.
Wine Pairing Pleasure: Complement the ziti with a medium-bodied red wine like Chianti or Sangiovese, which will enhance the savory meat and tomato notes of the dish.
Save Baked Ziti and Warm It Right
Store leftover baked ziti in airtight containers within 2 hours of cooking. Seal tightly to maintain freshness and prevent moisture loss.
Allow dish to reach room temperature before refrigerating to prevent condensation and potential bacterial growth. Divide into individual portions for easier reheating.
Refrigerated baked ziti stays delicious for 3-4 days. Keep sealed container in the coldest part of the refrigerator to maximize quality and taste.
Wrap individual portions or entire dish tightly in freezer-safe wrap, removing excess air. Frozen baked ziti maintains excellent quality for up to 2 months. Thaw overnight in refrigerator before reheating for best results.
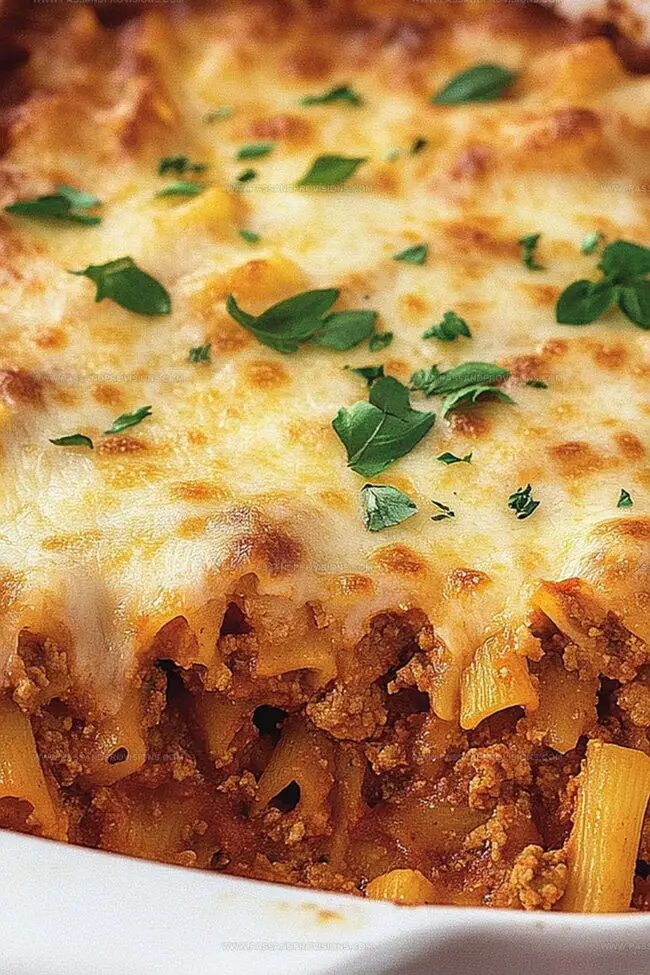
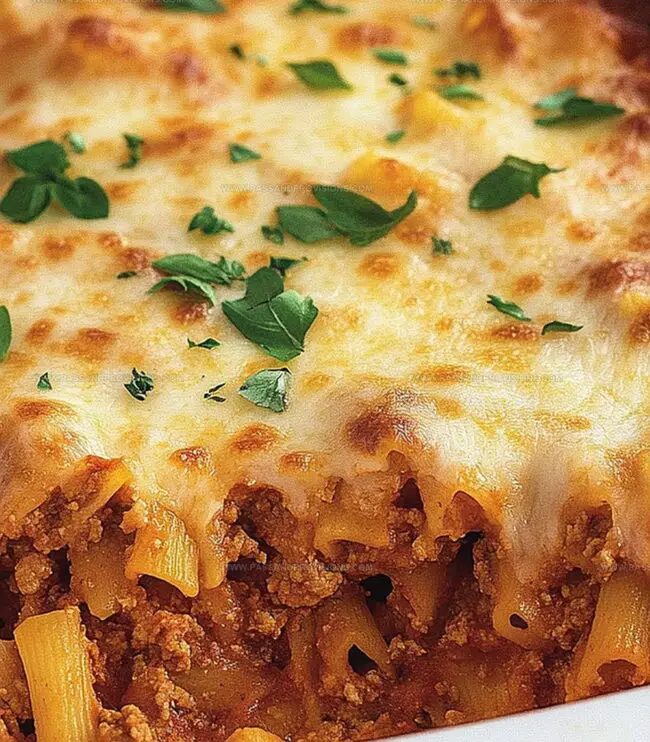
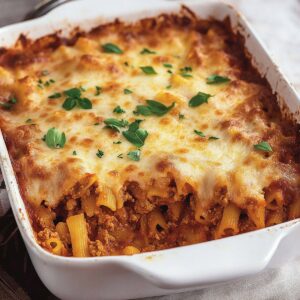
Hearty Baked Ziti brings comfort and flavor from Italian kitchens straight to your dinner table. Cheesy pasta layers blend perfectly with savory marinara and rich ground beef, creating a satisfying meal you’ll crave again and again.
Preparation: Warm the oven to 350F (175C) and lightly coat a 9×13-inch baking vessel with cooking spray.
Pasta Preparation: Boil ziti until perfectly tender, drain, and set to the side.
Meat Foundation: In a large skillet, brown ground beef with diced onions, eliminating excess grease. Quickly incorporate minced garlic and sauté briefly.
Sauce Creation: Blend marinara, Italian herbs, seasoning, and ground meat mixture. Allow flavors to meld and simmer until richly developed.
Cheese Fusion: Combine ricotta, beaten egg, grated Parmesan, and half the mozzarella in a separate mixing bowl.
Layering Technique: Construct casserole by alternating pasta, meat sauce, and cheese mixture in the prepared baking dish. Ensure even distribution across layers.
Cheese Topping: Sprinkle remaining mozzarella across the surface for a golden, melted finish.
Baking Process: Shield with aluminum foil and bake for 25 minutes. Uncover and continue baking until cheese transforms into a bubbling, golden crust.
Serving: Allow the ziti to rest momentarily, permitting flavors to settle. Optional garnish with fresh herbs for aromatic enhancement.
Notes
Opt for ground beef with lower fat content (90/10 or 93/7) to reduce excess grease and create a healthier dish without compromising flavor.
Cook ziti precisely al dente, as it will continue cooking in the oven, ensuring a perfect texture that’s not mushy or too firm.
Gently mix ricotta cheese ingredients to maintain a smooth, creamy texture without overmixing, which can make the mixture dense and tough.
Easily adapt the recipe by substituting ground beef with ground turkey, using gluten-free pasta, or creating a vegetarian version with plant-based meat alternatives or additional roasted vegetables.
Focus: Focused on mastering culinary methods and food science, immersive externships, hands‑on training in industry‑standard kitchen labs, and equipping graduates for roles in restaurant operations.
William Hawkins isn’t just a chef, he’s a storyteller through food. From his hometown of Louisville, KY, he’s spent years refining his craft, turning local ingredients into something extraordinary.
With classical training from Sullivan University and a career marked by innovation, mentorship, and Southern soul, William approaches every recipe with purpose. His kitchen is where old techniques meet fresh ideas, and where comfort food gets a thoughtful, modern twist.
When he’s not building dishes from the ground up, he’s out gathering inspiration from nature, markets, and the stories people share around the table.

William Hawkins
Founder & Culinary Director
Expertise
Education
Sullivan University, Louisville, KY
William Hawkins isn’t just a chef, he’s a storyteller through food. From his hometown of Louisville, KY, he’s spent years refining his craft, turning local ingredients into something extraordinary.
With classical training from Sullivan University and a career marked by innovation, mentorship, and Southern soul, William approaches every recipe with purpose. His kitchen is where old techniques meet fresh ideas, and where comfort food gets a thoughtful, modern twist.
When he’s not building dishes from the ground up, he’s out gathering inspiration from nature, markets, and the stories people share around the table.