
Sinfully Rich Gooey Hot Chocolate Brownie Cookies Recipe
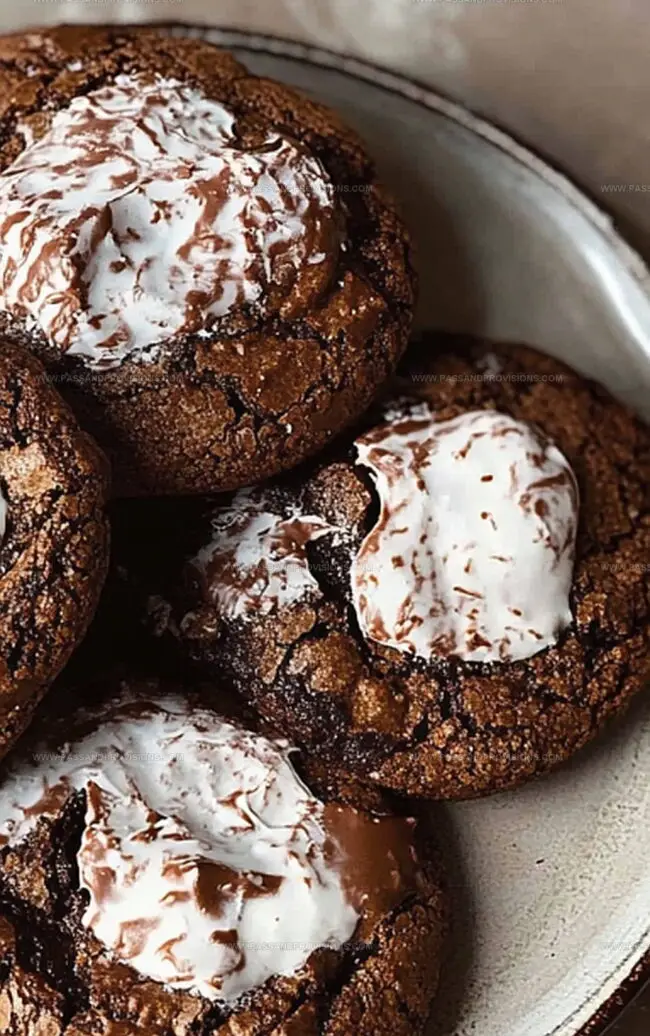
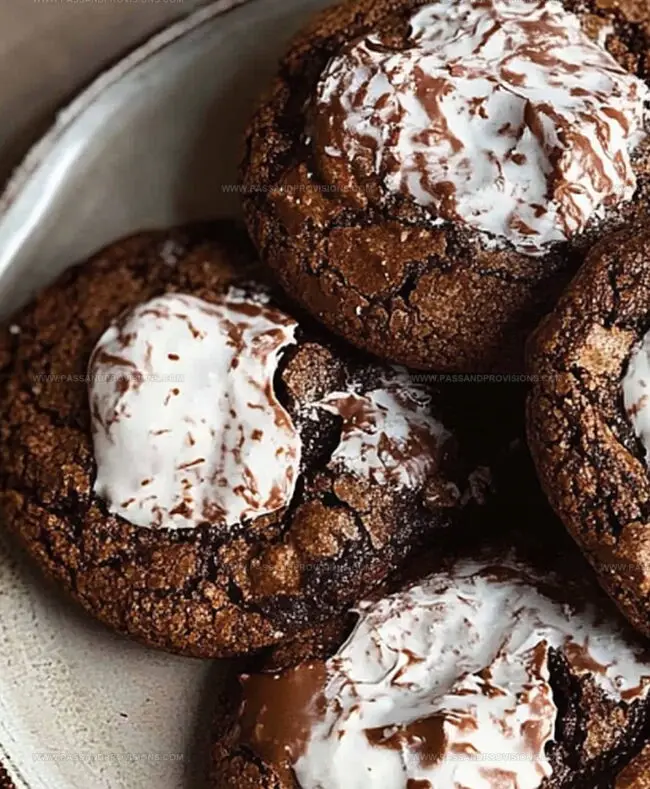
Melting chocolate and rich cocoa swirl together in these irresistible hot chocolate brownie cookies that promise pure indulgence.
Dark chocolate chips peek through a soft, fudgy exterior, creating a dessert that blends the best of brownies and cookies.
These decadent treats deliver a warmth and comfort that wraps you in sweet nostalgia.
Each bite promises a delightful contrast of crisp edges and gooey centers that chocolate lovers crave.
The recipe combines simple ingredients with a touch of magic, transforming ordinary baking into an extraordinary experience.
A sprinkle of sea salt adds depth and complexity to the rich chocolate flavor.
You’ll want to share these cookies—or maybe keep them all for yourself.
Dive into this heavenly chocolate experience that turns an ordinary afternoon into a moment of pure bliss.
Quick Recipe Overview
Hot Chocolate Brownie Cookie Ingredients
For Chocolate Base:For Sweeteners:For Binding and Structure:For Dry Ingredients:For Topping:Tools for Mixing Chocolate and Marshmallow Bites
How to Bake Hot Cocoa Brownie Cookies
Arrange your baking tools and clear the kitchen counter. Line two baking sheets with parchment paper and set your oven to warm up at 350F.
Melt chocolate and butter together in short microwave bursts, stirring gently until silky smooth. Let the mixture cool down slightly.
Whisk eggs, sugars, and vanilla in a large bowl until the mixture looks light and creamy. Fold in the melted chocolate mixture until fully combined.
Sift flour, cocoa powder, baking powder, and salt together. Slowly incorporate these dry ingredients into the wet mixture, stirring until a thick dough forms.
Scoop dollops of dough onto prepared baking sheets, leaving space between each cookie. Bake for 8-10 minutes until edges look set but centers remain soft.
Pull cookies from the oven and quickly place a marshmallow half on each cookie. Return to oven for 2 more minutes until marshmallows puff and turn golden.
Allow cookies to rest on baking sheet for 5 minutes before transferring to a cooling rack. Optional: Sprinkle crushed candy canes or chocolate shavings while warm.
Grab a cool glass of milk and savor these delightful hot chocolate brownie cookies!
Toppings That Turn These Cookies Into Dessert Stars
Serve These Warm Cookies With a Mug of Cocoa
Keep Your Cookie Batch Soft and Rich
Print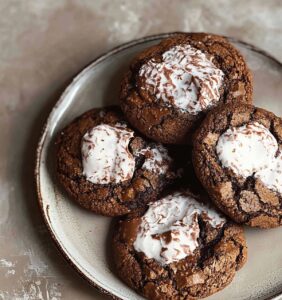
Gooey Hot Chocolate Brownie Cookies Recipe
- Total Time: 27 minutes
- Yield: 13 1x
Description
Indulgent hot chocolate brownie cookies blend rich cocoa with gooey chocolate, creating a mouthwatering dessert that marries classic comfort with elegant sweetness. Chocolate enthusiasts and cookie lovers will savor each delectable bite of this irresistible treat.
Ingredients
- 1 cup semi-sweet chocolate chips
- ½ cup unsalted butter
- 2 large eggs
- ¾ cup granulated sugar
- ¼ cup brown sugar
- 1 tsp vanilla extract
- 1 cup all-purpose flour
- ¼ cup unsweetened cocoa powder
- ½ tsp baking powder
- ¼ tsp salt
- 12 large marshmallows, cut in half (or 1 cup mini marshmallows)
- ¼ cup crushed candy canes or chocolate shavings (optional)
Instructions
- Preparation: Warm the oven to 350F (175C) and arrange parchment paper on two baking trays.
- Chocolate Fusion: Gently melt butter and chocolate chips in a microwave-safe bowl, stirring between 30-second intervals until silky smooth. Allow to cool momentarily.
- Liquid Harmony: Whisk eggs, sugars, and vanilla in a large bowl until the mixture becomes light and glossy, then integrate the melted chocolate thoroughly.
- Dry Ingredient Integration: Sift flour, cocoa powder, baking powder, and salt together. Gradually fold these dry elements into the wet mixture, creating a rich, dense dough.
- Forming and Baking: Distribute dough dollops onto prepared trays, ensuring generous spacing. Bake for 8-10 minutes until edges are firm but centers remain tender.
- Marshmallow Transformation: Extract cookies from oven and swiftly position marshmallow halves on each cookie. Return to oven for an additional 2 minutes, allowing marshmallows to puff and caramelize slightly.
- Cooling and Embellishment: Rest cookies on tray for 5 minutes, then transfer to a cooling rack. Optionally sprinkle with crushed candy canes or chocolate shavings while still warm.
- Serving Suggestion: Relish these decadent treats alongside a chilled milk or steaming hot chocolate for ultimate indulgence.
Notes
- Melt chocolate and butter slowly in short intervals to prevent burning, stirring between each microwave burst for smooth, glossy texture.
- Drop dough in uniform 2-tablespoon portions to ensure even baking and consistent cookie size, creating professional-looking results.
- Press marshmallow gently and quickly onto partially baked cookies to prevent over-spreading and maintain structured appearance.
- Substitute all-purpose flour with gluten-free blend, use dairy-free chocolate chips, and replace eggs with flax eggs for alternative dietary versions.
- Prep Time: 15 minutes
- Cook Time: 12 minutes
- Category: Desserts, Snacks
- Method: Baking
- Cuisine: American
Nutrition
- Serving Size: 13
- Calories: 150
- Sugar: 12 g
- Sodium: 100 mg
- Fat: 7 g
- Saturated Fat: 4 g
- Unsaturated Fat: 3 g
- Trans Fat: 0 g
- Carbohydrates: 20 g
- Fiber: 1 g
- Protein: 2 g
- Cholesterol: 30 mg
William Hawkins
Founder & Culinary Director
Expertise
Education
Sullivan University, Louisville, KY
William Hawkins isn’t just a chef, he’s a storyteller through food. From his hometown of Louisville, KY, he’s spent years refining his craft, turning local ingredients into something extraordinary.
With classical training from Sullivan University and a career marked by innovation, mentorship, and Southern soul, William approaches every recipe with purpose. His kitchen is where old techniques meet fresh ideas, and where comfort food gets a thoughtful, modern twist.
When he’s not building dishes from the ground up, he’s out gathering inspiration from nature, markets, and the stories people share around the table.