Crispy Homemade Golden Fried Chicken Tenders Recipe
Crispy golden fried chicken tenders have been a crowd-pleasing favorite for generations.
This mouthwatering recipe delivers perfectly seasoned and crunchy tenders that dance with flavor in every bite.
The secret lies in a carefully crafted coating that locks in juiciness while creating an irresistible golden exterior.
Salt, pepper, and a blend of spices elevate these tenders from ordinary to extraordinary.
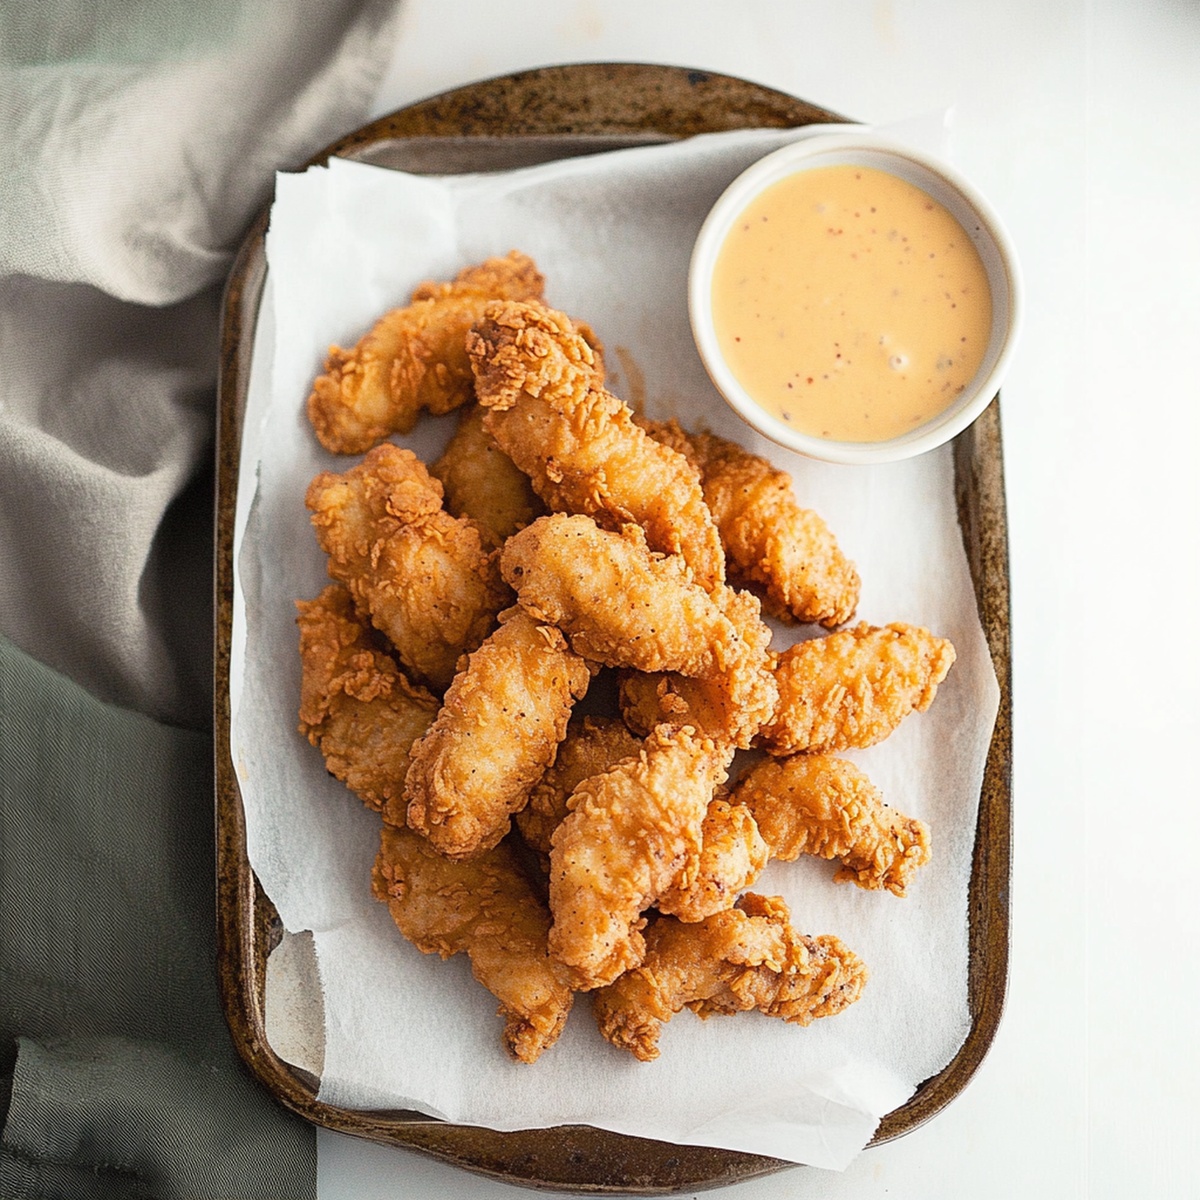
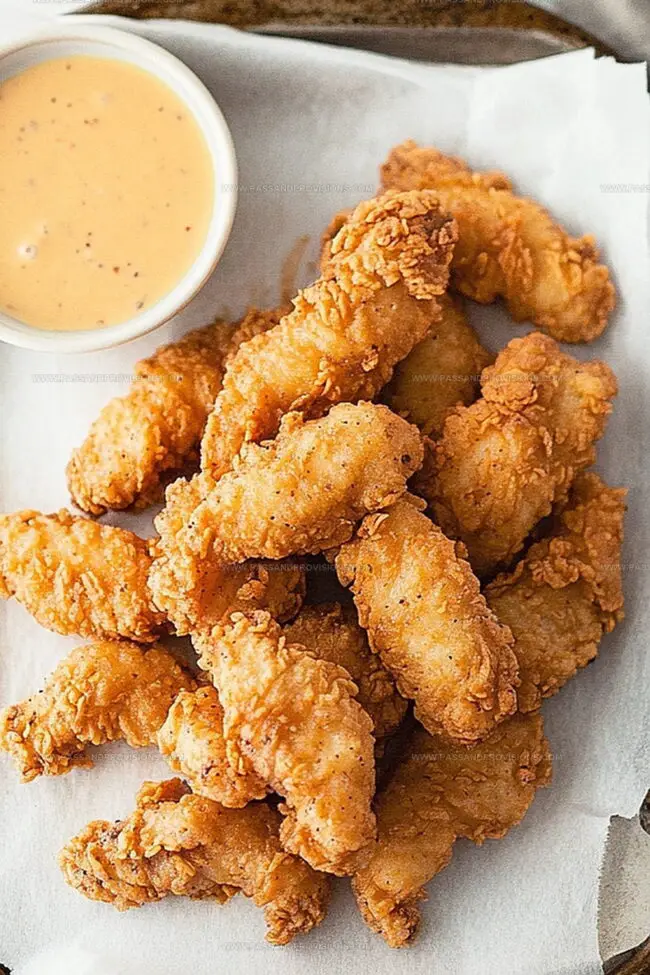
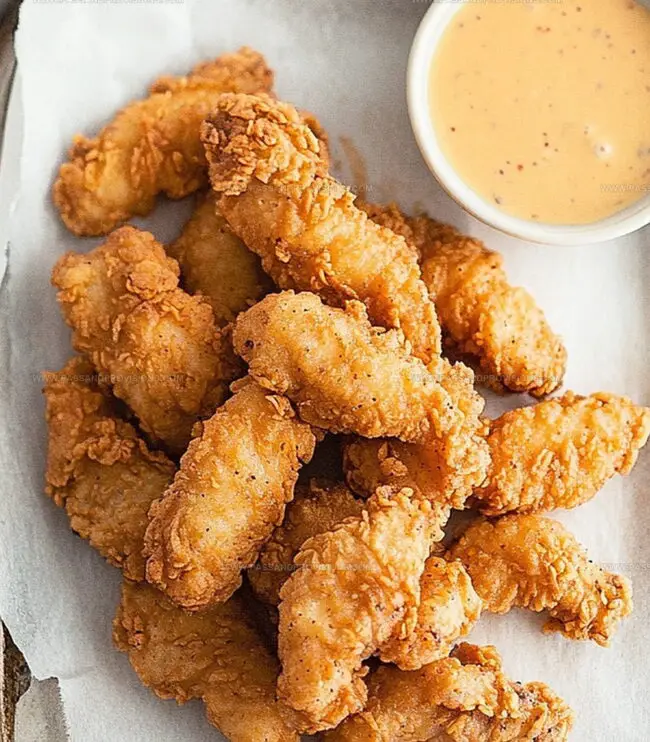
Each tender emerges from the hot oil with a beautiful golden-brown crunch that beckons hungry divers.
The combination of buttermilk marinade and seasoned flour creates a magical transformation that guarantees restaurant-quality results at home.
Prepare to savor every delectable morsel of these irresistible chicken tenders that will have everyone asking for seconds.
Quick Recipe Overview
What Goes Into Fried Chicken Tenders
For Marinade:For Coating:For Frying:Tools to Make Chicken Tenders at Home
How to Fry Up Those Chicken Tenders
Dive deep into flavor by immersing chicken strips in a zesty buttermilk bath. Sprinkle in garlic, onion, paprika, salt, and pepper. Let the chicken relax and absorb all those mouthwatering seasonings in the refrigerator for a few hours.
Whip up a magical mixture of flour, cornstarch, and subtle spices. Crack some eggs into a separate bowl, ready to transform your chicken into a crispy delight.
Rescue chicken from its buttermilk spa and let excess liquid drip away. Lovingly coat each tender in the flour blend, then dunk in eggs, and give it another flour massage to ensure maximum crunchiness.
Heat vegetable oil in a deep skillet until it shimmers with delicious potential. Aim for a toasty 350F temperature that promises golden perfection.
Gently lower chicken tenders into the hot oil, letting them dance and turn a gorgeous golden brown. Cook until they’re perfectly done, about 4-5 minutes per side. Ensure the inside reaches a safe 165F.
Plate those gorgeous tenders and grab your favorite dipping sauce. Barbecue, ranch, or honey mustard are perfect companions for this crispy feast.
Tricks to Change Up Your Chicken Tenders Routine
Serving Fried Chicken Tenders With Flair
Store or Prep Your Chicken Tenders Like a Pro
Print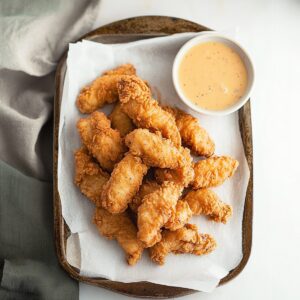
Golden Fried Chicken Tenders Recipe
- Total Time: 30 minutes
- Yield: 5 1x
Description
Sizzling “crispy fried chicken tenders” bring southern comfort straight to your plate with golden-brown perfection. These irresistible morsels deliver a crunchy exterior and juicy interior that will make you crave another bite.
Ingredients
- 500 g (1 lb) chicken tenders or boneless chicken breasts, cut into strips
- 1 cup buttermilk (or 1 cup milk + 1 tbsp lemon juice)
- 1 ½ cups all-purpose flour
- ½ cup cornstarch (for extra crunch)
- 1 tsp hot sauce (optional)
- 1 tsp salt
- 1 tsp garlic powder
- 1 tsp onion powder
- 1 tsp smoked paprika
- ½ tsp black pepper
- ½ tsp cayenne pepper (optional, for heat)
- Oil for frying (vegetable, canola, or peanut oil)
- Dipping sauces (e.g., ranch, honey mustard, BBQ sauce)
- Lemon wedges (optional)
Instructions
- Marinade Infusion: Immerse chicken strips in a zesty buttermilk blend with garlic powder, onion powder, paprika, salt, and pepper. Refrigerate for a minimum of 30 minutes to enhance flavor and tenderness.
- Coating Preparation: Create a textural coating by combining flour, cornstarch, baking powder, salt, and pepper. Whisk eggs separately for a crisp, golden exterior.
- Dredging Technique: Extract chicken from marinade, allowing excess to drip away. Meticulously coat each tender first in seasoned flour mixture, then egg wash, and finally return to flour mixture, ensuring a robust, crunchy layer.
- Oil Calibration: Preheat vegetable oil in a deep skillet to a precise 350F (175C), creating the optimal environment for achieving a perfectly crisp exterior.
- Frying Mastery: Carefully lower chicken tenders into hot oil, cooking in batches for 4-5 minutes per side until achieving a rich golden-brown color and ensuring internal temperature reaches 165F (74C). Drain excess oil on paper towels to maintain crispiness.
- Presentation: Serve immediately with complementary dipping sauces like ranch, honey mustard, or barbecue sauce, enhancing the culinary experience.
Notes
- Longer marinating time enhances flavor and tenderness, with 2-4 hours ideal for maximum taste absorption.
- Press flour mixture gently onto chicken to create a thick, even crust that ensures maximum crispiness without falling off during frying.
- Maintain consistent oil temperature at 350F to prevent soggy or burnt chicken tenders; use a digital thermometer for accuracy.
- Substitute all-purpose flour with gluten-free flour blend and cornstarch for those with wheat sensitivities, maintaining the same crispy texture.
- Prep Time: 15 minutes
- Cook Time: 15 minutes
- Category: Lunch, Dinner, Snacks
- Method: Frying
- Cuisine: American
Nutrition
- Serving Size: 5
- Calories: 320
- Sugar: 1 g
- Sodium: 600 mg
- Fat: 18 g
- Saturated Fat: 3 g
- Unsaturated Fat: 15 g
- Trans Fat: 0 g
- Carbohydrates: 25 g
- Fiber: 1 g
- Protein: 15 g
- Cholesterol: 70 mg
William Hawkins
Founder & Culinary Director
Expertise
Education
Sullivan University, Louisville, KY
William Hawkins isn’t just a chef, he’s a storyteller through food. From his hometown of Louisville, KY, he’s spent years refining his craft, turning local ingredients into something extraordinary.
With classical training from Sullivan University and a career marked by innovation, mentorship, and Southern soul, William approaches every recipe with purpose. His kitchen is where old techniques meet fresh ideas, and where comfort food gets a thoughtful, modern twist.
When he’s not building dishes from the ground up, he’s out gathering inspiration from nature, markets, and the stories people share around the table.