Simple Magic: From-Scratch Foolproof Sourdough Starter Recipe
Baking a perfect sourdough starter from scratch can feel like a culinary adventure with unexpected twists.
Creating a foolproof sourdough starter requires patience and simple ingredients you already have at home.
Flour and water work magic when combined with gentle care and consistent feeding.
Wild yeasts naturally present in your kitchen environment will slowly develop a vibrant, tangy culture that breathes life into bread.
Each day, you’ll watch bubbles form and notice subtle changes in your developing starter.
The process transforms basic pantry staples into a living, breathing fermentation marvel.
This starter will become the heart of your bread-making journey, promising delicious homemade loaves with incredible depth of flavor.
Quick Recipe Overview
Ingredients for Homemade Sourdough Starter
For Mixing Base:For Fermentation Support:For Starter Environment:What You’ll Need to Make Sourdough Starter from Scratch
Sourdough Starter Instructions from Day One
Mix flour and water in a clean glass container until you have a smooth, paste-like mixture. This is your first step in creating a living, breathing culinary ecosystem.
Cover your mixture with a breathable lid, allowing wild yeasts and bacteria to dance and mingle. Find a cozy spot in your kitchen with a steady temperature around room level.
After 24 hours, you’ll begin to see tiny bubbles forming – these are signs of life! This is your starter awakening and getting ready to transform your baking.
Each day, discard half of your mixture and add fresh flour and water. Stir thoroughly, creating a consistent environment for your developing sourdough culture.
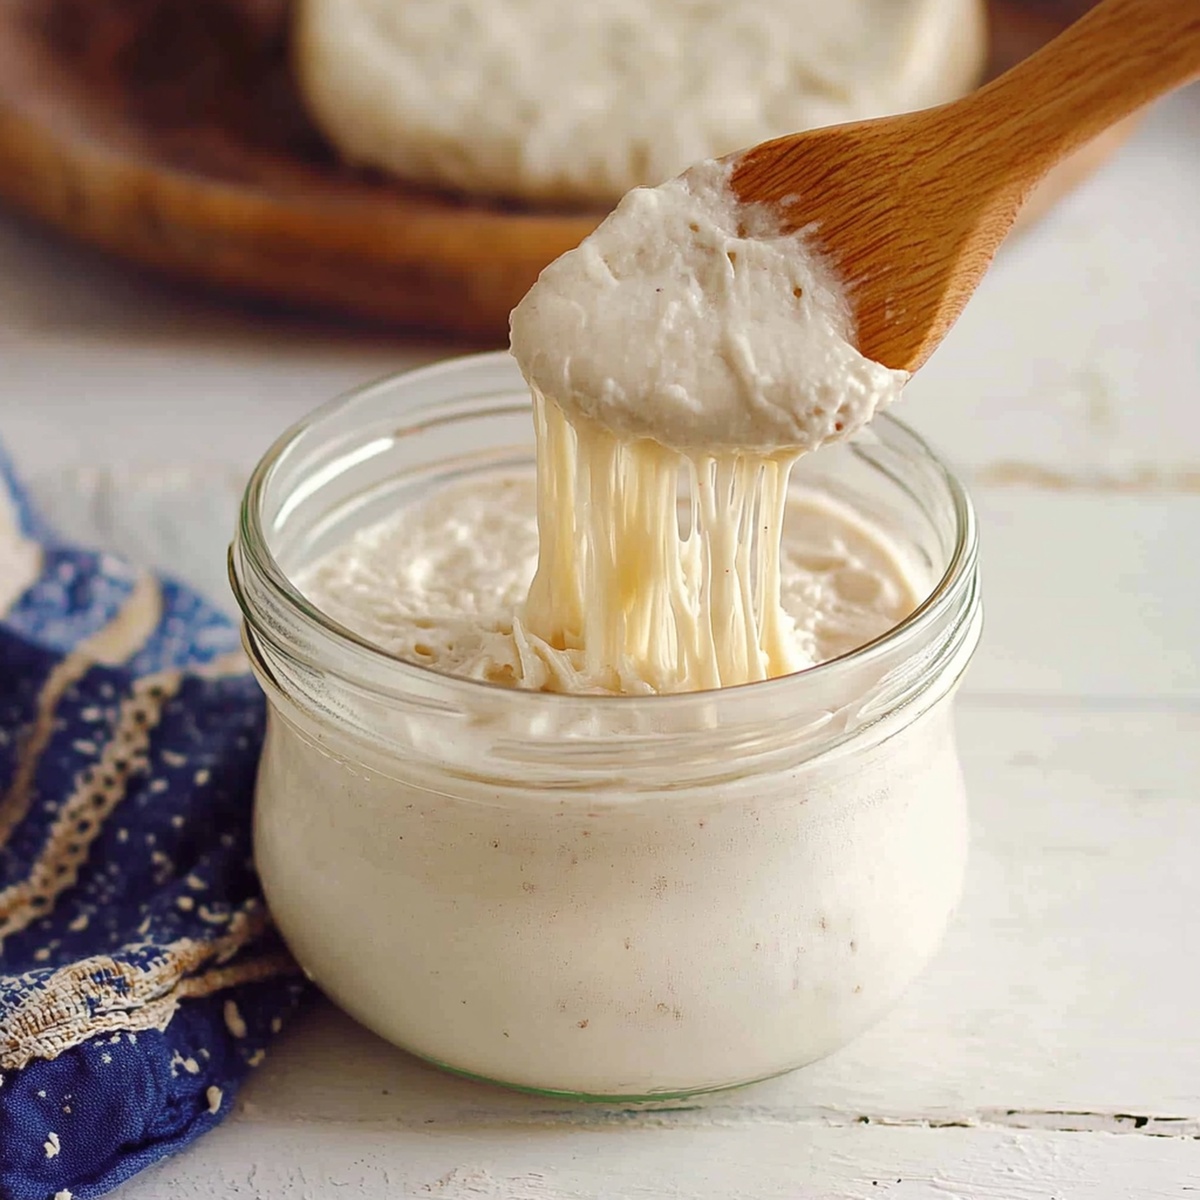
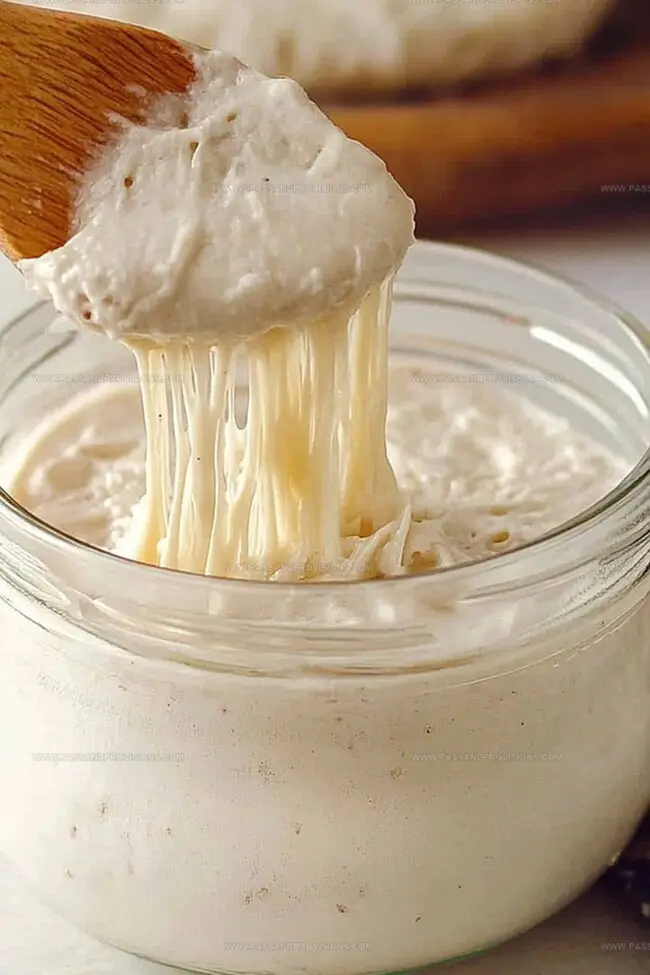
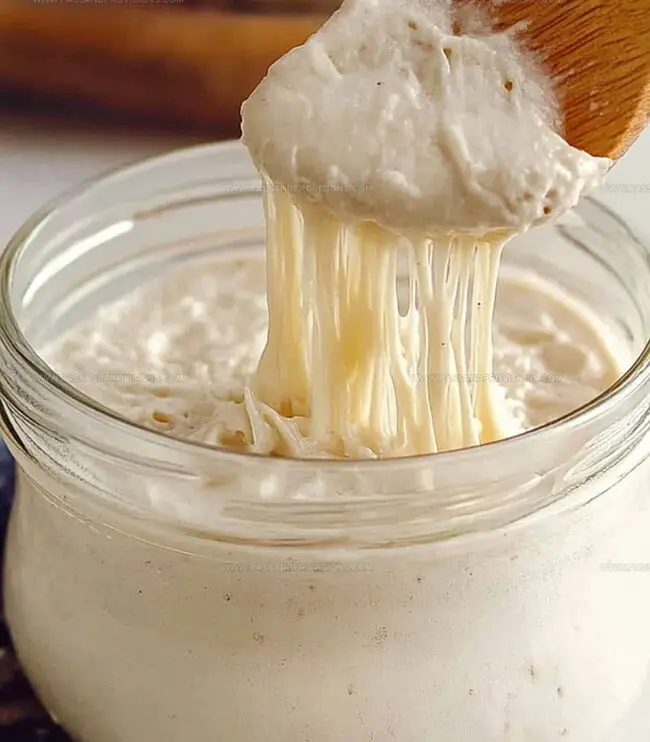
Continue this feeding process for 5-7 days. Your starter will progressively develop a tangy aroma and become more active, with robust bubbling and a slightly sour scent.
Drop a spoonful of starter into water – if it floats, you’ve successfully created a mature, ready-to-bake sourdough starter that’s eager to leaven your bread.
Tips and Tricks for Better Sourdough Starter Results
Ways to Use Your Sourdough Starter
Storing and Feeding Sourdough Starter Right
Print
Foolproof Sourdough Starter From Scratch Recipe
- Total Time: 5 minutes
- Yield: 2 1x
Description
Sourdough starter, a magical fermentation process, begins with flour and water. Microbes develop complex flavors, creating a living culture that serves as bread’s foundation for artisan bakers.
Ingredients
- 1 cup (120 g / 4.2 oz) whole wheat flour
- 1 cup (120 g / 4.2 oz) all-purpose flour (unbleached preferred)
- ½ cup (120 ml / 4 fl oz) filtered water
- ½ cup (120 ml / 4 fl oz) non-chlorinated water
Instructions
- Preparation: Sanitize a spacious glass vessel, blending whole wheat or rye flour with pristine water to craft a robust, homogeneous mixture.
- Initial Fermentation: Thoroughly agitate the concoction until uniformly integrated, covering with a lightweight, breathable fabric to facilitate natural yeast development in a consistently warm, undisturbed environment.
- Daily Cultivation: After 24 hours, extract half the original culture, replenishing with fresh flour and water, maintaining identical hydration proportions and mixing methodology with meticulous precision.
- Transformation Monitoring: Execute daily feedings at consistent intervals, observing progressive metamorphosis characterized by emerging bubbles and an increasingly pronounced tangy fragrance.
- Maturation Assessment: Evaluate the starter’s evolution, tracking volumetric expansion and developing frothy composition, typically achieving optimal fermentation within a week of dedicated nurturing.
- Readiness Verification: Conduct a buoyancy evaluation by depositing a small quantity into water; successful flotation indicates the culture has reached peak fermentative potential and is primed for bread crafting.
- Ongoing Maintenance: Sustain the sourdough culture through regular nutritional supplementation, storing at ambient temperature for frequent usage or refrigerating during periods of reduced activity.
Notes
- Choose Pristine Container: Select a clean glass jar with extra space to prevent overflow during fermentation, allowing natural yeast development.
- Perfect Hydration Balance: Maintain consistent water-to-flour ratio using filtered water and precise measurements to ensure healthy starter growth.
- Temperature Matters: Keep starter in stable, warm environment between 70-80°F, avoiding direct sunlight and cold drafts for optimal fermentation.
- Watch Fermentation Signs: Look for consistent bubble formation, tangy aroma, and volume doubling as indicators of a healthy, active sourdough starter ready for baking.
- Prep Time: 5 minutes per day
- Cook Time: 0 minutes
- Category: Snacks, Breakfast
- Method: Blending
- Cuisine: American
Nutrition
- Serving Size: 2
- Calories: 360
- Sugar: 0 g
- Sodium: 0 mg
- Fat: 1 g
- Saturated Fat: 0 g
- Unsaturated Fat: 1 g
- Trans Fat: 0 g
- Carbohydrates: 76 g
- Fiber: 12 g
- Protein: 12 g
- Cholesterol: 0 mg
William Hawkins
Founder & Culinary Director
Expertise
Education
Sullivan University, Louisville, KY
William Hawkins isn’t just a chef, he’s a storyteller through food. From his hometown of Louisville, KY, he’s spent years refining his craft, turning local ingredients into something extraordinary.
With classical training from Sullivan University and a career marked by innovation, mentorship, and Southern soul, William approaches every recipe with purpose. His kitchen is where old techniques meet fresh ideas, and where comfort food gets a thoughtful, modern twist.
When he’s not building dishes from the ground up, he’s out gathering inspiration from nature, markets, and the stories people share around the table.