Jolly Festive Candy Cane Brownies Recipe for Holiday Magic
Sweet chocolate and peppermint dance together in these irresistible candy cane brownies that promise pure holiday magic.
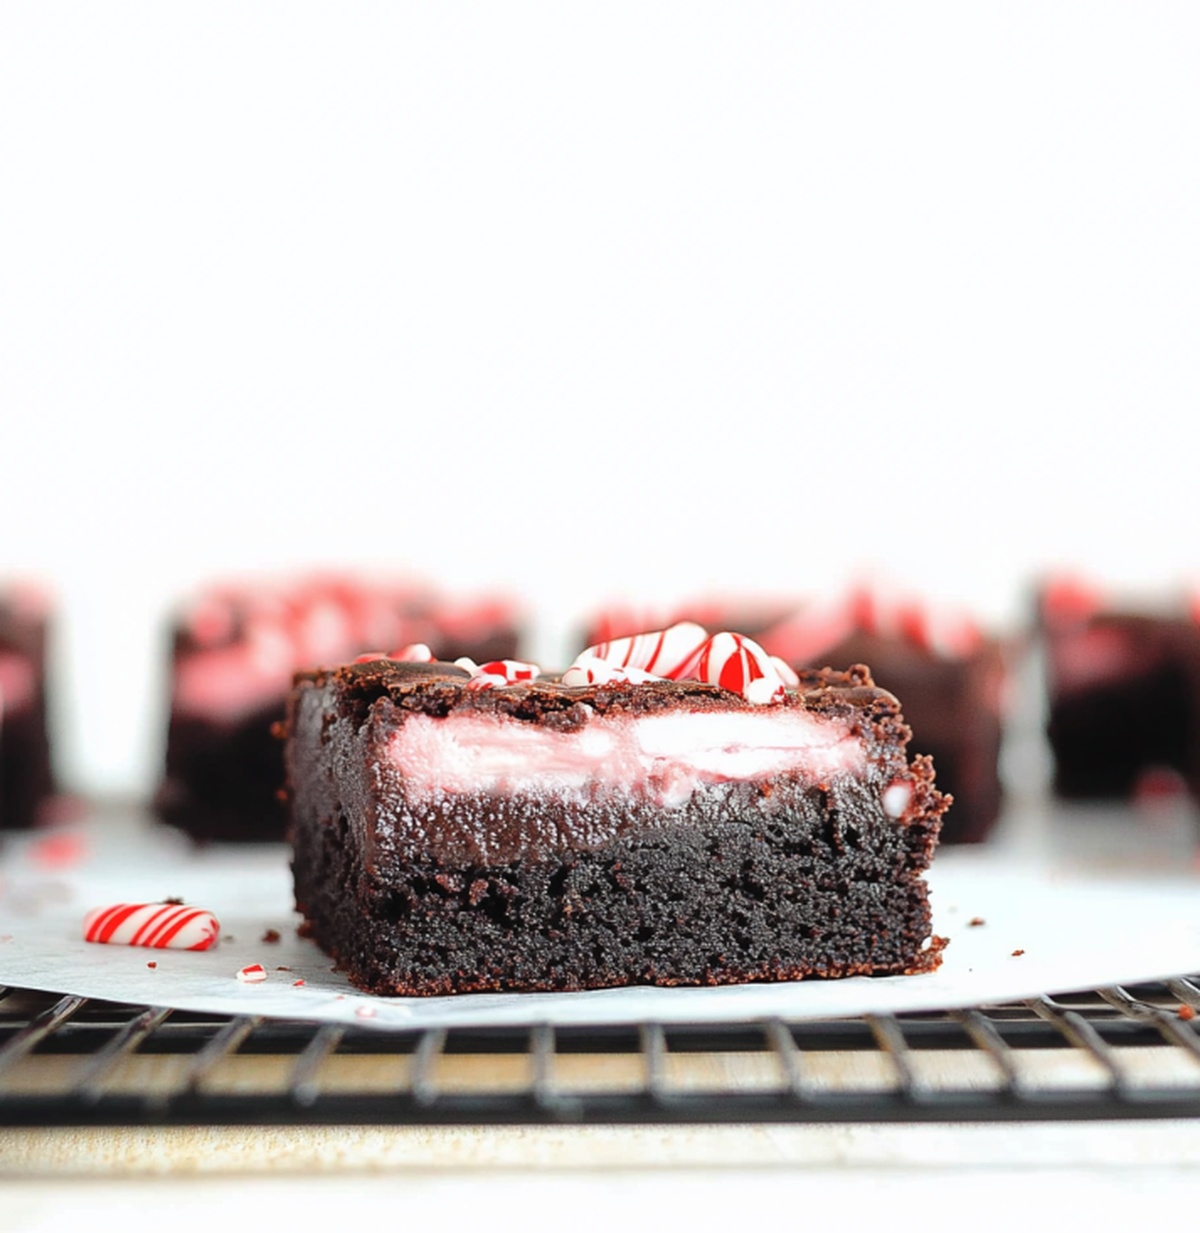
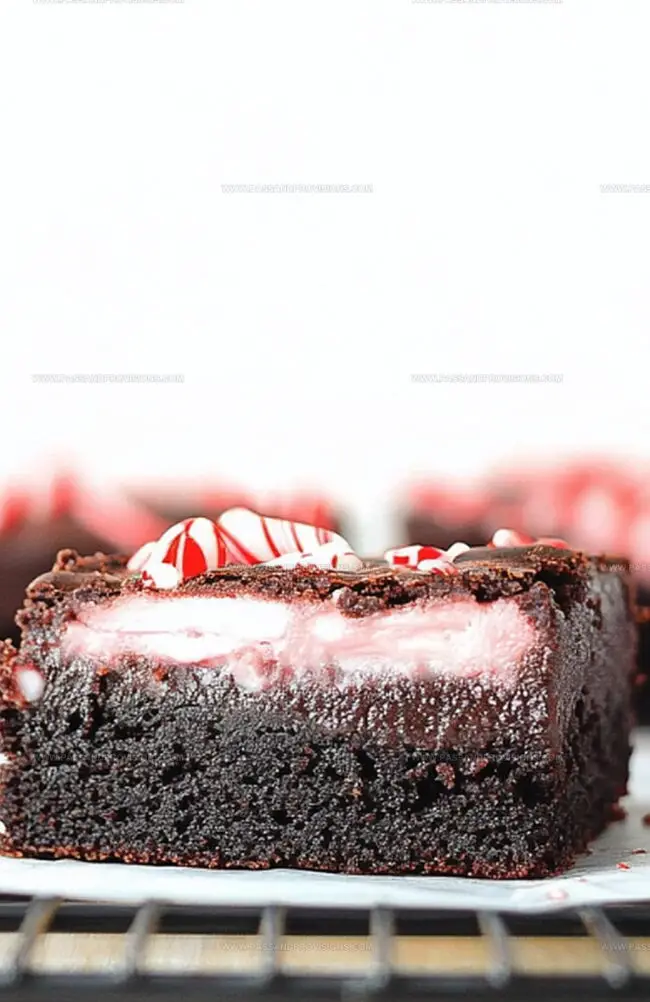
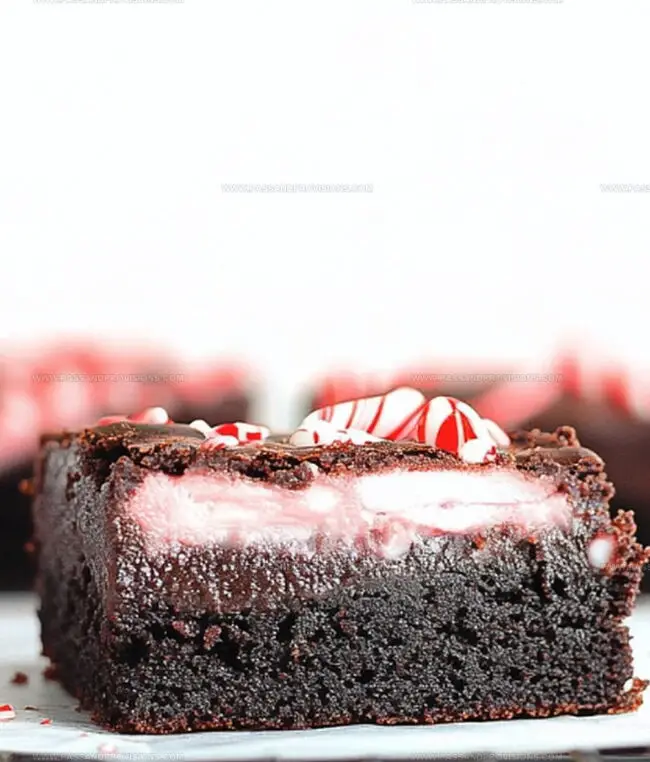
Rich fudgy brownies adorned with crushed candy cane pieces create a delightful winter dessert sensation.
The decadent chocolate base provides a perfect canvas for festive mint flavors.
Crumbled candy cane toppings add a delightful crunch and bright holiday spirit to every bite.
Each square delivers a perfect balance of rich chocolate and cool peppermint that melts in your mouth.
Winter celebrations deserve a dessert this spectacular and simple to prepare.
Treat yourself and your loved ones to these show-stopping brownies that capture the essence of seasonal joy.
Quick Recipe Overview
Candy Cane Brownie Ingredients You’ll Love
For Base Ingredients:For Dry Ingredients:For Finishing Ingredients:Tools for Mixing Peppermint Into Your Brownies
How to Bake Candy Cane Brownies Just Right
Crank the oven to 350F and prepare a cozy 8×8-inch baking pan with parchment paper for smooth brownie removal.
Blend melted butter and sugar into a silky mixture. Splash in eggs and hint of peppermint and vanilla, whisking until everything mingles perfectly. Gently fold in cocoa powder, flour, baking powder, and salt without overdoing the mixing.
Pour batter into the pan, spreading evenly. Slide into the oven and bake 20-25 minutes until a toothpick reveals just a few moist crumbs. Let brownies cool completely inside the pan.
Once cooled, drizzle melted chocolate across the surface. Sprinkle crushed candy canes for a festive crunch that makes taste buds dance.
Allow chocolate topping to set for 10-15 minutes. Lift brownies out using parchment paper and slice into delectable squares. Devour immediately or store in an airtight container for up to 5 days.
Ideas to Make These Brownies Festive
Serving Peppermint Brownies for the Holidays
Tips for Storing Holiday Brownies Right
Print
Festive Candy Cane Brownies Recipe
- Total Time: 35 minutes
- Yield: 13 1x
Description
Chocolate lovers rejoice with these candy cane brownies that blend rich, fudgy chocolate with festive peppermint cheer. Cool mint frosting and crushed candy cane pieces crown this delightful holiday dessert that will delight your senses and sweeten winter gatherings.
Ingredients
- ½ cup (113 g) unsalted butter, melted
- 1 cup (200 g) granulated sugar
- 2 large eggs
- 1 tsp vanilla extract
- ½ tsp peppermint extract
- ½ cup (120 ml) all-purpose flour
- ⅓ cup (30 g) unsweetened cocoa powder
- ¼ tsp baking powder
- ¼ tsp salt
- ½ cup (85 g) semi-sweet chocolate chips (optional, for drizzling)
- ½ cup (50 g) crushed candy canes
Instructions
- Preparation: Adjust oven rack to middle position and heat to 350F (175C). Coat 8×8-inch baking pan with nonstick spray and line with parchment paper, allowing overhang for easy extraction.
- Batter Creation: Whisk melted butter and sugar until lustrous. Incorporate eggs, vanilla, and peppermint extracts, blending thoroughly. Gently fold sifted cocoa powder, flour, baking powder, and salt into wet ingredients, mixing until just combined – avoid overworking the mixture.
- Baking Process: Transfer batter to prepared pan, smoothing surface evenly. Bake for 22-26 minutes, checking doneness with a toothpick – it should emerge with minimal moist crumbs. Allow brownies to cool completely within the pan.
- Chocolate Embellishment: Melt chocolate chips using microwave in 30-second intervals, stirring between each session until silky. Drizzle melted chocolate across brownie surface and generously scatter crushed candy canes for festive decoration.
- Finishing: Allow chocolate topping to solidify for 10-15 minutes. Utilize parchment paper handles to extract brownies, then slice into elegant squares or rectangles. Store in sealed container, maintaining freshness for up to 5 days.
Notes
- Gently fold dry ingredients into wet mixture until just combined to maintain a fudgy, tender brownie texture without developing tough gluten strands.
- Start with less peppermint extract and adjust to taste, as the flavor can quickly become overwhelming and bitter if too much is added.
- Use low microwave power and short intervals when melting chocolate, stirring between each to prevent burning and ensure smooth, glossy consistency.
- Swap all-purpose flour with gluten-free flour blend for celiac-friendly version, or use alternative sweeteners like coconut sugar for lower glycemic index brownies.
- Prep Time: 10 minutes
- Cook Time: 25 minutes
- Category: Desserts, Snacks
- Method: Baking
- Cuisine: American
Nutrition
- Serving Size: 13
- Calories: 200
- Sugar: 18 g
- Sodium: 150 mg
- Fat: 10 g
- Saturated Fat: 6 g
- Unsaturated Fat: 4 g
- Trans Fat: 0 g
- Carbohydrates: 26 g
- Fiber: 2 g
- Protein: 3 g
- Cholesterol: 50 mg
William Hawkins
Founder & Culinary Director
Expertise
Education
Sullivan University, Louisville, KY
William Hawkins isn’t just a chef, he’s a storyteller through food. From his hometown of Louisville, KY, he’s spent years refining his craft, turning local ingredients into something extraordinary.
With classical training from Sullivan University and a career marked by innovation, mentorship, and Southern soul, William approaches every recipe with purpose. His kitchen is where old techniques meet fresh ideas, and where comfort food gets a thoughtful, modern twist.
When he’s not building dishes from the ground up, he’s out gathering inspiration from nature, markets, and the stories people share around the table.