
Luscious Dreamy Oreo Cheesecake Recipe: A Sweet Fantasy Treat
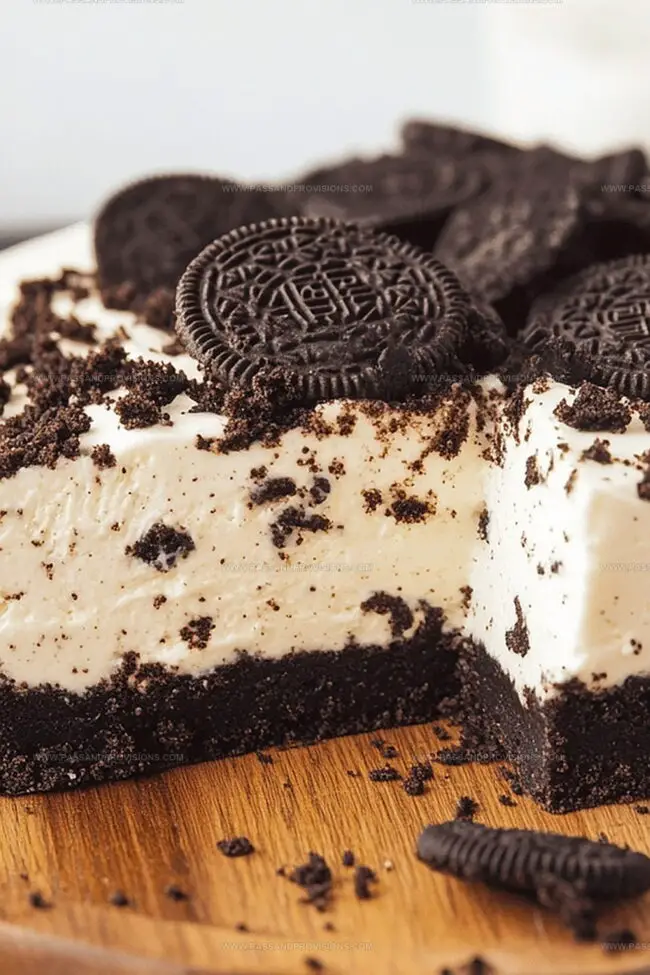
Creamy cheesecake with crushed Oreo cookies swirled through delivers a decadent dessert that melts in your mouth.
Chocolate cookie crumbs create a rich, velvety base for this irresistible treat.
The contrast between smooth cream cheese and crunchy chocolate cookies makes each bite pure bliss.
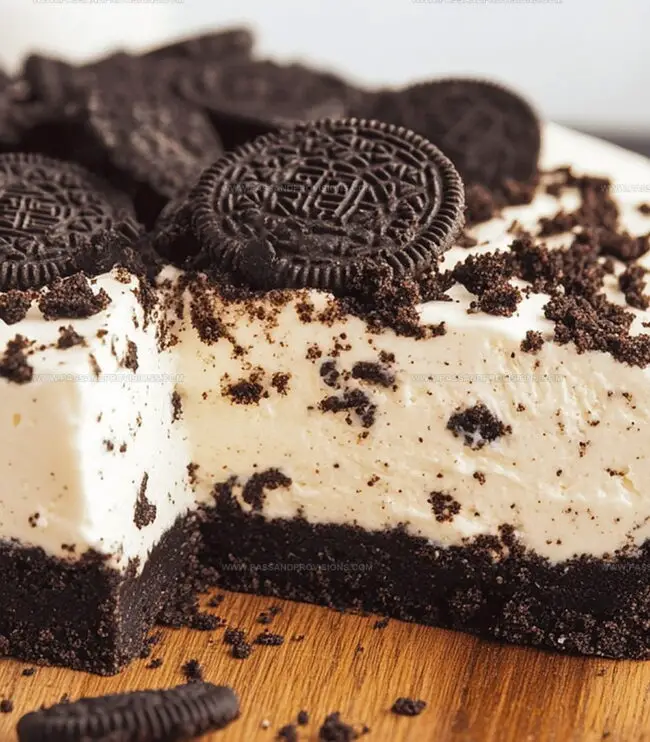
Layers of indulgence stack up with every forkful of this classic dessert.
Bakers and sweet tooth enthusiasts will adore how simple ingredients transform into something spectacular.
Each slice promises a moment of pure dessert magic that satisfies the deepest chocolate cravings.
Let this Oreo cheesecake become your next showstopping dessert adventure.
Quick Recipe Overview
What to Use for No-Bake Oreo Cheesecake
For Crust Ingredients:For Filling Ingredients:For Topping Ingredients:Tools to Chill and Whip Oreo Cheesecake
Making No-Bake Oreo Cheesecake at Home
Crush Oreo cookies into fine bits using a food processor. Mix with melted butter until fully incorporated. Press the mixture firmly into the bottom of a springform pan. Refrigerate while preparing the creamy filling.
Beat cream cheese until silky smooth in a large mixing bowl. Blend in powdered sugar and vanilla extract until well combined. In a separate bowl, whip cold heavy cream until it forms stiff, fluffy peaks. Gently fold the whipped cream into the cream cheese mixture. Carefully stir in crushed Oreo pieces until evenly distributed.
Pour the luscious filling over the chilled cookie crust. Smooth the top with a spatula to create an even surface. Cover the pan and place in the refrigerator for a minimum of 6 hours or overnight to allow the cheesecake to firm up completely.
When ready to serve, garnish with a dollop of whipped cream and sprinkle additional Oreo crumbs on top if desired. Slice into decadent pieces and savor the creamy, crunchy delight.
Cheesecake Tips for a Solid Finish
Serving Slices of Oreo Cheesecake
Storage Tricks for No-Bake Cheesecake
Print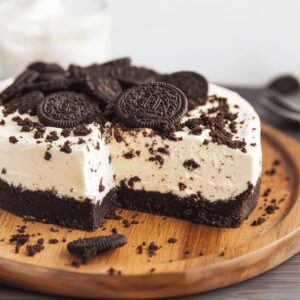
Dreamy Oreo Cheesecake Recipe
- Total Time: 6 hours 25 minutes
- Yield: 9 1x
Description
Creamy no-bake oreo cheesecake brings classic dessert magic to your table with minimal effort. Rich chocolate cookie crust and smooth cream cheese filling promise indulgent moments perfect for sharing with friends.
Ingredients
- 15 oreo cookies, chopped
- 16 oz (454 g) cream cheese, softened
- 1 ¼ cups (296 ml) heavy whipping cream, cold
- ¾ cup (90 g) powdered sugar
- 24 oreo cookies (filling included), for crust
- ¼ cup (57 g) unsalted butter, melted
- 1 tsp vanilla extract
- whipped cream (optional)
- extra oreo cookies, halved or crushed (optional)
Instructions
- Crust Creation: Pulverize Oreos into fine crumbs using a food processor. Incorporate melted butter until thoroughly blended. Press the mixture compactly into the base of a 9-inch springform pan. Refrigerate while preparing the filling.
- Filling Fusion: Whip cream cheese until velvety smooth. Blend in powdered sugar and vanilla extract, creating a uniform mixture. Separately, whip heavy cream to stiff, peaks. Delicately fold whipped cream into the cream cheese base, ensuring a light, airy texture. Gently fold chopped Oreos throughout the mixture.
- Layering and Chilling: Transfer the creamy filling into the chilled crust, smoothing the surface with a spatula. Seal and refrigerate for a minimum of 6 hours, allowing the cheesecake to set completely. For optimal results, let it rest overnight.
- Presentation and Serving: Optional garnish includes dollops of whipped cream and additional Oreo crumbles. Slice carefully and indulge in the decadent, no-bake dessert.
Notes
- Use a food processor for uniform, fine crumbs to create a smooth, compact crust that holds together without crumbling.
- Ensure cream cheese is completely softened at room temperature to achieve a silky, lump-free filling with maximum smoothness.
- Whip heavy cream to stiff peaks but avoid over-beating, which can make the texture grainy and compromise the cheesecake’s delicate consistency.
- Refrigerate for minimum 6 hours or overnight to allow the cheesecake to set properly, ensuring clean slices and optimal flavor development.
- Prep Time: 25 minutes
- Cook Time: 6 hours
- Category: Desserts
- Method: Blending
- Cuisine: American
Nutrition
- Serving Size: 9
- Calories: 360
- Sugar: 22 g
- Sodium: 250 mg
- Fat: 24 g
- Saturated Fat: 14 g
- Unsaturated Fat: 8 g
- Trans Fat: 0 g
- Carbohydrates: 30 g
- Fiber: 1 g
- Protein: 4 g
- Cholesterol: 60 mg
William Hawkins
Founder & Culinary Director
Expertise
Education
Sullivan University, Louisville, KY
William Hawkins isn’t just a chef, he’s a storyteller through food. From his hometown of Louisville, KY, he’s spent years refining his craft, turning local ingredients into something extraordinary.
With classical training from Sullivan University and a career marked by innovation, mentorship, and Southern soul, William approaches every recipe with purpose. His kitchen is where old techniques meet fresh ideas, and where comfort food gets a thoughtful, modern twist.
When he’s not building dishes from the ground up, he’s out gathering inspiration from nature, markets, and the stories people share around the table.