Enchanting Easter No-Bake Mini Cheesecakes Recipe
Sweet springtime celebrations call for delightful desserts that sparkle with charm and simplicity.
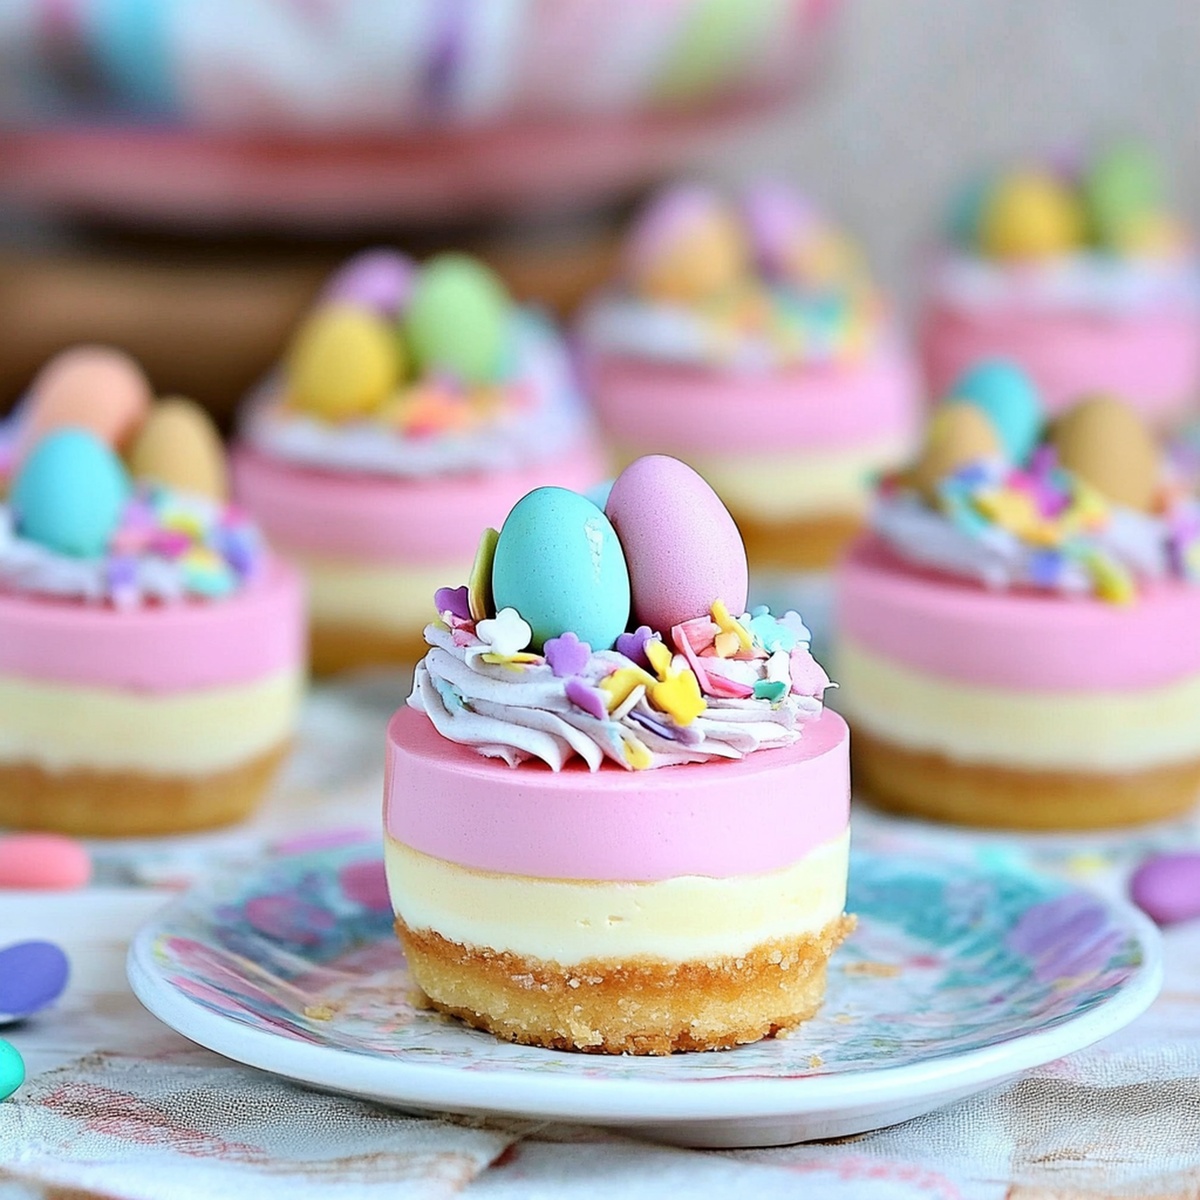
These no-bake mini cheesecakes capture the essence of Easter with their creamy, delectable texture.
Crafted with minimal effort, this Easter no-bake mini cheesecakes recipe brings a touch of magic to your holiday table.
Graham cracker crusts provide a perfect foundation for the silky smooth filling that melts in your mouth.
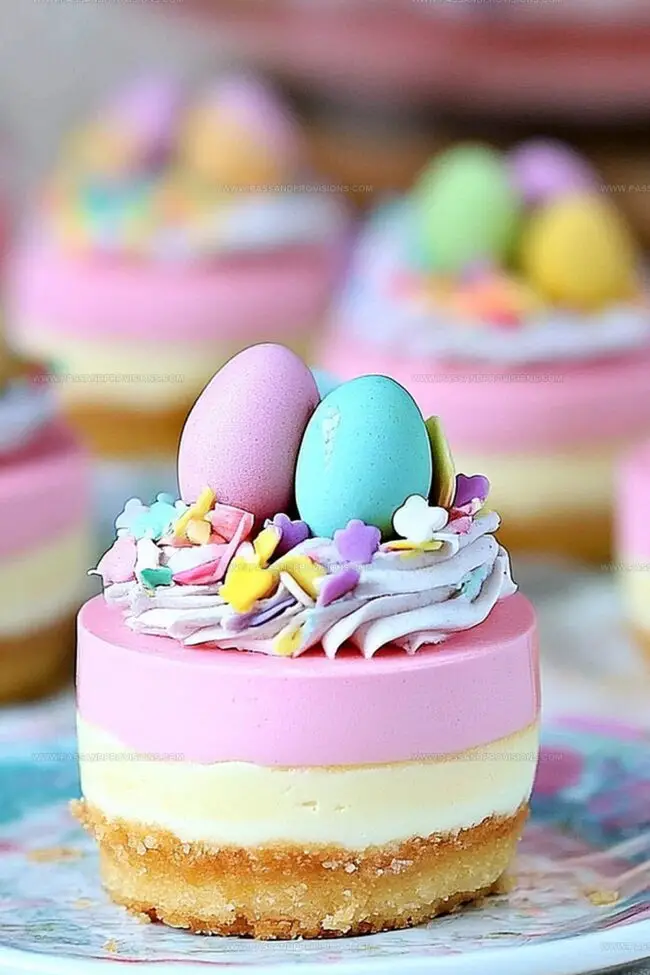
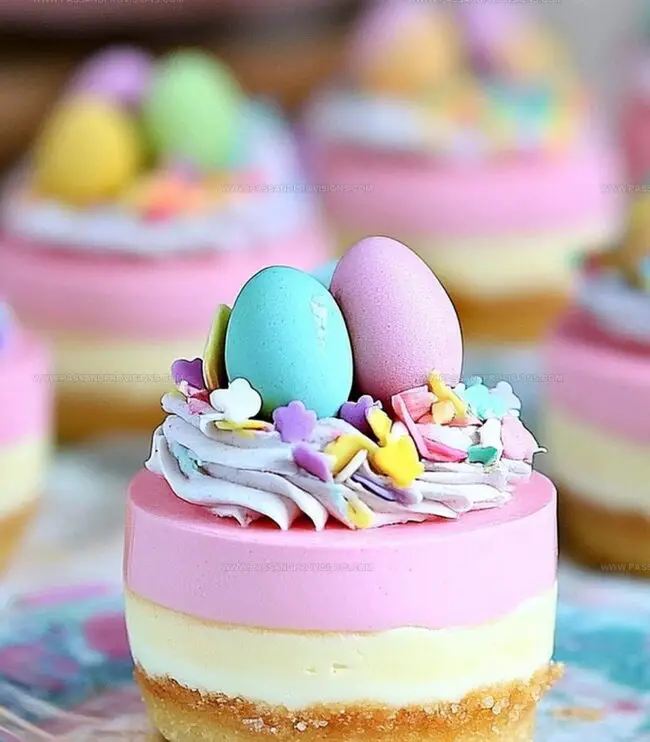
Decorated with pastel-colored toppings, these miniature treats offer a playful twist on classic cheesecake.
Each bite promises a burst of sweetness that will delight guests of all ages.
Whip up these irresistible little gems and watch as smiles bloom around your dessert table.
Quick Recipe Overview
Must-Have Ingredients for Easter No-Bake Mini Cheesecakes
For Crust Base:For Creamy Filling:For Festive Topping:Tools That Help You Shape Easter No-Bake Mini Cheesecakes
How to Assemble Easter No-Bake Mini Cheesecakes Quickly
Press graham cracker mix into cupcake liners, creating a solid base that will hold your creamy delight. Pack it down firmly to ensure a perfect platform for your cheesecake.
Blend cream cheese with sweet powdered sugar and vanilla until silky smooth. Create a cloud-like mixture that promises pure indulgence.
Separately whip cold cream until peaks stand tall and proud. Gently marry this airy mixture into your cream cheese base, creating a luxurious, light filling.
Carefully spoon or pipe your heavenly filling into each cracker crust. Smooth the tops with delicate strokes, making each mini cheesecake look picture-perfect.
Slide your creation into the refrigerator. Let them rest and set, developing rich flavors and perfect texture. Wait at least 3 hours for ultimate deliciousness.
Crown your cheesecakes with playful decorations like chocolate eggs, fluffy whipped cream, festive sprinkles, or delicate coconut shavings. Serve and watch faces light up with joy.
Topping Ideas for Easter No-Bake Mini Cheesecakes
How to Serve Easter No-Bake Mini Cheesecakes Festively
Storing Easter No-Bake Mini Cheesecakes for Holidays
Print
Dreamy Easter No-Bake Mini Cheesecakes
- Total Time: 3 hours 15 minutes
- Yield: 13 1x
Description
Delightful Easter No-Bake Mini Cheesecakes blend creamy indulgence with festive charm. Pastel-colored treats bring springtime joy to dessert tables, offering quick, elegant bites that celebrate seasonal sweetness.
Ingredients
- 8 oz (226 g) cream cheese, softened
- 1 cup (240 ml) heavy whipping cream, cold
- ½ cup (60 g) powdered sugar
- 1 cup (120 g) graham cracker crumbs (about 8 crackers)
- 3 tbsps (45 ml) unsalted butter, melted
- 1 tbsp (15 ml) sugar
- 1 tsp (5 ml) vanilla extract
- Mini chocolate eggs (Cadbury Mini Eggs, M&Ms, or jelly beans)
- Whipped cream
- Shredded coconut (optional, for a nest effect)
- Sprinkles
Instructions
- Crust Creation: Blend graham cracker crumbs, melted butter, and sugar into a cohesive mixture. Distribute evenly across cupcake liners, pressing firmly to create a compact base. Refrigerate while preparing the filling.
- Filling Fusion: Whip cream cheese, powdered sugar, and vanilla until silky smooth. In a separate vessel, transform cold heavy whipping cream into a voluminous mixture with stiff peaks. Delicately incorporate whipped cream into the cream cheese base, maintaining a light, airy texture.
- Architectural Assembly: Elegantly transfer the creamy filling onto prepared crusts, using a spoon or piping technique. Smooth the surface to create a pristine, professional appearance.
- Chilling Transformation: Permit the mini cheesecakes to set in the refrigerator for a minimum of three hours, allowing flavors to meld and texture to solidify.
- Festive Finale: Embellish with whimsical decorations such as miniature chocolate eggs, dollops of whipped cream, colorful sprinkles, or delicate coconut shavings. Serve chilled and enjoy the delightful Easter-inspired treat.
Notes
- Press graham cracker mixture firmly and evenly to create a compact, stable base that won’t crumble when serving.
- Use room temperature cream cheese to ensure smooth, lump-free filling without over-mixing.
- Beat cream at cold temperature and stop exactly when stiff peaks form to prevent butter-like texture and maintain light, airy consistency.
- These mini cheesecakes can be prepared 2-3 days in advance, making them perfect for stress-free Easter entertaining.
- Prep Time: 15 minutes
- Cook Time: 3 hours
- Category: Desserts, Snacks
- Method: None
- Cuisine: American
Nutrition
- Serving Size: 13
- Calories: 210
- Sugar: 12 g
- Sodium: 150 mg
- Fat: 15 g
- Saturated Fat: 9 g
- Unsaturated Fat: 4 g
- Trans Fat: 0 g
- Carbohydrates: 19 g
- Fiber: 1 g
- Protein: 3 g
- Cholesterol: 40 mg
William Hawkins
Founder & Culinary Director
Expertise
Education
Sullivan University, Louisville, KY
William Hawkins isn’t just a chef, he’s a storyteller through food. From his hometown of Louisville, KY, he’s spent years refining his craft, turning local ingredients into something extraordinary.
With classical training from Sullivan University and a career marked by innovation, mentorship, and Southern soul, William approaches every recipe with purpose. His kitchen is where old techniques meet fresh ideas, and where comfort food gets a thoughtful, modern twist.
When he’s not building dishes from the ground up, he’s out gathering inspiration from nature, markets, and the stories people share around the table.