Dreamy Sugar Cookie Frosting Recipe: Cloud-Soft Sweetness
Sweet treats have a way of bringing pure joy, and this sugar cookie frosting recipe turns ordinary cookies into delightful masterpieces.
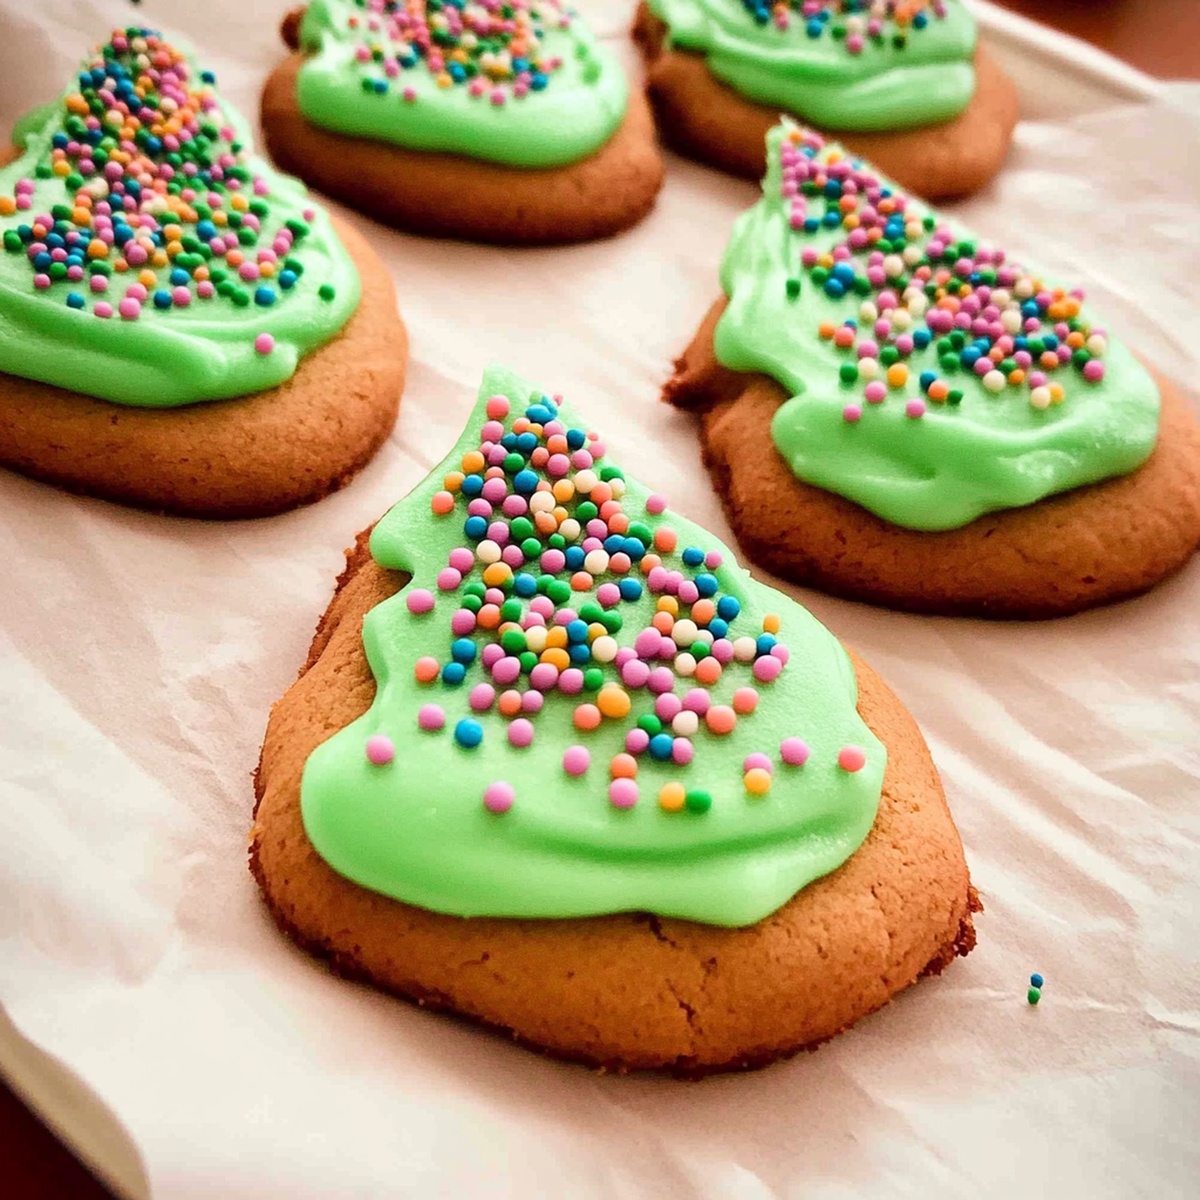
Sugar cookie frosting creates a magical canvas for decorating your favorite baked goods with vibrant colors and smooth textures.
Professional bakers and home cooks alike understand the power of a perfectly crafted frosting.
Mixing simple ingredients like powdered sugar, vanilla extract, and milk can elevate your cookies from good to extraordinary.
The right consistency makes all the difference between a basic coating and a professional-looking finish.
Each swirl and dollop tells a delicious story of creativity and flavor.
Prepare to transform your cookies into edible works of art that will have everyone asking for your secret.
Quick Recipe Overview
Ingredients for Smooth Sugar Cookie Frosting
For Base Ingredients:For Liquid and Flavor Enhancers:For Optional Decorative Elements:Frosting Tools to Make It Fluffy and Spreadable
How to Whip Up Cookie Frosting Fast

Grab your mixing bowl and transform softened butter into a silky, smooth canvas using an electric mixer. Blend until the butter looks glossy and cloud-like, which takes roughly 2-3 minutes.
Slowly cascade powdered sugar into the butter, stirring gently to create a creamy foundation. Mix at a low speed to prevent sugar from exploding everywhere.
Pour in milk, vanilla, and a tiny pinch of salt. Whip everything together until the mixture becomes light and airy. If the frosting feels too thick, splash in extra milk one tiny droplet at a time.
Split the frosting into separate bowls and swirl in gel food coloring. Mix until the hue matches your creative vision. Pro tip: Gel colors keep your frosting’s perfect consistency.
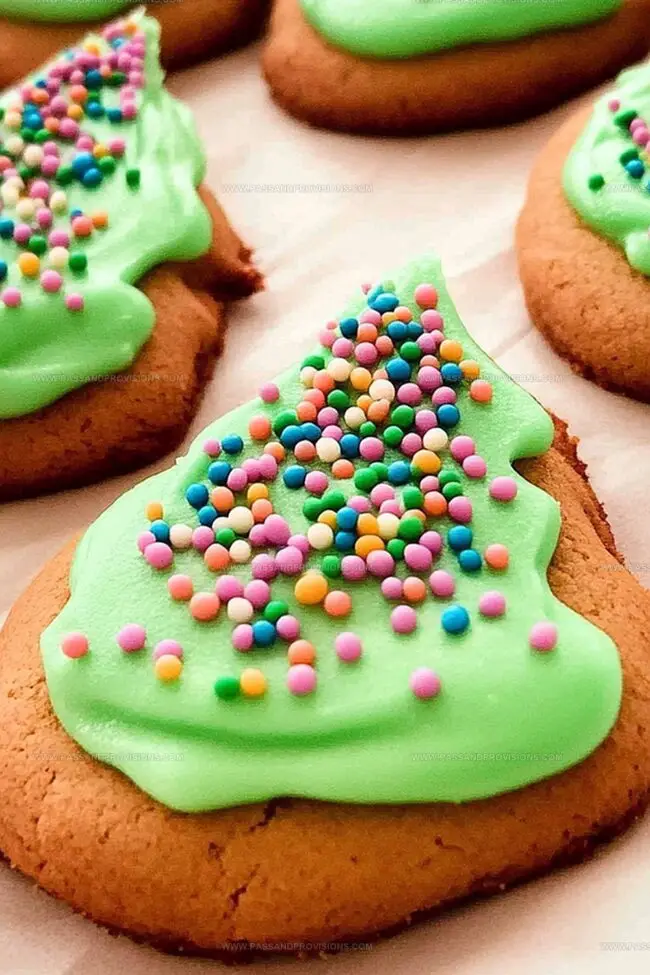
Spread or pipe the frosting onto completely cooled sugar cookies. Sprinkle with decorative toppings if you want extra pizzazz.
Allow cookies to sit peacefully at room temperature for about half an hour, giving the frosting time to set beautifully.
Color and Flavor Ideas for Decorating Cookies
Frost and Serve Cookies for Any Occasion
Storing Frosting to Keep It Easy to Use
Print
Delectable Sugar Cookie Frosting Recipe
- Total Time: 10 minutes
- Yield: 13 1x
Description
Sweet sugar cookie frosting brings delightful magic to classic homemade treats. Silky smooth layers of creamy icing create perfect decorative touches you will love adding to your favorite cookies.
Ingredients
- 4 cups powdered sugar, sifted
- 1 cup unsalted butter, softened
- 23 tbsps milk (or heavy cream)
- 1 tsp vanilla extract (or almond extract for a different flavor)
- 1/8 tsp salt
- Gel food coloring (optional)
- Sprinkles (optional, for decorating)
Instructions
- Butter Preparation: Utilize a large mixing bowl and cream the softened butter using a hand or stand mixer at medium speed until achieving a silky, uniform texture, approximately 2-3 minutes.
- Sugar Integration: Methodically incorporate powdered sugar into the butter, adding one cup at a time while maintaining a low mixing speed to ensure complete blending.
- Liquid and Flavor Enhancement: Introduce milk, vanilla extract, and salt to the mixture, then whip on medium speed until the frosting transforms into a light, airy consistency. Adjust thickness by gradually adding milk, one teaspoon at a time, until reaching the ideal texture.
- Color Customization: (Optional) Partition the frosting into smaller containers and gently fold in gel food coloring, ensuring even distribution while preserving the frosting’s structural integrity.
- Cookie Embellishment: Apply the prepared frosting onto completely cooled sugar cookies, either by spreading smoothly or piping intricate designs. Embellish with sprinkles for additional visual appeal if desired.
- Setting Phase: Allow decorated cookies to rest at ambient temperature for approximately 30 minutes, permitting the frosting to slightly stabilize and set.
Notes
- Ensure butter is perfectly softened at room temperature for smooth, lump-free frosting – not melted or cold.
- Sift powdered sugar before adding to prevent clumping and create ultra-smooth frosting consistency.
- Add milk incrementally to achieve perfect spreading or piping texture – too much can make frosting runny, too little makes it stiff.
- Use gel food coloring for vibrant colors without disrupting frosting’s texture – liquid drops can thin out the mixture unexpectedly.
- Prep Time: 10 minutes
- Cook Time: 0 minutes
- Category: Desserts, Snacks
- Method: Blending
- Cuisine: American
Nutrition
- Serving Size: 13
- Calories: 120
- Sugar: 20 g
- Sodium: 50 mg
- Fat: 3.5 g
- Saturated Fat: 2 g
- Unsaturated Fat: 1.5 g
- Trans Fat: 0 g
- Carbohydrates: 22 g
- Fiber: 0 g
- Protein: 0.5 g
- Cholesterol: 10 mg
William Hawkins
Founder & Culinary Director
Expertise
Education
Sullivan University, Louisville, KY
William Hawkins isn’t just a chef, he’s a storyteller through food. From his hometown of Louisville, KY, he’s spent years refining his craft, turning local ingredients into something extraordinary.
With classical training from Sullivan University and a career marked by innovation, mentorship, and Southern soul, William approaches every recipe with purpose. His kitchen is where old techniques meet fresh ideas, and where comfort food gets a thoughtful, modern twist.
When he’s not building dishes from the ground up, he’s out gathering inspiration from nature, markets, and the stories people share around the table.