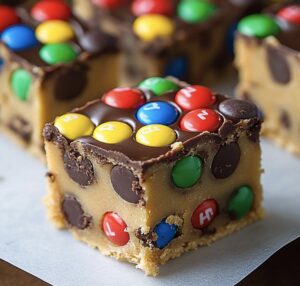
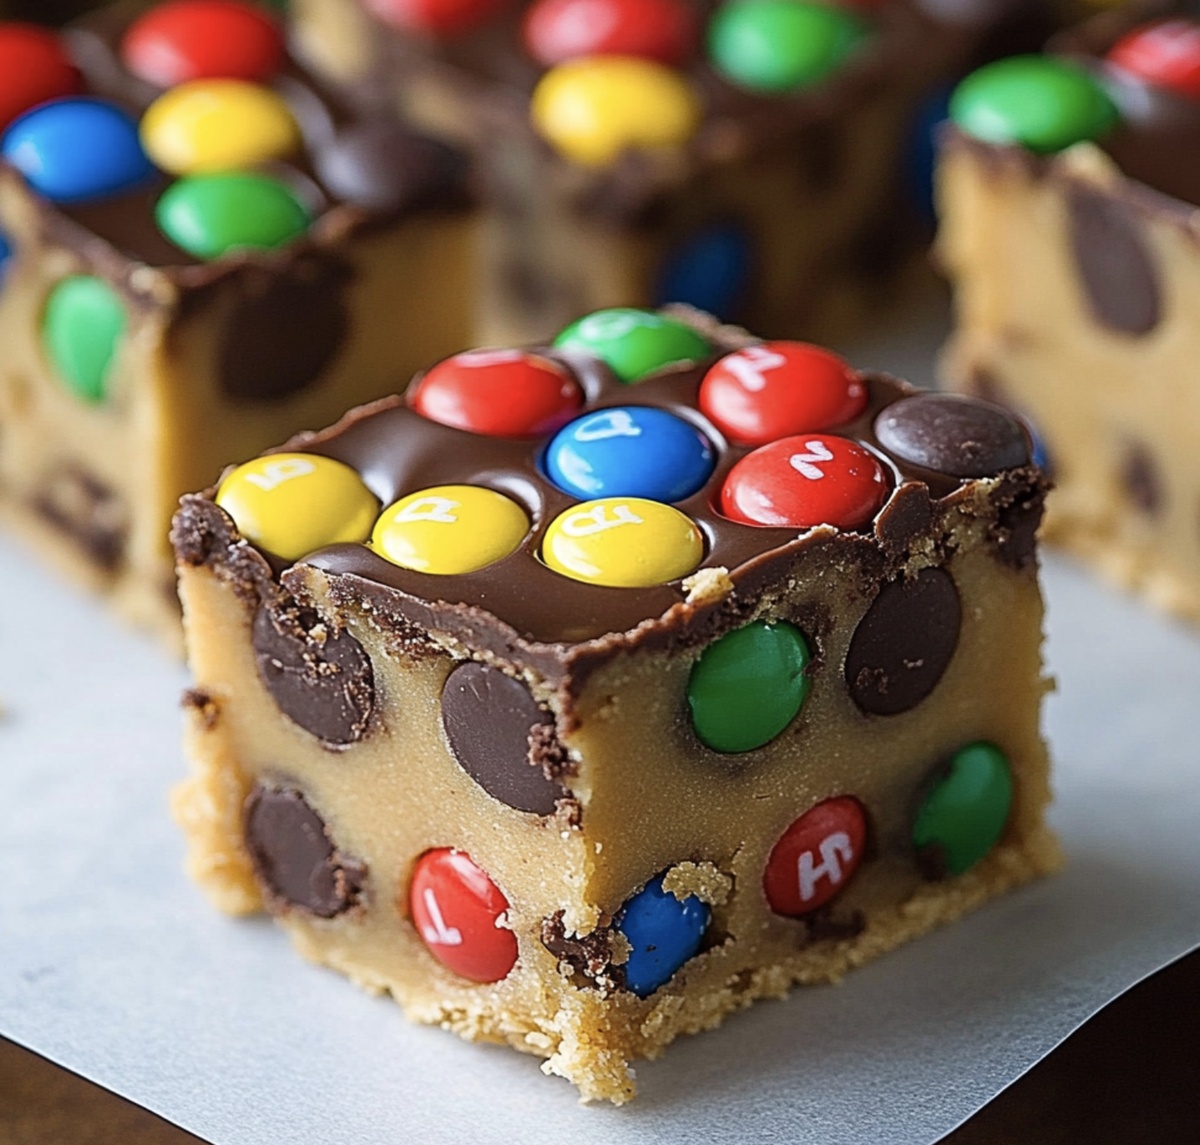
Colorful, Crunchy No-Bake M&M Cookie Dough Bars Recipe
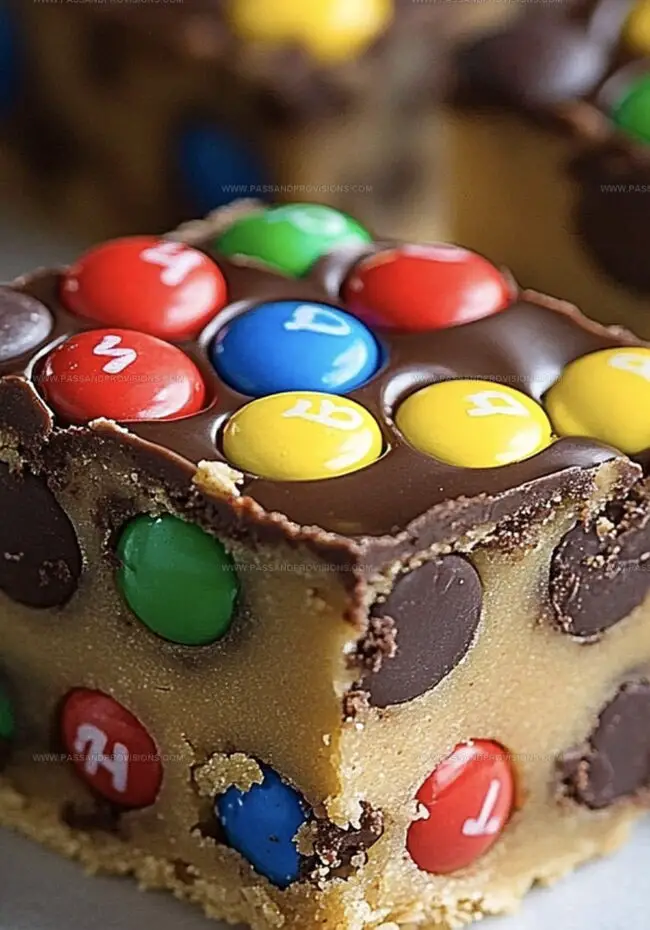
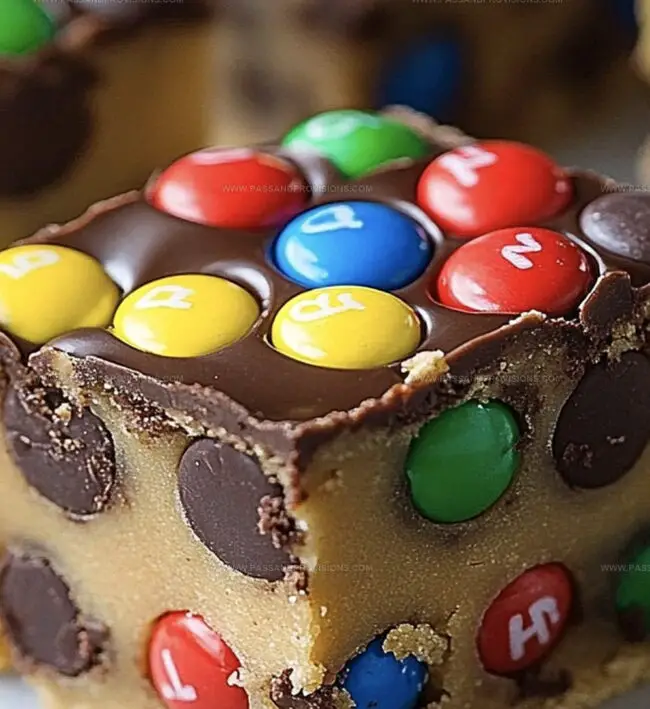
Chocolate chips and colorful M&M candies create a delightful twist in this no-bake cookie dough bars recipe that will satisfy your sweetest cravings.
Soft, creamy, and packed with irresistible texture, these bars promise pure indulgence without turning on the oven.
The cookie dough comes together in minutes with simple pantry ingredients.
Each bite delivers a perfect balance of sweetness and crunch that melts in your mouth.
No complicated techniques or baking skills required for this easy dessert.
Let’s treat yourself to a delectable snack that combines childhood nostalgia with grown-up flavor.
Quick Recipe Overview
No-Bake M&M Cookie Dough Bars Ingredient List
For Heat Treatment:For Base:For Sweetness:For Flavor and Texture:For Mix-Ins:For Binding:For Optional Texture:For No-Bake Stabilizer:Tools for Making No-Bake Cookie Dough Bars
Instructions for Assembling M&M Cookie Dough Bars
Heat flour in the oven or microwave to eliminate any potential bacteria. Spread it evenly and warm until it reaches a safe temperature, then let it cool completely.
Mix softened butter, brown sugar, and white sugar until smooth and creamy. Blend in vanilla extract and milk, stirring until the mixture becomes uniform and silky.
Gently incorporate flour, salt, and a pinch of magic into the wet mixture. Stir carefully to prevent clumping and ensure a velvety texture throughout.
Sprinkle M&M candies into the dough, mixing gently to distribute the colorful gems evenly. Save a handful for topping to create visual excitement.
Transfer the dough into a lined pan, using gentle pressure to create an even layer. Smooth the surface with a spatula for a professional finish.
Place the pan in the refrigerator for about an hour. This helps the bars firm up and intensifies the delicious flavors.
Remove from the refrigerator and slice into perfect squares. Top with reserved M&M candies for an extra pop of color and crunch.
Add-Ins and Tips for Cookie Dough Bar Variety
Fun Ways to Serve M&M Cookie Dough Bars
Storing Cookie Dough Bars Without the Mess
Print
Crunchy No-Bake M&M Cookie Dough Bars Recipe
- Total Time: 1 hour 10 minutes
- Yield: 17 1x
Description
M&M cookie dough bars offer a delightful no-bake dessert perfect for casual gatherings. Sweet chocolate chips and colorful candies create a playful treat you’ll love to share with friends and family.
Ingredients
- 1 ¾ cups (220 g) all-purpose flour (heat-treated)
- ¾ cup (150 g) brown sugar (packed)
- ½ cup (113 g/1 stick) unsalted butter (softened)
- 1 cup (170 g) semisweet chocolate chips
- ½ cup (85 g) mini chocolate chips
- ¾ cup (120 g) M&Ms
- ¼ cup (40 g) M&Ms (for garnish)
- ¼ cup (50 g) granulated sugar
- ¼ cup (60 mL/2 fl oz) milk (or heavy cream)
- 1 tsp vanilla extract
- ½ tsp salt
- 1 tbsp coconut oil or butter
Instructions
- Flour Preparation: Spread flour on a baking sheet and toast in the oven at 350°F for 5-7 minutes, eliminating potential bacteria, then allow to cool completely to room temperature.
- Pan Setup: Line a rectangular baking pan with parchment paper, ensuring excess hangs over sides for effortless removal.
- Dough Mixing: In a large mixing bowl, cream butter and sugars until light and fluffy, then blend in vanilla extract until fully incorporated.
- Flour Integration: Fold cooled, sanitized flour into the butter mixture, stirring until a consistent dough texture emerges.
- Candy Incorporation: Gently mix chocolate chips throughout the dough, then delicately press M&M candies across the surface, distributing them evenly.
- Chilling Process: Transfer dough to prepared pan, smoothing the top with a spatula, then refrigerate for 1-2 hours until completely set.
- Serving Preparation: Remove chilled dough from pan using parchment paper overhang, slice into uniform bars, and store in refrigerator until serving time.
Notes
- Sanitize Flour Safely: Toast flour in the oven at 350°F for 5-7 minutes, stirring occasionally to ensure even heating and eliminate potential bacteria without burning.
- Achieve Creamy Texture: Ensure butter is softened at room temperature but not melted, allowing for smooth blending with sugars and creating a light, fluffy base for the cookie dough.
- Perfect Cutting Technique: Use a sharp, clean knife dipped in hot water and wiped dry between cuts to create clean, precise bars without crumbling or sticking.
- Storage and Dietary Modifications: Keep bars refrigerated for up to 5 days in an airtight container. For gluten-free version, substitute regular flour with heat-treated almond flour or gluten-free flour blend, maintaining the same toasting process for safety.
- Prep Time: 10 minutes
- Cook Time: 1 hour
- Category: Desserts, Snacks
- Method: Baking
- Cuisine: American
Nutrition
- Serving Size: 17
- Calories: 265
- Sugar: 20 g
- Sodium: 100 mg
- Fat: 12 g
- Saturated Fat: 7 g
- Unsaturated Fat: 3 g
- Trans Fat: 0 g
- Carbohydrates: 37 g
- Fiber: 1 g
- Protein: 2 g
- Cholesterol: 15 mg


William Hawkins
Founder & Culinary Director
Expertise
Education
Sullivan University, Louisville, KY
William Hawkins isn’t just a chef, he’s a storyteller through food. From his hometown of Louisville, KY, he’s spent years refining his craft, turning local ingredients into something extraordinary.
With classical training from Sullivan University and a career marked by innovation, mentorship, and Southern soul, William approaches every recipe with purpose. His kitchen is where old techniques meet fresh ideas, and where comfort food gets a thoughtful, modern twist.
When he’s not building dishes from the ground up, he’s out gathering inspiration from nature, markets, and the stories people share around the table.